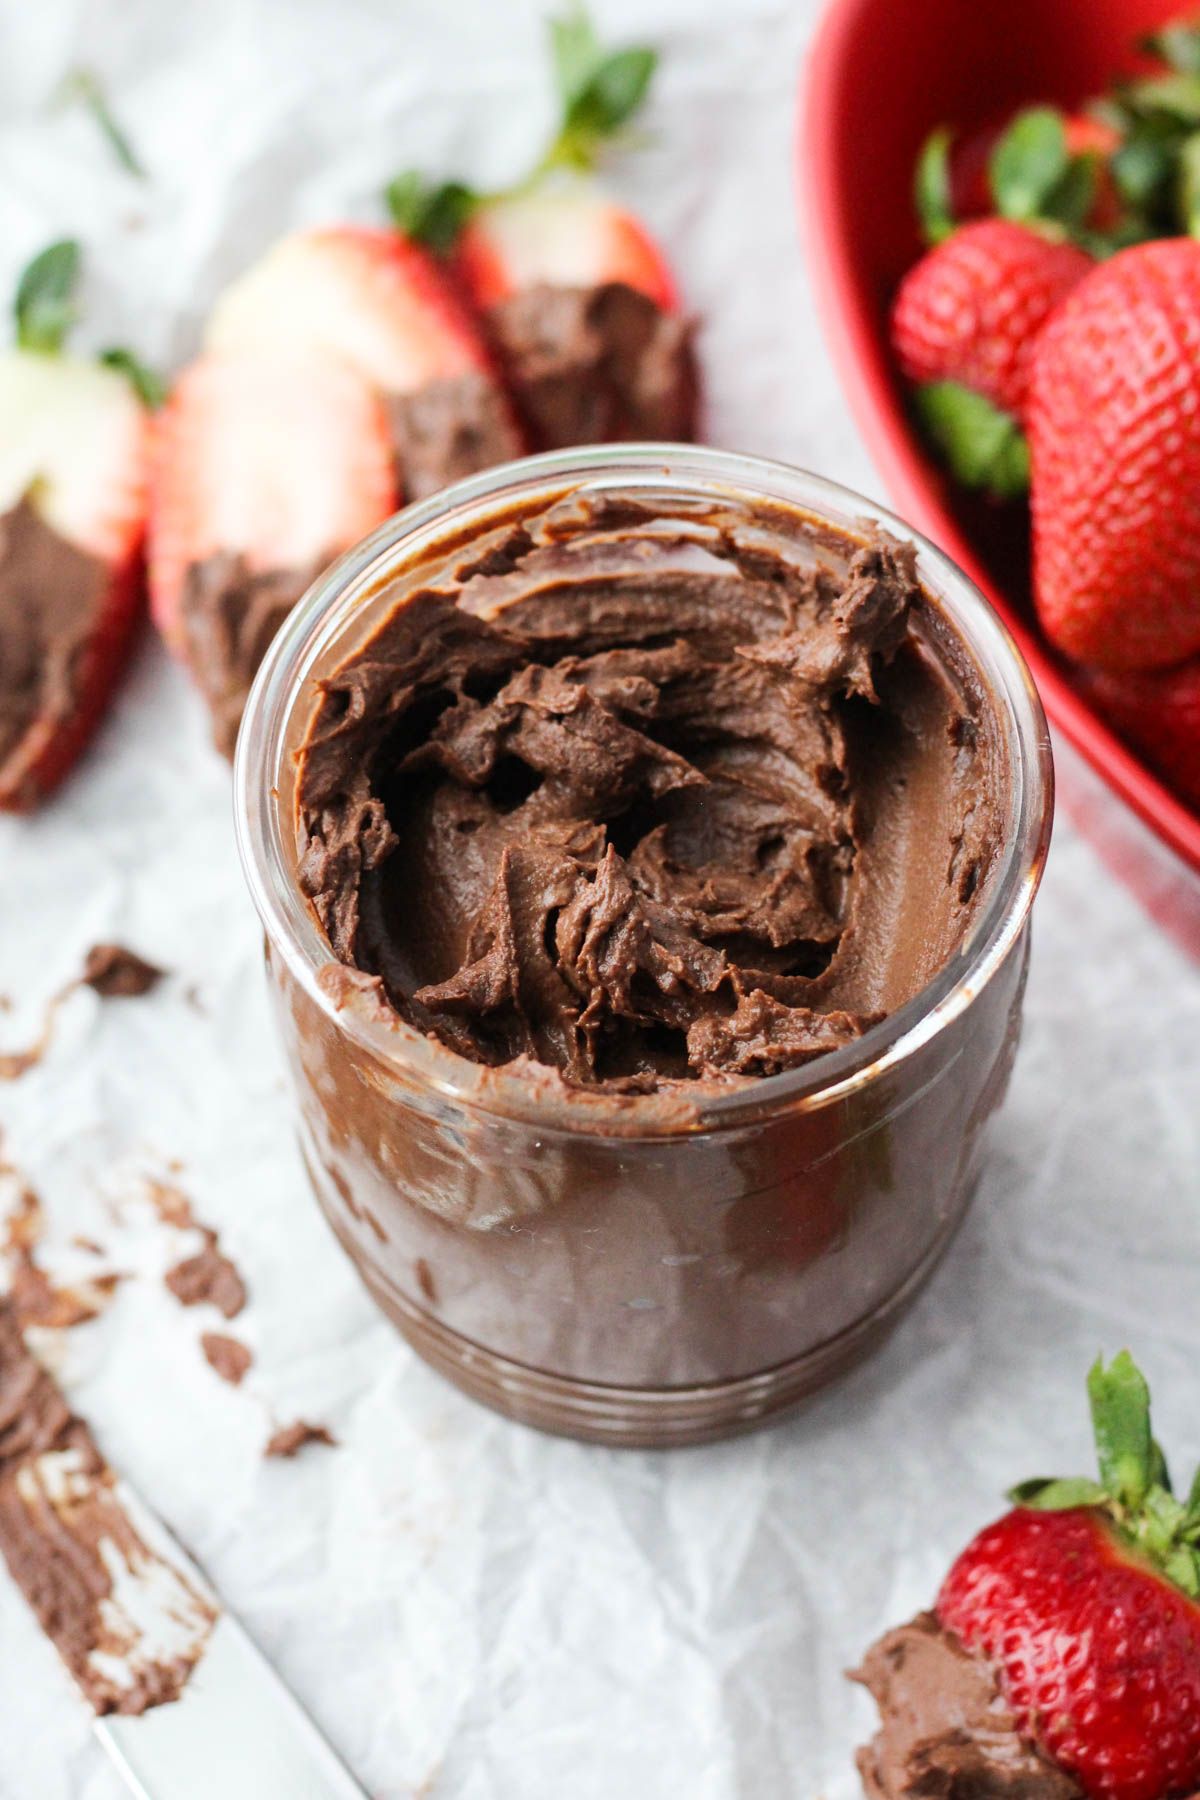
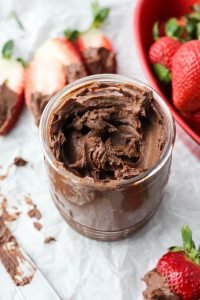
If you're like me, you probably love the taste of the oh so popular chocolate spread Nutella, but don't love all the added sugar or long list of ingredients. This rich and creamy Vegan Nut Free Chocolate Spread is the perfect alternative!
Jump to:
Disclaimer: Some of the links in this post are affiliate links, which means I make a small commission if you choose to purchase through qualifying links.
Why You'll Love This Recipe
Yes! If you're looking for a healthy, nut-free version of the popular chocolate spread Nutella, this is a great alternative. It has a similar creamy consistency, but without a long list of ingredients, dairy, oil, or raw hazelnuts!
Nutella vs Chocolate Spread
Store-bought Nutella is a popular chocolate spread that contains about 20 grams of added sugar per serving. (Serving size: 2 tablespoons.)
My recipe requires only 4 simple ingredients and uses one of my favorite natural sweeteners, medjool dates.
🍴 Ingredient Notes
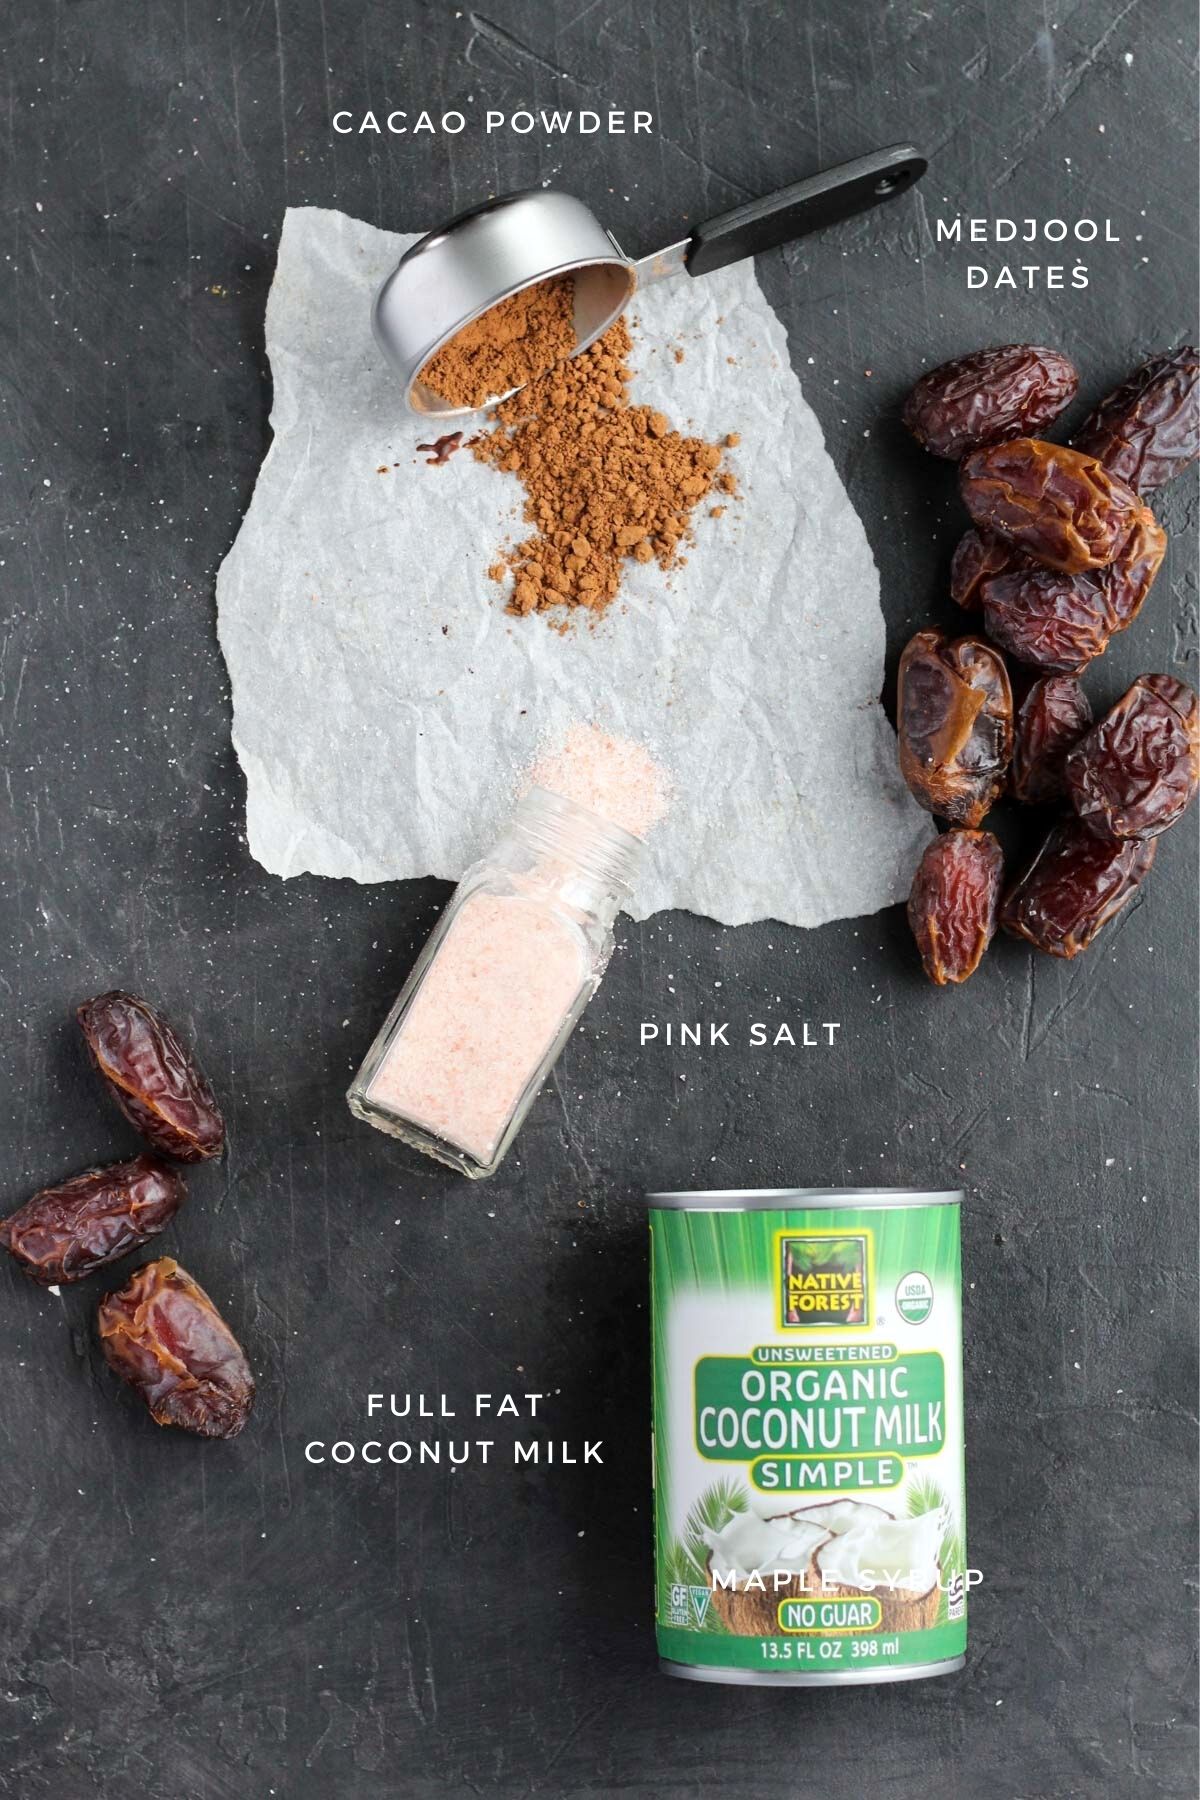
- Full Fat Coconut Milk - You will need full fat coconut milk in a can for this recipe. It will not work with regular coconut milk.
- Medjool Dates, Pitted - You can purchase them pitted or remove the pits yourself!
- Cacao Powder - You can sub with cocoa powder.
- Salt - Just a pinch of salt will bring out the rich, chocolate flavor!
Recipe Variations
- Vanilla Extract - This is totally optional, but for a boost of flavor add one teaspoon of vanilla extract.
- Dark Chocolate Chips - After the spread has cooled, stir in some mini dark chocolate chips for a little crunch!
🍴 Step by Step Instructions
Step 1: Preparing the Chocolate Mixture
Start by adding the coconut milk, pitted Medjool dates, cacao powder, and salt into a sauce pan. Turn to medium/high heat.
Stir the mixture for a few minutes until it begins to boil. Once it's boiling, turn to medium/low heat and let simmer for 20 minutes.
Step 2: Blending the Chocolate Mixture
When the timer goes off, remove the pan from the heat and let sit for a few minutes to cool. (About 2-3 minutes.)
Add the mixture into your high speed blender, and mix until it's a creamy consistency.
When it's ready, use a spatula to scrape down the edges, and pour the mixture into a glass container. Place the container on the counter to cool until room temperature.
Step 3: Chilling & Serving
Next, add a cover to the room temperature chocolate spread, and place in the refrigerator to set. The longer it cools, the thicker the consistency will be! (Usually 2-4 hours is best!)
What should I serve with this Chocolate Spread?
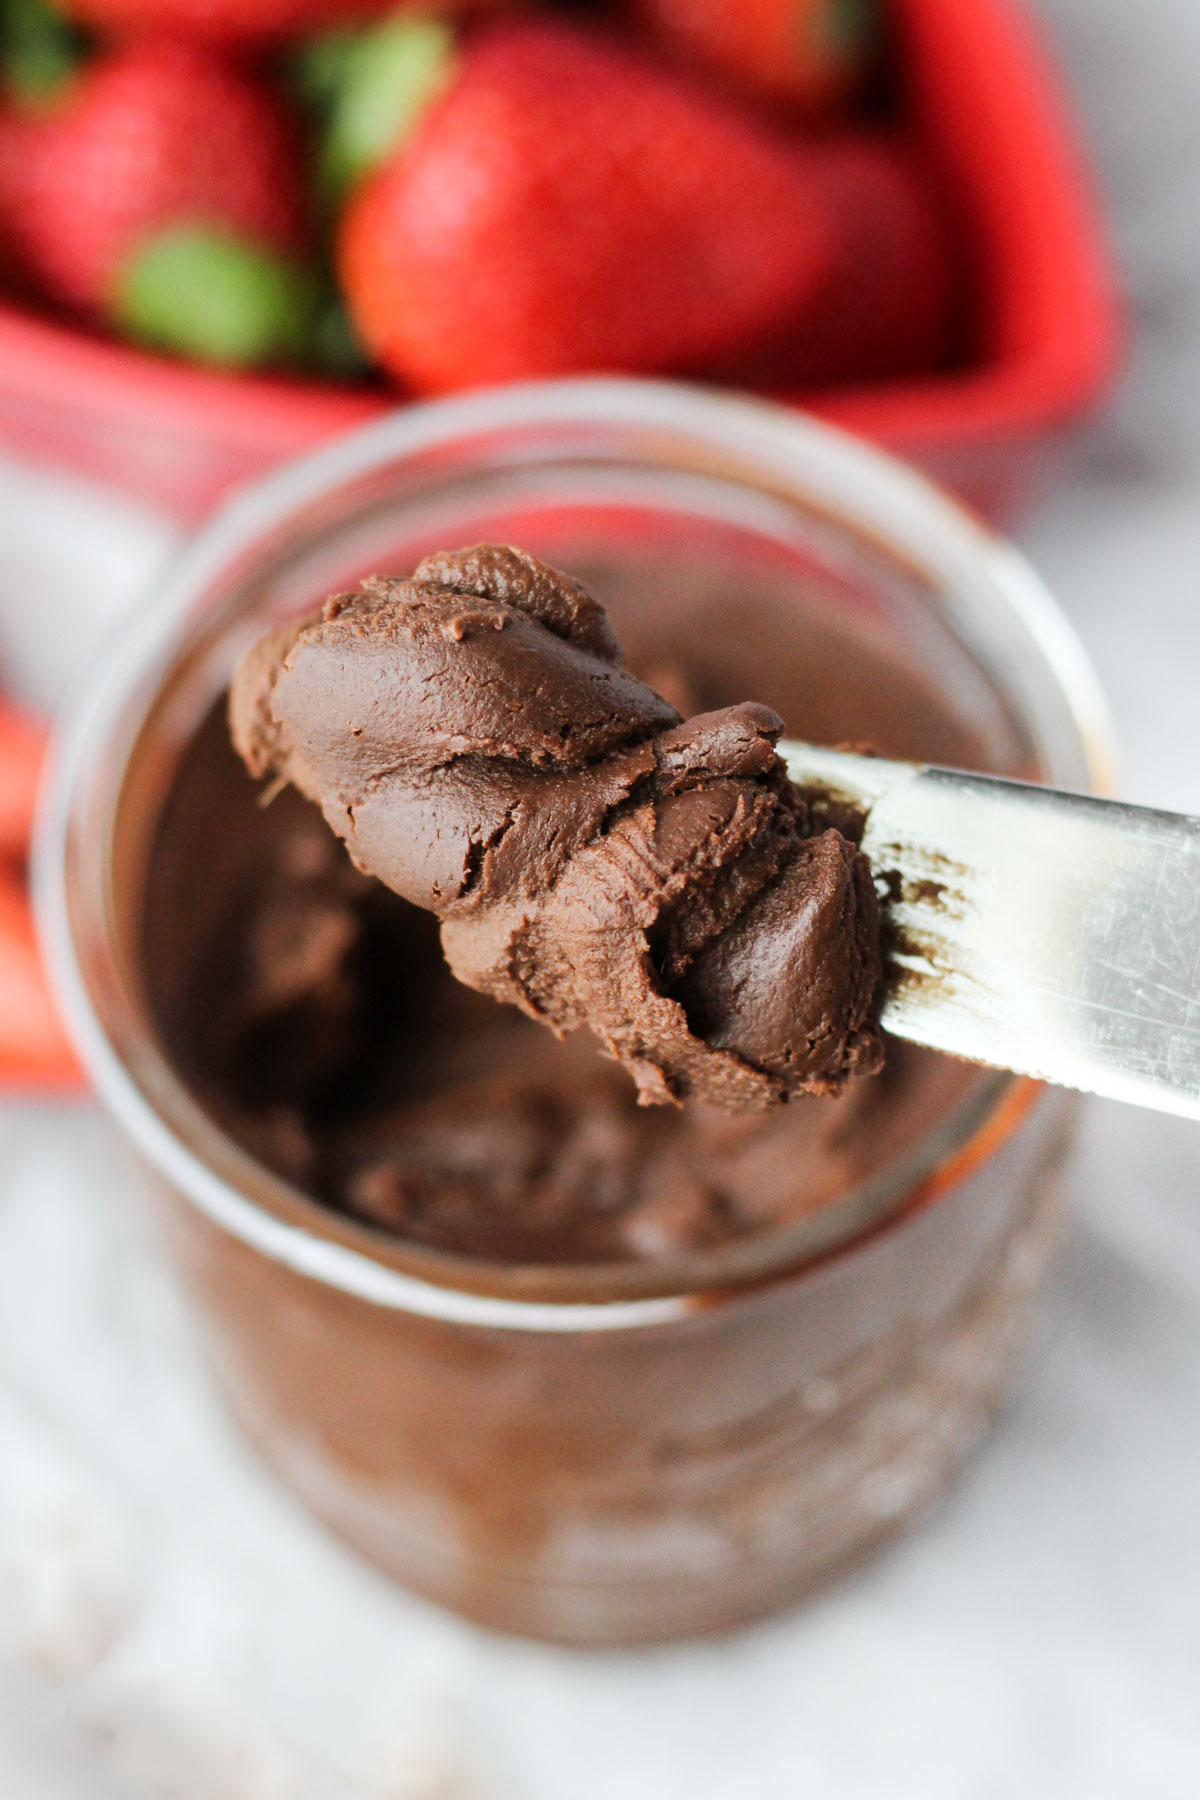
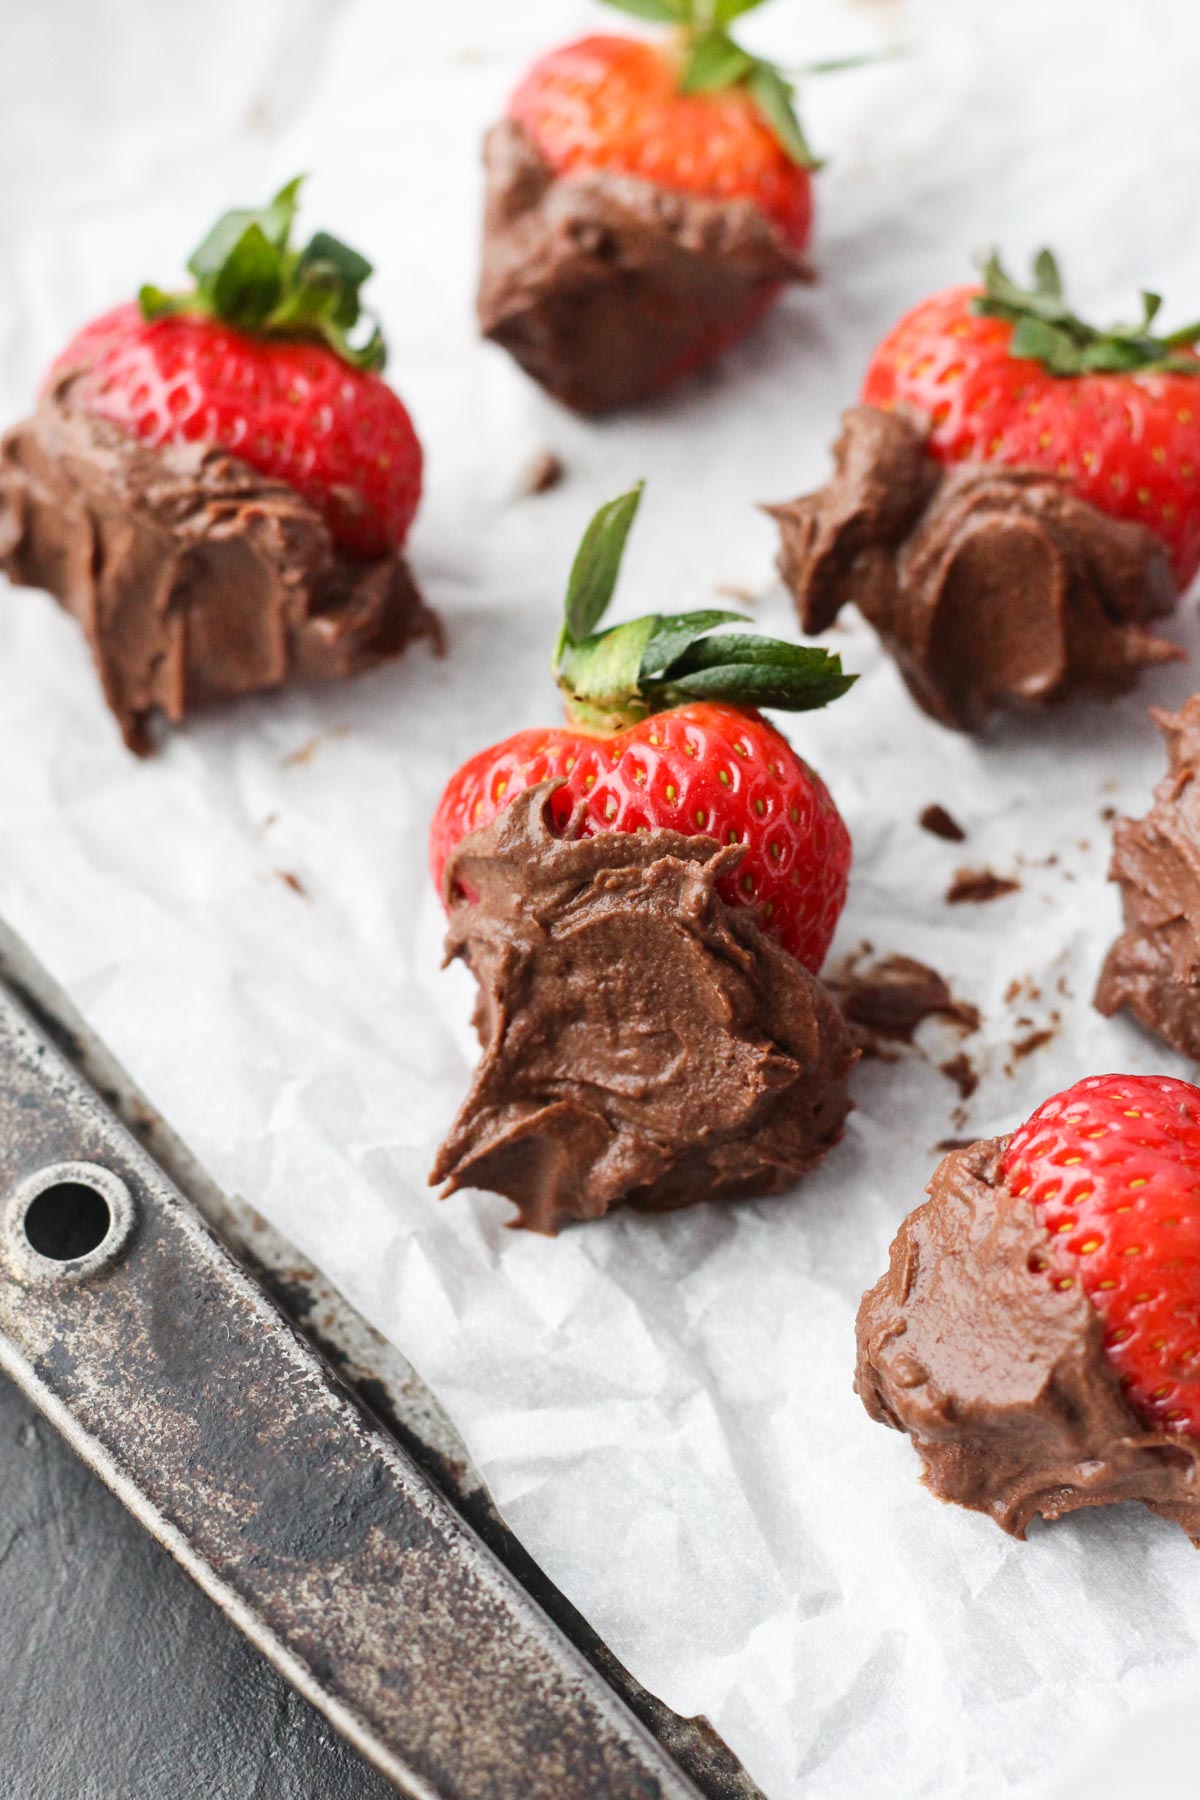
The real question is, what can't you put this chocolate spread on?! It's amazing on fresh fruit, baked goods.. but here are a few of my favorites!
- Fresh Fruit - Strawberries, bananas, oranges, and even apples are delicious pairing with this chocolate spread! I love using this spread on my Fruit Charcuterie Boards!
- Banana Bread
- Rice Cakes
- Toast
- Baked Goods - Use this chocolate spread on cakes, muffins, and cupcakes as a refined sugar free frosting!
- Waffles + Pancakes
How to store leftovers
The Chocolate Spread best stored in an airtight container. I personally love using mason jars!
The recipe makes a little more than 2 cups, which equals out to an 8 ounce jar. You could also use glass Tupperware containers.
The chocolate spread lasts about 8-10 days in the refrigerator.
More healthy snack recipes!
After you make this Vegan Chocolate Spread, make sure to leave a comment & rate the recipe!
Recipe Card
Nut Free Chocolate Spread (Vegan)
Equipment
- Glass Jar with cover. (Mason Jar)
Ingredients
- 13.5 Ounces Full Fat Coconut Milk
- 1 Cup Medjool Dates, Pitted
- ½ Cup Cacao Powder You can sub with cocoa powder.
- ¼ Teaspoon Salt
Instructions
Preparing the Chocolate Mixture
- Start by adding the coconut milk, pitted Medjool dates, cacao powder, and salt into a sauce pan. Turn to medium/high heat.
- Stir the mixture for a few minutes until it begins to boil. Once it's boiling, turn to medium/low heat and let simmer for 20 minutes.
Blending the Chocolate Mixture
- When the timer goes off, remove the pan from the heat and let sit for a few minutes to cool. (About 2-3 minutes.)
- Add the mixture into your high speed blender, and mix until it's a creamy consistency.
- When it's ready, use a spatula to scrape down the edges, and pour the mixture into a glass container. Place the container on the counter to cool until room temperature.
Chilling & Serving
- Next, add a cover to the room temperature chocolate spread, and place in the refrigerator to set. The longer it cools, the thicker the consistency will be! (Usually 2-4 hours is best!)
- Once it's set, you can spread on rice cakes, fresh fruit, or enjoy by the spoonful!
Notes
How to store leftover Chocolate Spread
The Chocolate Spread best stored in an air tight container. I personally love using mason jars! The recipe makes a little more than 2 cups, which equals out to an 8 ounce jar. You could also use glass Tupperware containers. The chocolate spread lasts about 8-10 days in the refrigerator.What should I serve with this Chocolate Spread?
The real question is, what can’t you put this chocolate spread on?! It’s amazing on fresh fruit, baked goods.. but here are a few of my favorites!- Strawberries
- Sliced Bananas
- Orange Slices
- Banana Bread
- Rice Cakes
- Toast
- Cupcakes/Muffins
- Cake
- Waffles/Pancakes
Is this a healthy alternative to Nutella?
Yes! If you’re looking for a healthy version of the popular chocolate spread Nutella, this is a great alternative. It has a similar creamy consistency, but without a long list of ingredients, dairy, oil, or nuts! This recipe has about 6 grams of sugar per serving, compared to Nutella which has about 20 grams per serving. (Serving size = 2 tablespoons.)Nutrition
Want more recipes?
Check out my recipe box where you can browse by season, diet, and flavor!







Ryan
The texture is amazing!! I put mine on fresh fruit.
[email protected]
So glad you enjoyed!! xo Mariah