Chocolate Covered Apple Pops are a healthy and easy recipe that you can enjoy year-round! They're easily customizable and great for kids or adults!

Disclaimer: Some of the links in this post are affiliate links, which means I earn a commission if you choose to purchase through qualifying links.
Jump to:
Why You'll Love This Recipe
Fun
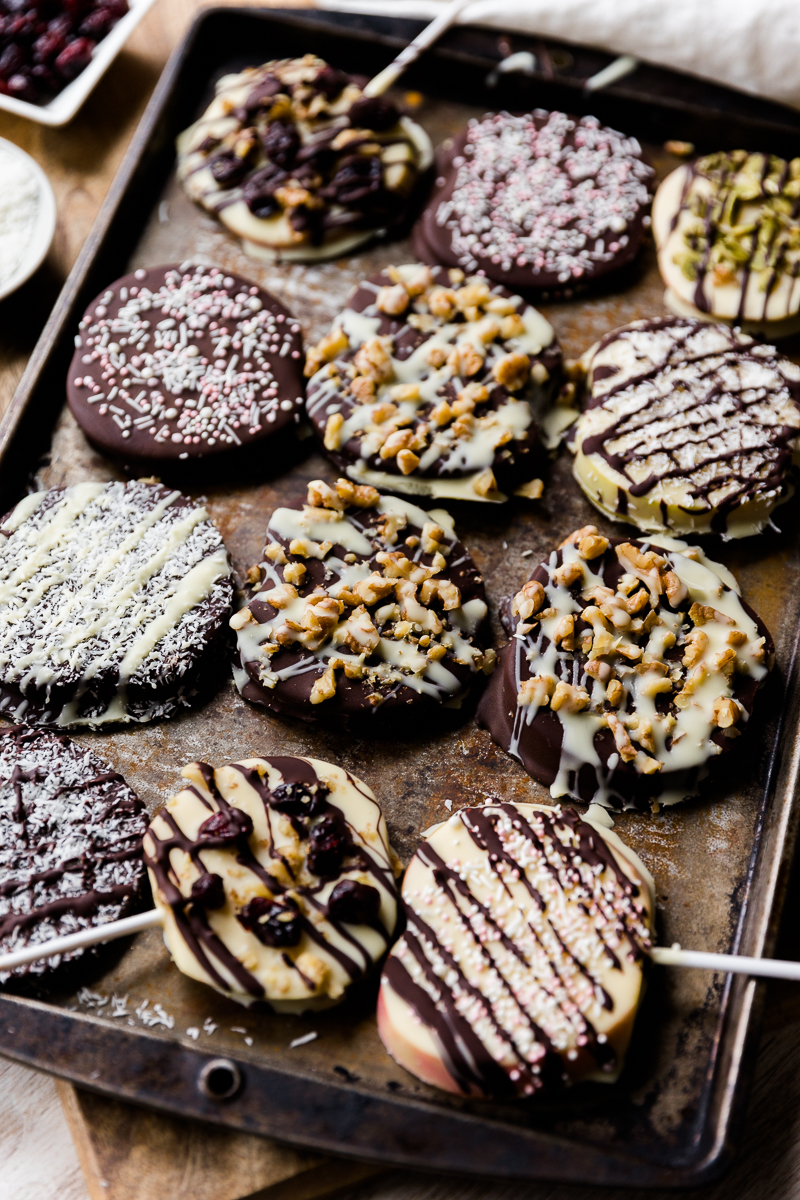
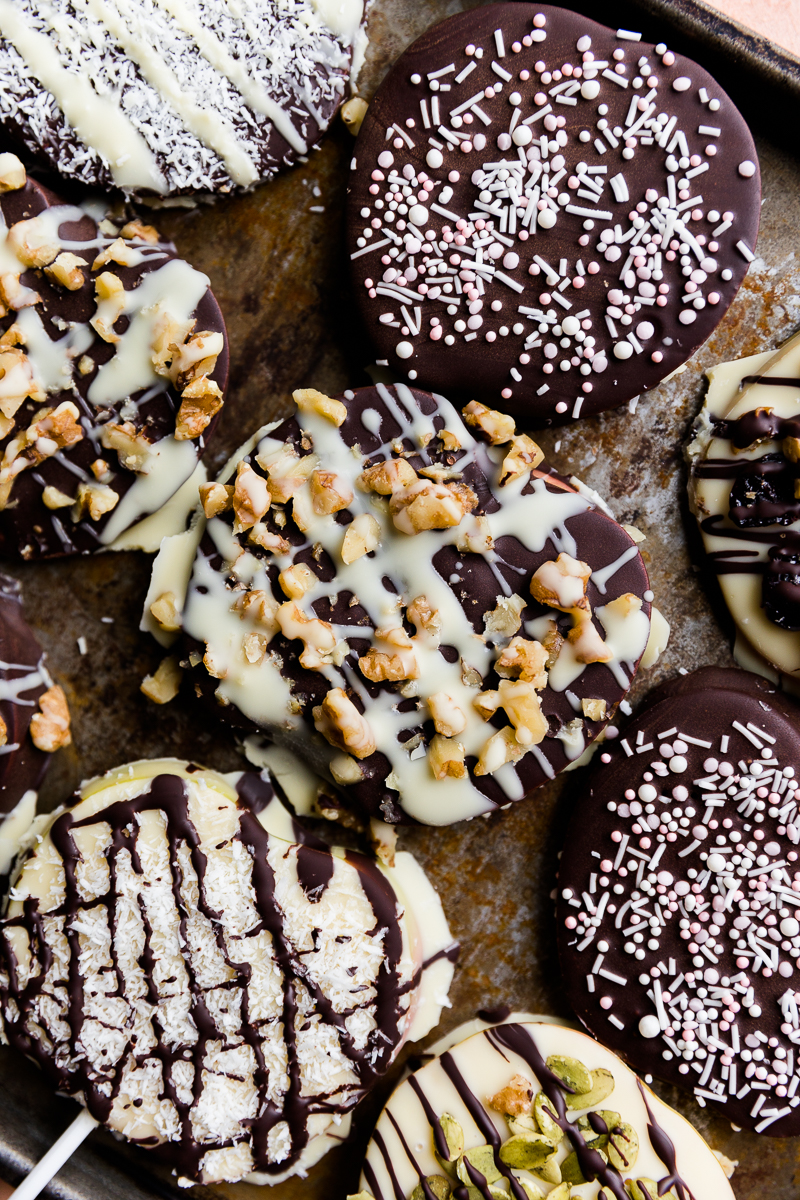
Chocolate covered apple slices are so much FUN to make! You can easily customize with your favorite healthy toppings like shredded coconut, chopped nuts, dried fruit, or naturally dyed sprinkles.
Healthy
Chocolate apples are a lighter dessert or snack that is lower in sugar and naturally gluten-free. I also like using my favorite dairy-free, soy-free, and vegan chocolate to keep them allergy friendly!
The nutritional information will vary depending on what type of chocolate and toppings you use.
Kid Friendly
You can serve them on a snack board or make them more kid friendly by adding plastic cake pop sticks or wooden popsicle sticks. Apple pops are easy for kids to eat on their own and can be enjoyed as a dessert or after school snack!
🍴Ingredient Notes

- Honeycrisp Apples - I like using Honeycrisp apples because they are firm and hold together well. They're also a sweeter variety!
- Dark Chocolate - Any dark chocolate or milk chocolate will work with this recipe! My favorite dairy-free chocolate brands are Pascha and Hu Kitchen.
- White Chocolate - My favorite dairy-free and soy-free white chocolate is by the brand Pascha.
- Toppings - I like used a combination of pumpkin seeds, shredded coconut, dried cranberries, raw walnuts, and naturally dyed sprinkles. Feel free to use whatever you have on hand!
Recipe Variations
- Create apple "donuts" by using a cutout or knife to make a small hole in the center of the apple slice. I suggest cutting the slices a little thicker too!
- Spread peanut butter, homemade caramel, or yogurt on one side of the apple slices before dipping in chocolate.
- Switch up the flavor profile by using different apple varieties! Granny Smith, Gala, Fuji, or Honeycrisp are all great choices.
- Use different colored sprinkles to customize for special events or holiday! Chocolate covered apples are a great Valentine's Day, Birthday, or Halloween treat.
Pro Tip: For a delicious homemade party favor, cover each apple pop with plastic and secure with a ribbon!
🍴Step by Step Instructions
Step 1: Cut Apples
Start by cutting apples into about ¼-inch slices. You can either avoid the apple core or cut it out to create more of an apple donut look!

Step 2: Dry Apple Slices
Next, pat apples dry with paper towels and place on a parchment paper-lined baking sheet or cutting board. This will ensure that the chocolate will stick.
Step 3: Add Popsicle Sticks
You can leave the apple slices as is or use wooden sticks or cake pop sticks to create "apple pops." Just carefully press the stick into the base of each apple slice.

Step 4: Melt Chocolate
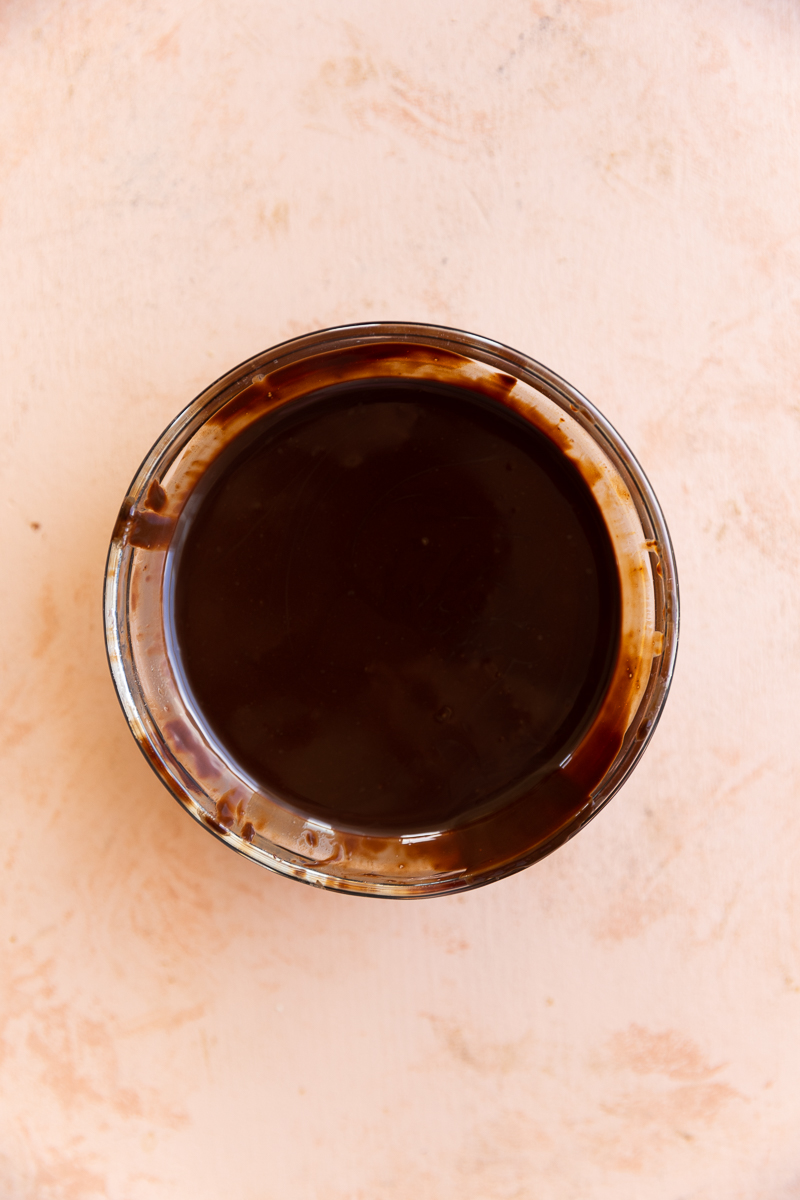
Then, add the dark chocolate chips and white chocolate chips into small bowls with one teaspoon of coconut oil. Microwave in 30 second increments until you reach a smooth texture.
Step 6: Dip Apples
Line up all of your apple pop toppings and melted chocolate bowls so you can easily and quickly decorate the chocolate covered apples.
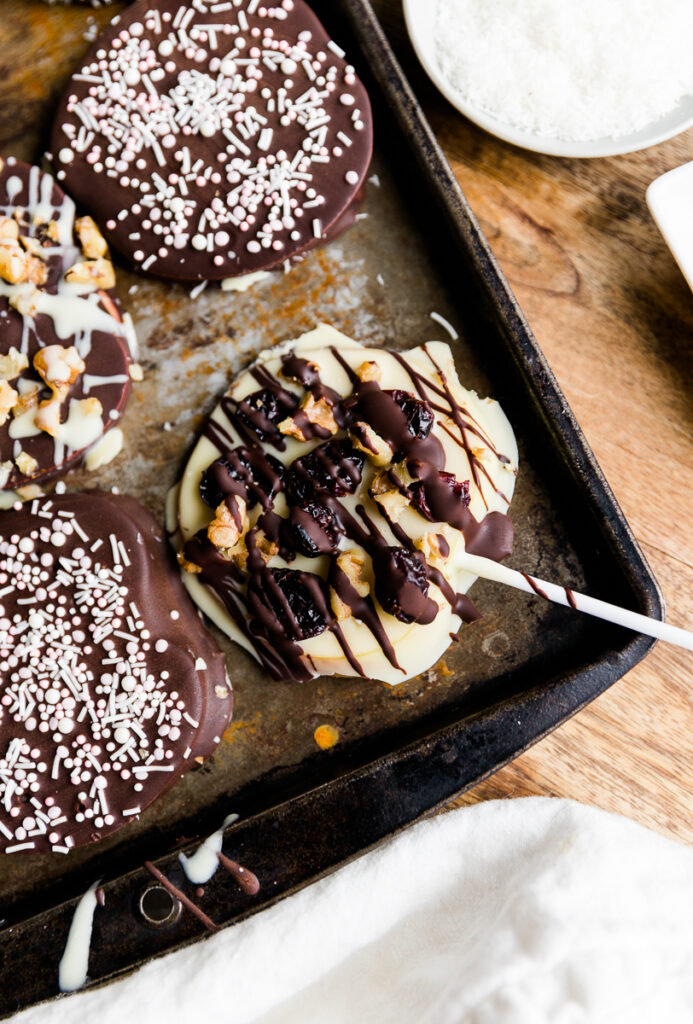
Dip apple slices into the melted chocolate with a fork. (Or hold onto the wooden or plastic stick.) Let the excess chocolate drip off and place on a parchment paper lined baking tray.
Add desired toppings before the chocolate hardens. Repeat until all apple slices are covered.


Step 7: Drizzle Chocolate
To finish, drizzle an extra layer of chocolate onto each apple slice. I like to use a white chocolate drizzle for dark chocolate apple slices and vice versa.
Store decorated apple slices in the refrigerator until you're ready to enjoy!
Expert Tips
- Make sure you pat dry the apple slices with a paper towel, so the melted chocolate sticks easily.
- Add the toppings right after dipping the apple slice because the chocolate will harden quickly. (Especially if you're using chilled apples.)
- Let the apple slices set in the refrigerator for about 30 minutes before serving.
- To ensure there are no apple leftovers, slice the entire apple and use a knife to cut out the core.
- Because you're not peeling the apples, I recommend cleaning the apples before cutting into them! For a healthy fruit wash, check out my simple Apple Cider Vinegar Fruit Wash.
If you love chocolate covered fruit, check out my Chocolate Covered Clementines or my Matcha White Chocolate Covered Strawberries!
How to store leftovers
They are best served the day of, but you can store leftover chocolate covered apple slices in an airtight container in the refrigerator for about 3-4 days. Do not store them at room temperature.
More fruity recipes!
After you make these Chocolate Covered Apple Pops, make sure to leave a comment & rate the recipe!
Recipe Card

Easy & Healthy Chocolate Covered Apple Pops Recipe
Equipment
- Baking Tray
Ingredients
- 4 Honeycrisp Apples
- 1 Cup Dark Chocolate
- 1 Cup White Chocolate
- ¼ Cup Pumpkin Seeds
- ¼ Cup Shredded Coconut
- ¼ Cup Dried Cranberries
- ¼ Cup Raw Walnuts Feel free to swap for any raw nut.
- 2 Tablespoons Sprinkles I like using naturally Supernatural naturally dyed sprinkles.
- 2 Teaspoons Coconut Oil Add a teaspoon into the white chocolate and dark chocolate to create a smooth consistency.
Instructions
Preparing Apple Slices
- Start by cutting apples into about ¼ inch thick slices. You can either avoid the apple core or cut it out to create more of an apple donut look!
- Next, pat apples dry with a paper towel or dish towel and place on a parchment paper lined baking sheet or cutting board. This will ensure that the chocolate will stick.
- You can leave the apple slices as is or use wooden sticks or cake pop sticks to create "apple pops." Just carefully press the stick into the base of each apple slice.
Chocolate & Toppings
- Then, add the dark chocolate and white chocolate into small bowls with one teaspoon of coconut oil. Microwave in 30 second increments until you reach a smooth texture.
- Line up all of your apple pop toppings and melted chocolate bowls so you can easily and quickly decorate the chocolate covered apples.
- Dip apple slices into the melted chocolate with a fork. (Or hold onto the wooden or plastic stick.) Let the excess chocolate drip off and place on parchment paper. Top with desired toppings before the chocolate hardens. Repeat until all apple slices are covered.
- To finish, drizzle an extra layer of chocolate onto each apple slice. I like to use a white chocolate drizzle for dark chocolate apple slices and vice versa. Store in the refrigerator until you're ready to enjoy!
Notes
Expert Tips
- Make sure you pat dry the apple slices with a paper towel, so the melted chocolate sticks easily.
- Add the toppings right after dipping the apple slice because the chocolate will harden quickly. (Especially if you're using chilled apples.)
- Let the apple slices set in the refrigerator for about 30 minutes before serving.
- To ensure there are no apple leftovers, slice the entire apple and use a knife to cut out the core.
- Because you're not peeling the apples, I recommend cleaning the apples before cutting into them! For a healthy fruit wash, check out my simple Apple Cider Vinegar Fruit Wash.
How to Store Leftovers
They are best served the day of, but you can store leftover chocolate covered apple slices in an airtight container in the refrigerator for about 3-4 days. Do not store them at room temperature. ** See full post for more helpful tips & step by step process pictures.Nutrition
Want more recipes?
Check out my recipe box where you can browse by season, diet, and flavor!


Comments
No Comments