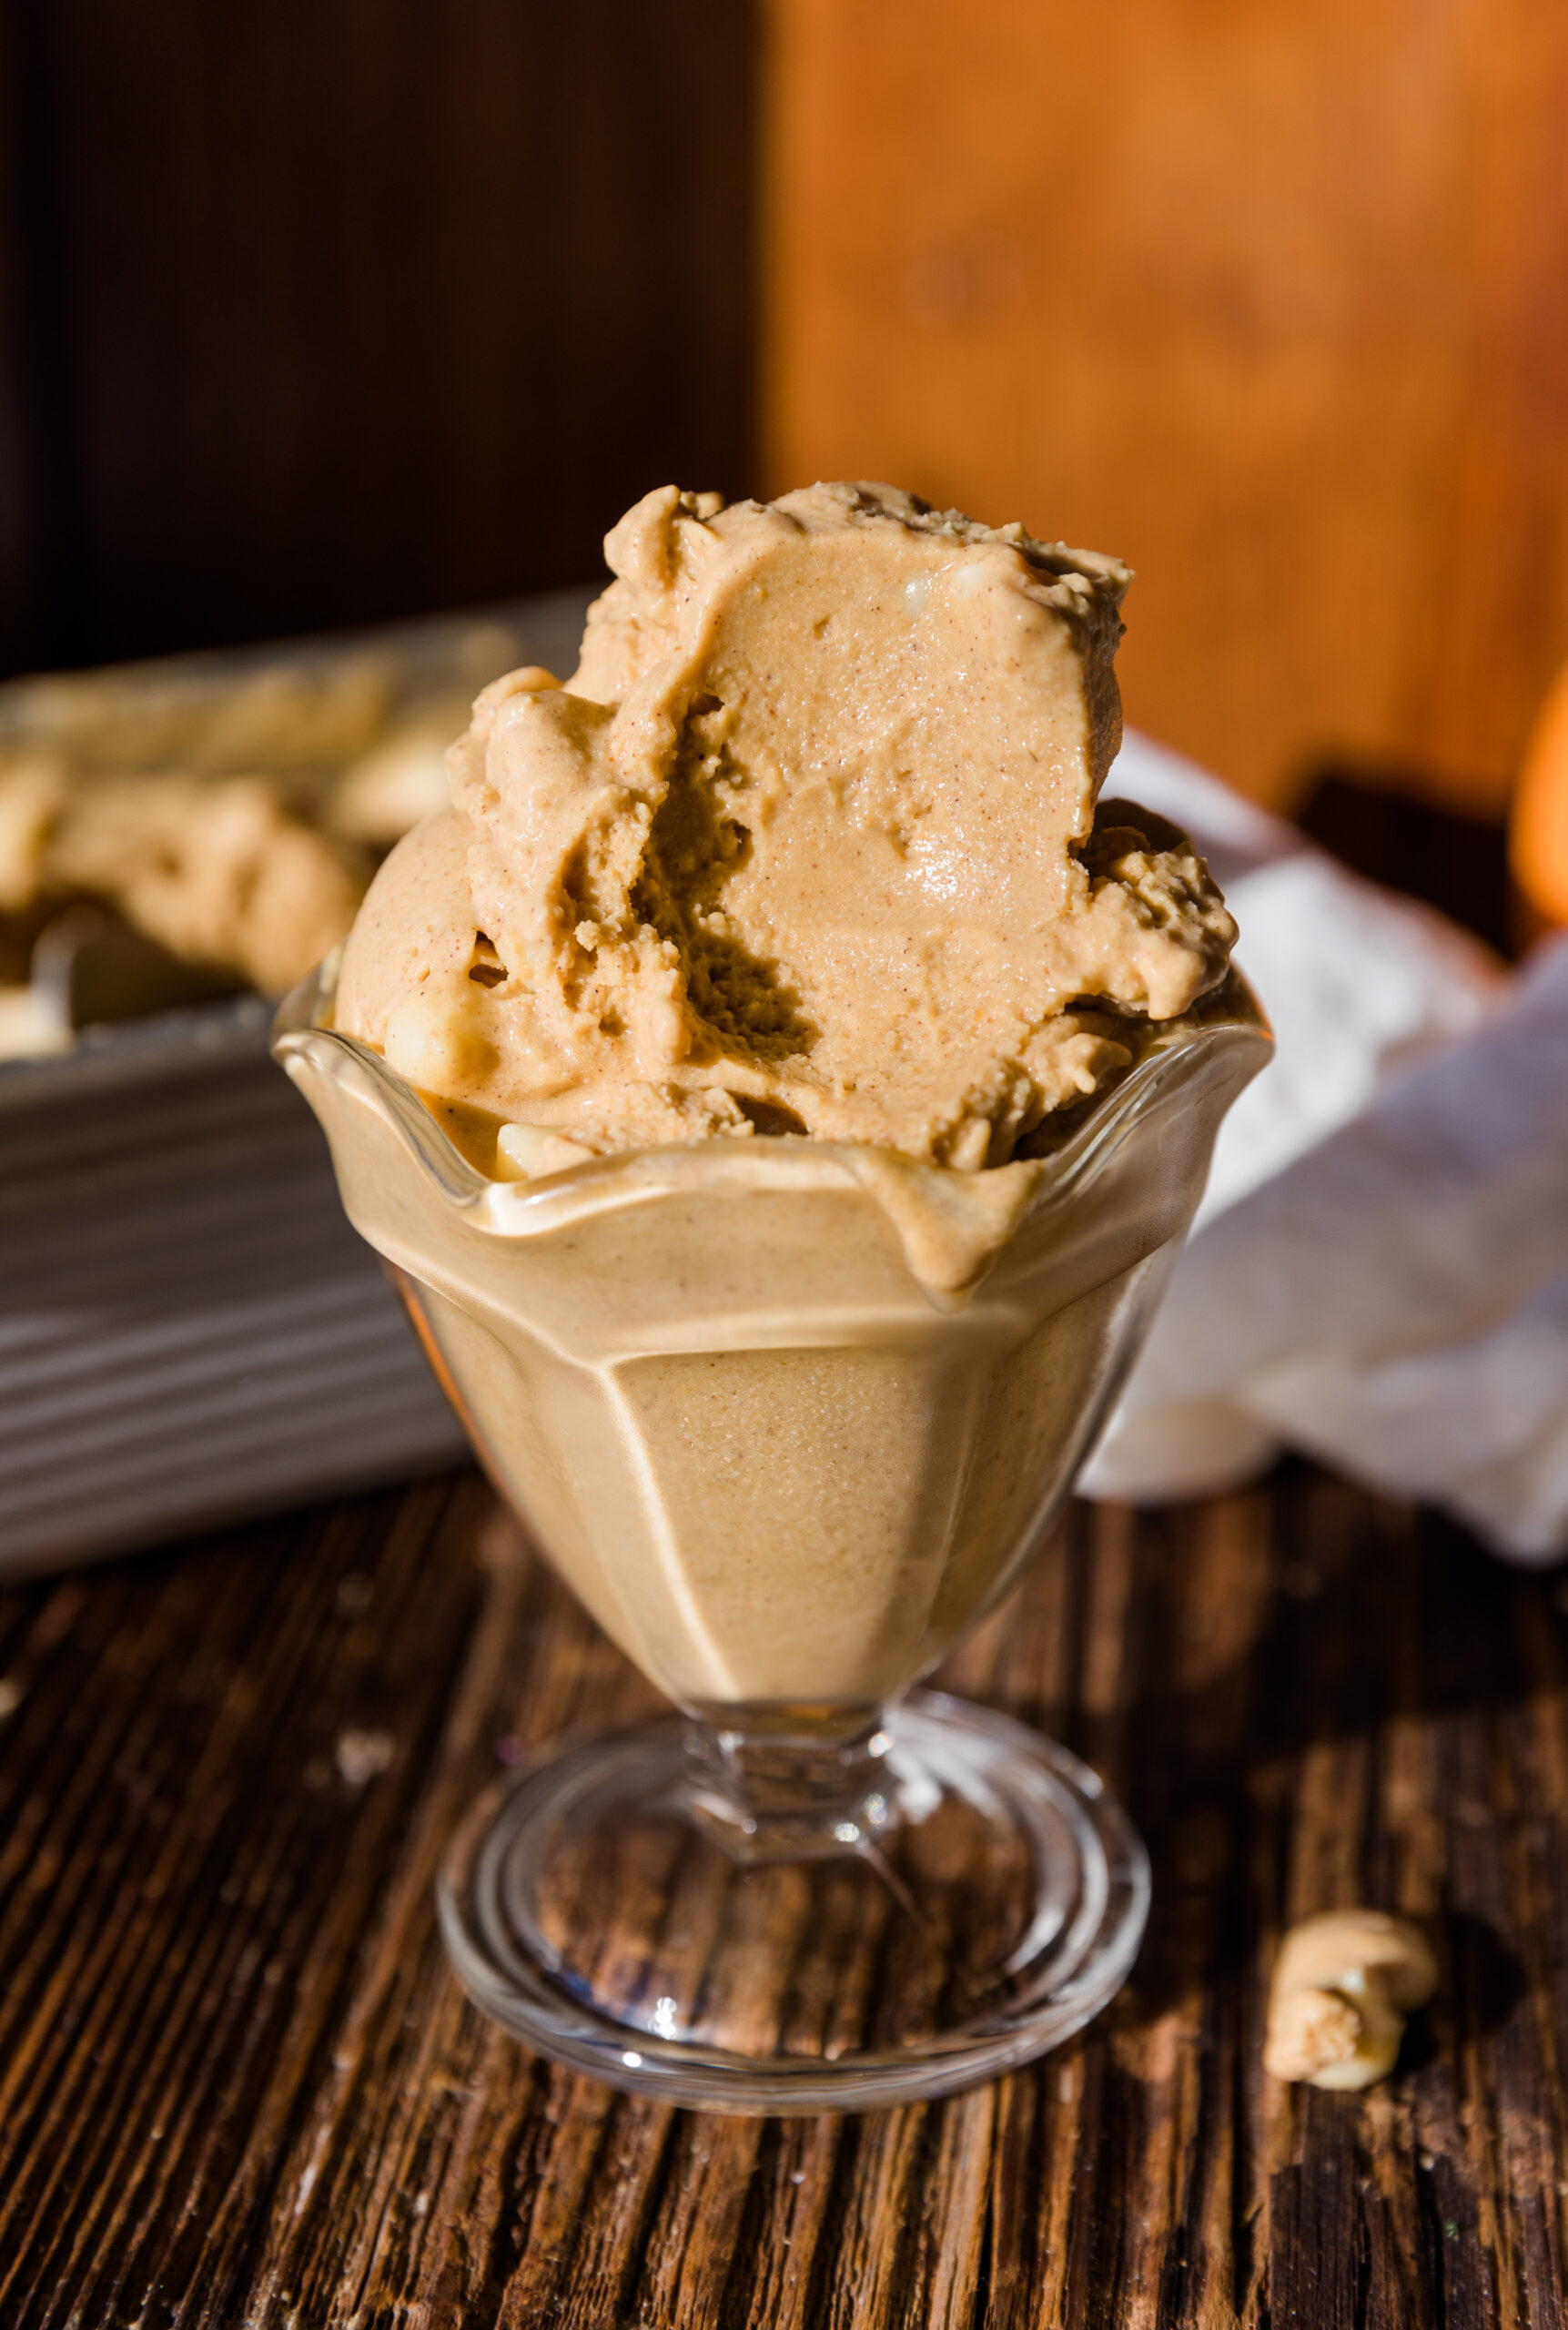
Vegan Pumpkin Ice Cream is a simple and easy recipe to enjoy in the fall! It's sweet, creamy, and has the perfect touch of warming spices.
Disclaimer: Some of the links in this post are affiliate links, which means I earn a commission if you choose to purchase through qualifying links.
Jump to:
Why You'll Love This Recipe
This Vegan Pumpkin Spice Ice Cream is made with real pumpkin puree and has the perfect touch of warming spices. It’s smooth, creamy, and tastes like fall in every bite.
To give this dairy free ice cream a creamy texture, the base of this recipe is made with creamy coconut milk and raw cashews. After a quick churn in the ice cream maker, it comes out so light and fluffy!
This delicious pumpkin ice cream will quickly become a seasonal favorite for both vegans and non-vegans alike! And with only a few simple ingredients, it's much healthier than anything you'll find in the grocery store!
If you love homemade ice cream like this, try my Dairy-Free Salted Caramel Ice Cream, Dairy-Free Coffee Ice Cream, or my Dairy Free Chocolate Ice Cream!
🍴Ingredient Notes

- Full Fat Coconut Milk - For a creamy consistency, I love using full-fat coconut milk as a dairy free alternative to heavy cream or milk. I like the brand Native Forest because it does not contain guar gum.
- Pumpkin Puree - Any unsweetened pumpkin puree will work with this recipe. (Make sure it's not canned pumpkin pie filling.)
- Sweetener - For this recipe I used a combination of coconut sugar and maple syrup to achieve the perfect pumpkin spice flavor.
- Raw Cashews - To give the ice cream a thicker texture, I love adding in raw cashews. You do NOT need to soak them!
- Spices - You'll need a combination of pumpkin spice seasoning and cinnamon for the perfect fall flavor.
- Vanilla Extract - To give the ice cream a rich flavor, I love adding in some quality vanilla extract.
- Salt - A pinch of salt brings all the flavors together.
🍴Step by Step Instructions
Step 1: Blend Ice Cream Mixture
Add all of the ingredients into a high speed blender. Blend on high for about 1 minute or until it's a smooth and creamy consistency.
Then blend on low for 15-20 seconds to remove any bubbles or froth from the top of the mixture.


Step 2: Churn Ice Cream
Pour the creamy ice cream mixture into an ice cream maker and churn for 20-25 minutes.


Step 3: Transfer to Container
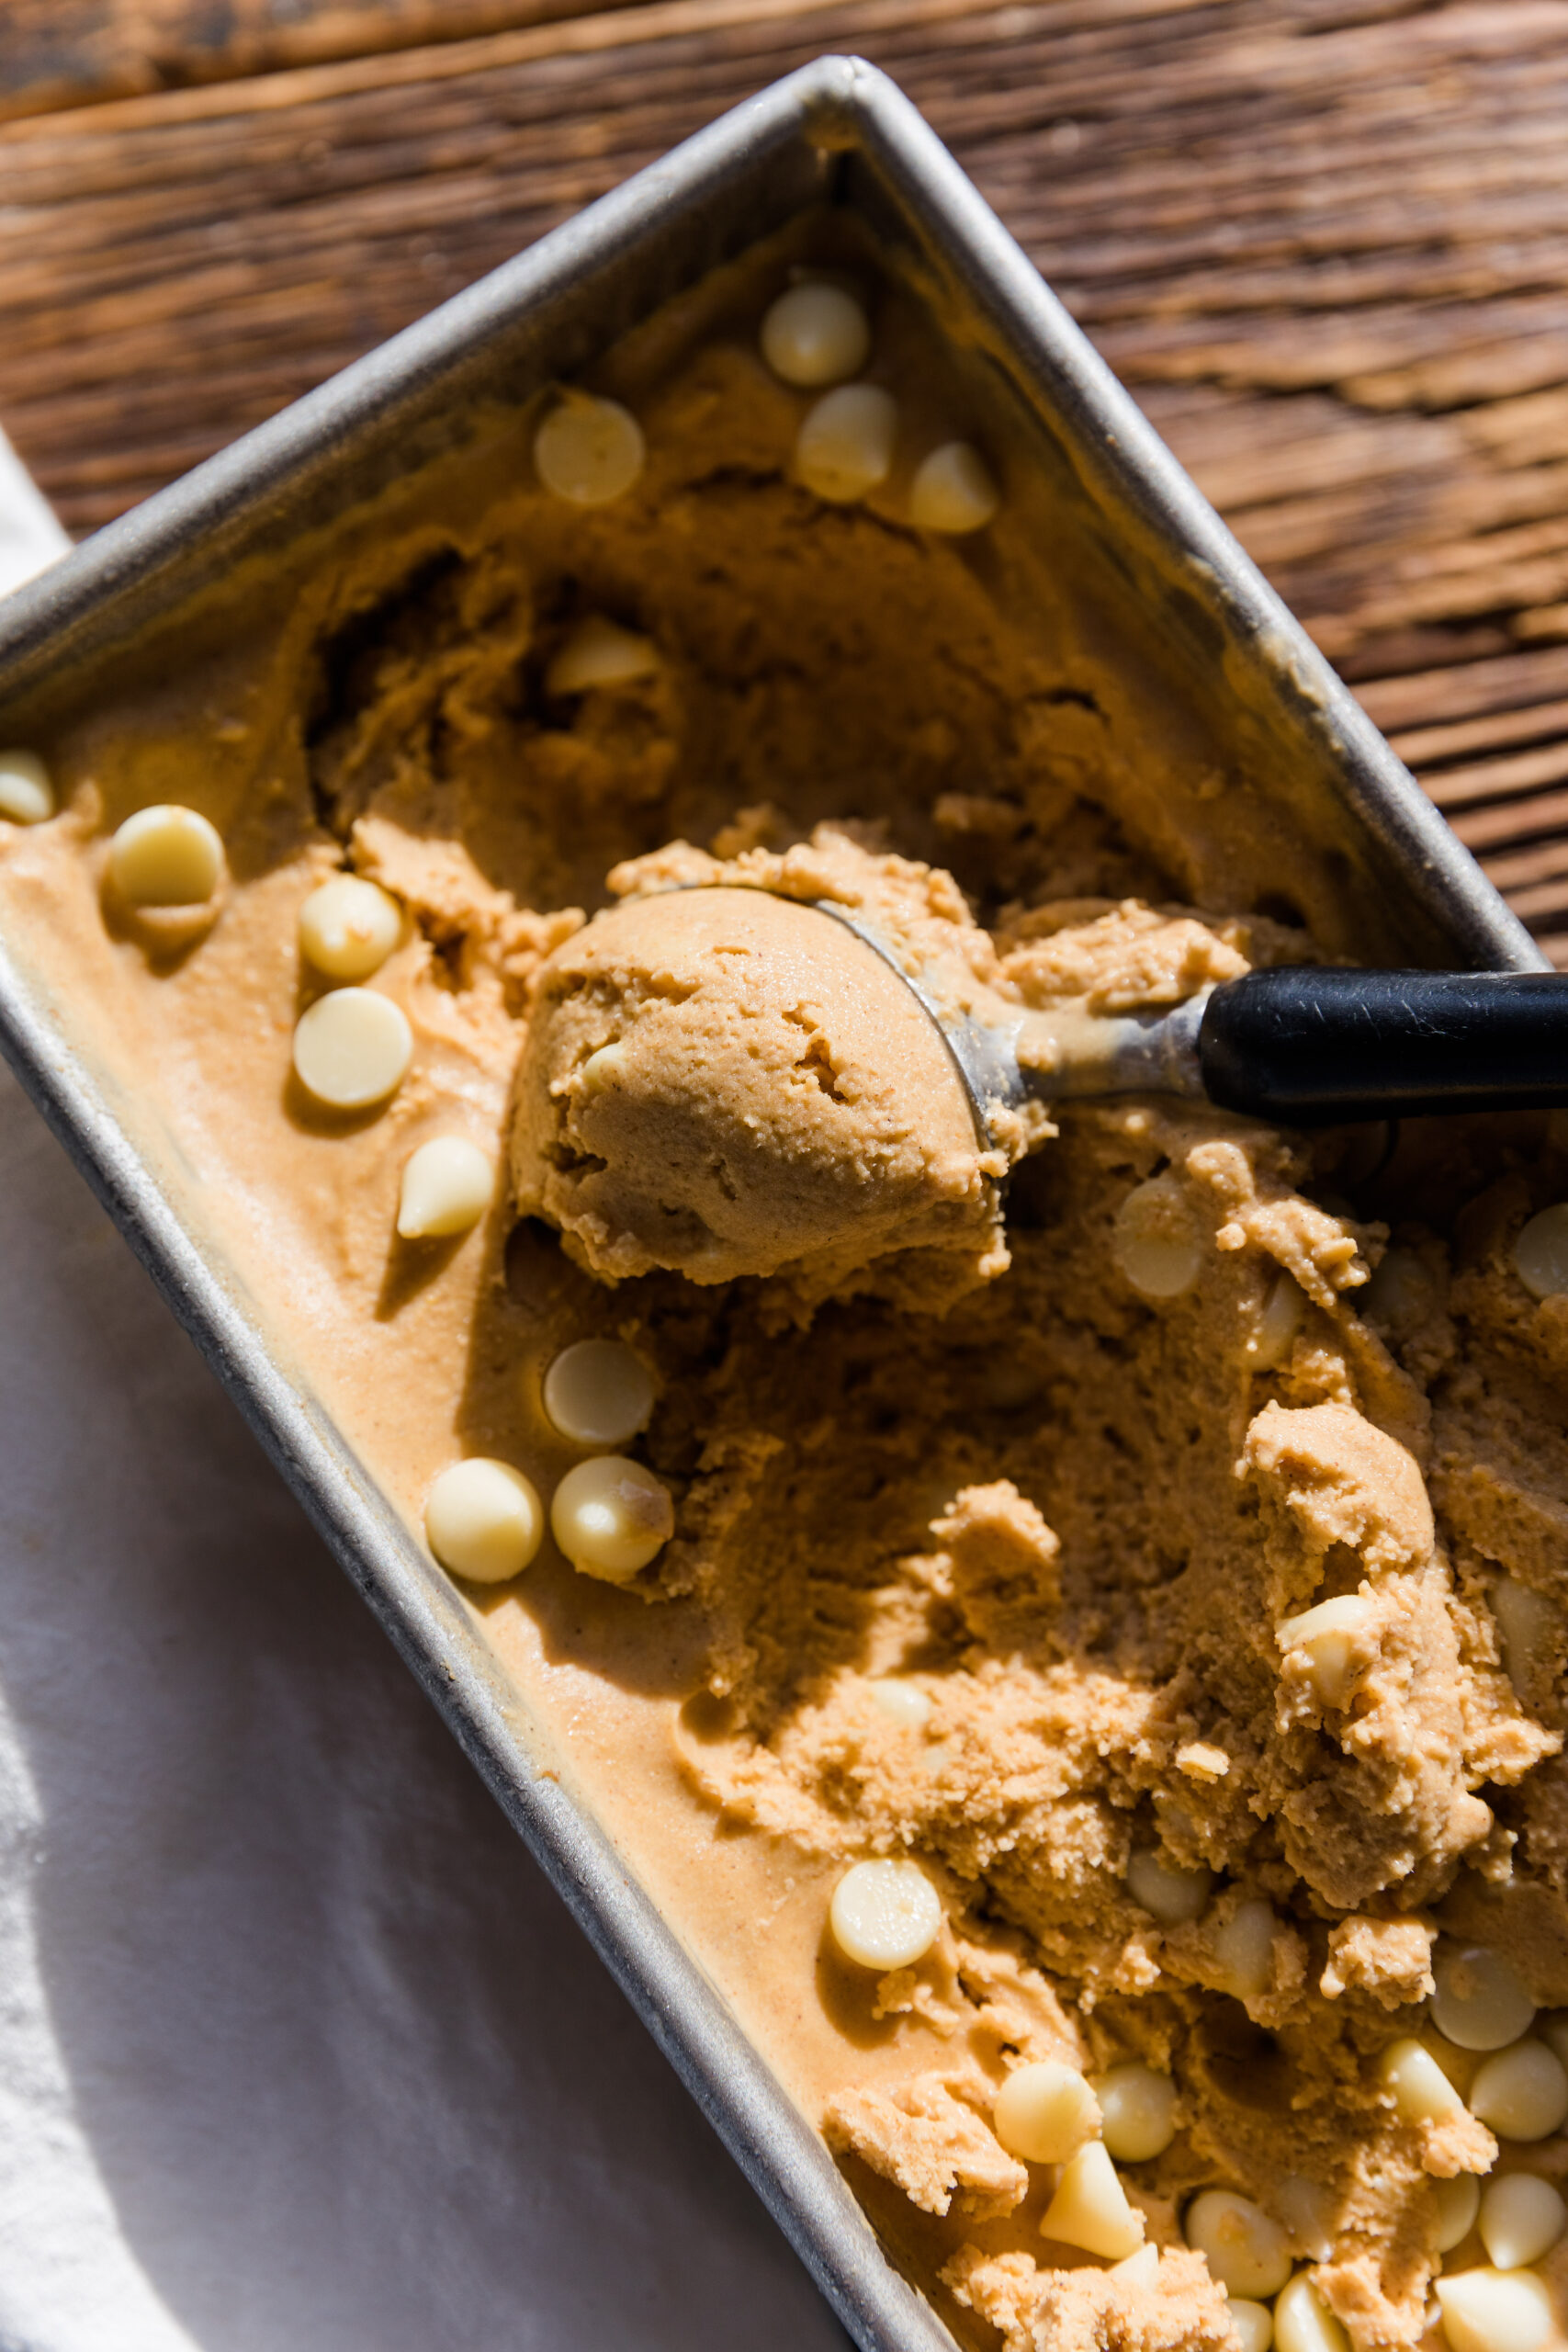
Once the ice cream is thick and creamy, transfer into a loaf pan or freezer safe container. Freeze for 30-60 minutes for a firmer consistency.
Optional, fold in white chocolate chips or sprinkle them on top.

Expert Tips
- When it comes out of the ice cream maker it has more of a soft-serve consistency, but you can transfer it into a container and freeze for 30-60 minutes for a firmer consistency.
- The ice cream base for the Cuisinart Ice Cream Maker must be stored in the freezer for 24 hours prior to making the ice cream.
- On a hot summer day this ice cream will melt quickly once removed from the ice cream maker. I recommend freezing longer so it can harden before scooping.
- For best results, I recommend using an electric ice cream maker, but you can use a no churn method by freezing the mixture for 6-8 hours or overnight.
- Run the ice cream scooper under hot water then dry off before scooping. This will create a smooth scooping experience.
Helpful Kitchen Tools
Ice Cream Maker
For this recipe, I used the Cuisinart Ice Cream Maker which works great! My husband and I have been using this ice cream maker for years.
You can use it for dairy-free ice cream or traditional dairy ice cream recipes
Blender
To create a smooth and creamy consistency, I recommend using a high speed blender.
I have the Vitamix A3300 Ascent Series Smart Blender and it's my most used appliance in the kitchen.
Ice Cream Scoop
To achieve the perfect ice cream scoop, I suggest using an ice cream scooper instead of a spoon.

Ice Cream Toppings & Mix In's
If you're planning on churning in an ingredient like chocolate chips, don't pour it into the ice cream machine until the last minute.
You can also fold it in with a spatula once the ice cream has finished churning or sprinkle them on top of the ice cream before freezing.
- White Chocolate Chips
- Dairy Free Caramel Sauce
- Dark Chocolate Bar, Roughly Chopped
- Candied Pecans
- Banana Slices
- Chopped Nuts
- Melted Chocolate - Melt chocolate chips with a little coconut oil to create your own chocolate sauce! (AKA magic shell!) Pour over ice cream and watch it instantly freeze!
- Coconut Whipped Cream - My homemade recipe is so easy!
Another fun way to enjoy this ice cream on a chillier fall day is by pouring hot coffee over the ice cream! (Like an Italian Affogato.) It's absolutely delicious!
How to store leftovers
Store leftover ice cream in an airtight container freezer-safe container. If the container does not have a cover, it will get freezer burn.
Leave the ice cream at room temperature for about 5-10 minutes before serving. Because of the cashews and full fat coconut milk, it does maintain a pretty soft texture even after freezing overnight.
More Dairy-Free Ice Cream Recipes!


After you make this Creamy Pumpkin Ice Cream, make sure to leave a comment & rate the recipe!
Recipe Card

Creamy Vegan Pumpkin Ice Cream Recipe
Equipment
- 1 Ice Cream Maker I used the 1.5 quart Cuisinart Ice Cream Maker.
Ingredients
- 27 Ounces Full Fat Coconut Milk Two 13.5 ounce cans of full fat coconut milk
- ½ Cup Pumpkin Puree
- ½ Cup Coconut Sugar
- ¼ Cup Raw Cashews
- 2 Teaspoons Pumpkin Spice
- 1 Teaspoon Cinnamon
- 1+½ Tablespoons Vanilla Extract
- 2 Tablespoons Maple Syrup
- ½ Teaspoon Salt
Instructions
- Add all of the ingredients into a high speed blender. Blend on high for about 1 minute or until it's a smooth and creamy consistency. Then blend on low for 15-20 seconds to remove any bubbles or froth from the top of the mixture.
- Pour the creamy ice cream mixture into an ice cream maker and churn for 20-25 minutes.
- Once the ice cream is thick and creamy, transfer into a loaf pan or freezer safe container. Freeze for 30-60 minutes for a firmer consistency. Optional, fold in white chocolate chips.
Notes
Expert Tips
- When it comes out of the ice cream maker it has more of a soft-serve consistency, but you can transfer it into a container and freeze for 30-60 minutes for a firmer consistency.
- The ice cream base for the Cuisinart Ice Cream Maker must be stored in the freezer for 24 hours prior to making the ice cream.
- On a hot summer day this ice cream will melt quickly once removed from the ice cream maker. I recommend freezing longer so it can harden before scooping.
- For best results, I recommend using an electric ice cream maker, but you can use a no churn method by freezing the mixture for 6-8 hours or overnight.
- Run the ice cream scooper under hot water then dry off before scooping. This will create a smooth scooping experience.
How to Store Leftovers
Store leftover ice cream in an airtight container freezer-safe container. If the container does not have a cover, it will get freezer burn. Leave the ice cream at room temperature for about 5-10 minutes before serving. Because of the cashews and full fat coconut milk, it does maintain a pretty soft texture even after freezing overnight. ** See full post for more information and step by step photos!Nutrition
Want more recipes?
Check out my recipe box where you can browse by season, diet, and flavor!


Comments
No Comments