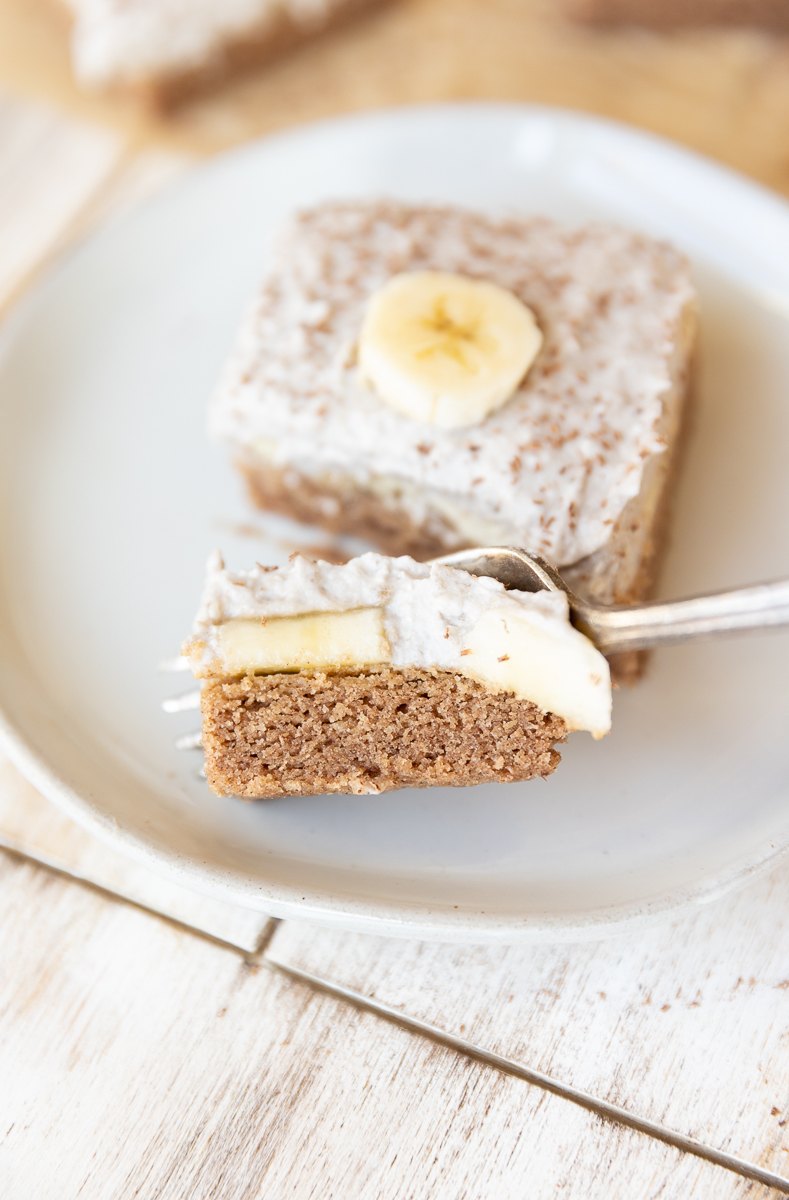
Gluten-Free Banana Cream Pie Bars have a soft cakey crust topped with fresh bananas and coconut whipped cream. They are the perfect dessert to enjoy throughout the holiday season!
Jump to:
Disclaimer: Some of the links in this post are affiliate links, which means I make a small commission if you choose to purchase through qualifying links.
Why you'll love this recipe!
- Easy to make & easy to serve.
- Paleo friendly, Gluten-Free, Dairy-Free, and refined sugar free.
- Not too sweet.
- Light & refreshing.
- Versatile - you can easily customize this recipe with different toppings!
- Great for special occasions!
🍴Ingredient Notes

- Almond Flour - My favorite almond flour brands are Bob’s Red Mill, and Blue Diamond. Both have a finely ground blend that doesn’t come out clumpy!
- Egg - I have not tested this recipe with an egg replacement.
- Maple Syrup - It's important to use maple syrup, or honey for the base. The liquid sweetener is necessary for the crust texture.
- Coconut Oil - Measure the coconut oil first, and then melt it.
- Vanilla Extract - Just a splash adds an extra layer of flavor to the crust.
- Ripe Bananas - Any bananas will work, but the riper they are, the sweeter they will be.
- Full Fat Coconut Milk - Make sure the can is COLD. Refrigerate for at least 24 hours before whipping. You will only be using the thick part that rises to the top of the can.
🍴Step by Step Instructions
Step 1: Mix Dry Ingredients
Start by adding almond flour, cinnamon, salt, and baking soda into a small bowl. Use a whisk or fork to blend until fully combined.

Step 2: Mix Wet Ingredients
In a separate bowl add the egg, maple syrup, melted coconut oil, and vanilla extract. Blend with a hand mixer or whisk.

Step 3: Fold Together
Combine the wet and dry ingredients until you have a thick, sticky dough.

Step 4: Baking Crust
Finally, grease the baking dish with a non-stick spray, or coconut oil. Press the dough evenly into your square baking dish. If it's too sticky, wet your hands or let the dough chill for 30 minutes. Bake at 350° for 20 minutes.

Step 5: Coconut Whipped Cream
Add one ripe banana into a mixing bowl and whip on high until it's a creamy consistency. Place the bowl into the refrigerator to chill for 15 minutes.
Next, add the THICK part at the top of your coconut cream to the mixing bowl with the mashed banana and vanilla extract. (NO LIQUID.)
Whip with a hand mixer or stand mixer for a few minutes until it thickens up. Add 2 tablespoons of powdered sugar for extra sweetness!

Step 6: Putting it all together
Once the crust has cooled, add one to two layers of ripe banana discs to the crust and top with fresh coconut whipped cream. Refrigerate for at least 4 hours before cutting!


Expert Tips
- In order to whip coconut cream into a thick "whipped cream" consistency, the coconut milk can MUST be super cold. This helps it to thicken up, and also assures that the thick part of the cream will separate to the top. I recommend refrigerating the can for at least 24 hours before using.
- To make your banana whipped cream even sweeter, I like to add 2 tablespoons of Powdered Sugar! (Lakanto is my favorite sugar-free powdered sugar.)
- After you mash the banana in the mixing bowl, let it cool in the fridge. The cooler everything is, the thicker it will whip up.
- I recommend letting the bars set overnight! If you don't have time, prep them in the morning and wait at least 4 hours before serving.

Recipe Variations
- Add fresh fruit on top for a summery touch! I like using blueberries and strawberries. You can also add an extra layer of bananas on top of the cream!
- For a thinner crust, use a larger pan and double the coconut cream recipe.
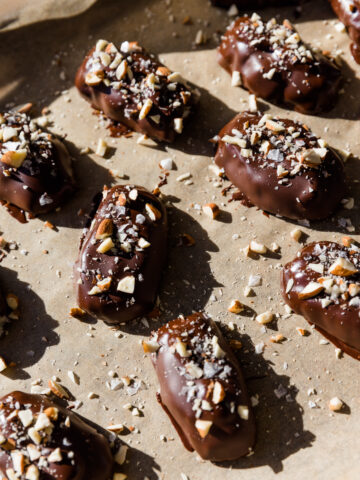
- Top each bar with grated chocolate or a dusting of cacao powder.
- Drizzle the crust layer with melted chocolate before adding the fresh bananas and coconut whipped cream.
- Add chopped walnuts on top for a little crunch.
- Sprinkle each bar with cinnamon for a fall twist.
- For a lighter cream topping, do not add the mashed banana.
How to store leftover bars
You can store leftovers in the baking dish with a wrap or cover on top. You can also pre-slice them and store the bars in an airtight glass container. Refrigerate for up to 5 days!
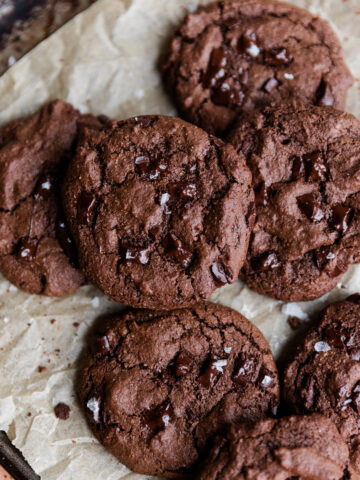
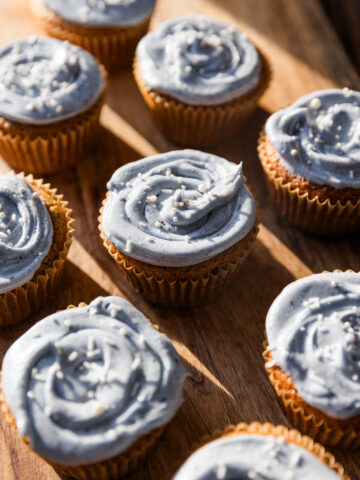
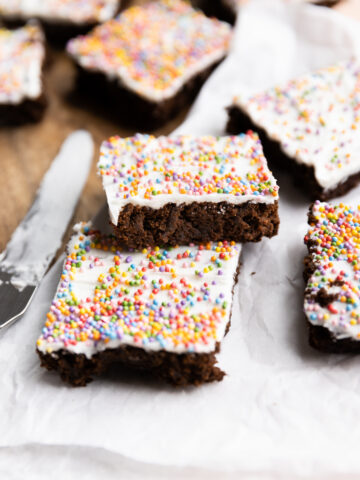
More Almond Flour Recipes!


After you make these Banana Cream Pie Bars, make sure to leave a comment & rate the recipe!
Recipe Card

Gluten-Free Banana Cream Pie Bars
Equipment
- Hand Mixer or Stand Mixer
- Spatula
Ingredients
Dry Ingredients
- 2 Cups Almond Flour
- 1 Teaspoon Cinnamon
- ½ Teaspoon Baking Soda
- ¼ Teaspoon Salt
Wet Ingredients
- 1 Egg
- 3 Tablespoons Maple Syrup
- 1 Tablespoon Coconut Oil, Melted
- 1 Teaspoon Vanilla Extract
Top Layer
- 3 Large Ripe Bananas
- 13.5 Ounces Full Fat Coconut Milk Make sure the can is COLD. Refrigerate for at least 24 hours before whipping.
- 1 Teaspoon Vanilla Extract
Instructions
Pie Crust
- Start by adding almond flour, cinnamon, salt, and baking soda into a small bowl. Use a whisk or fork to blend until fully combined.
- In a separate bowl add the egg, maple syrup, melted coconut oil, and vanilla extract. Blend with a hand mixer or whisk.
- Combine the wet and dry ingredients until you have a thick, sticky dough.
- Finally, grease the baking dish with a non-stick spray, or coconut oil. Press the dough evenly into your square baking dish. If it's too sticky, wet your hands or let the dough chill for 30 minutes. Bake at 350° for 20 minutes.
Coconut Whipped Cream
- Add one ripe banana into a mixing bowl and whip on high until it's a creamy consistency. Place the bowl into the refrigerator to chill for 15 minutes.
- Next, add the THICK part at the top of your coconut cream to the mixing bowl with the mashed banana and vanilla extract. (NO LIQUID.) Whip with a hand mixer or stand mixer for a few minutes until it thickens up. Add 2 tablespoons of powdered sugar for extra sweetness!
Putting it all together
- Once the crust has cooled, add one to two layers of ripe banana discs to the crust and top with fresh coconut whipped cream. Refrigerate for at least 4 hours before cutting!
Notes
Expert Tips
- In order to whip coconut cream into a thick "whipped cream" consistency, the coconut milk can MUST be super cold. This helps it to thicken up, and also assures that the thick part of the cream will separate to the top. I recommend refrigerating the can for at least 24 hours before using.
- To make your banana whipped cream even sweeter, I like to add 2 tablespoons of Powdered Sugar! (Lakanto is my favorite sugar-free powdered sugar.)
- After you mash the banana in the mixing bowl, let it cool in the fridge. The cooler everything is, the thicker it will whip up.
- I recommend letting the bars set overnight! If you don't have time, prep them in the morning and wait at least 4 hours before serving.
How to store leftovers
You can store leftovers in the baking dish with a wrap or cover on top. You can also pre-slice them and store the bars in an airtight glass container. Refrigerate for up to 5 days!Nutrition
Want more recipes?
Check out my recipe box where you can browse by season, diet, and flavor!
Mel
Made them for Thanksgiving and they add an instant hit!!
[email protected]
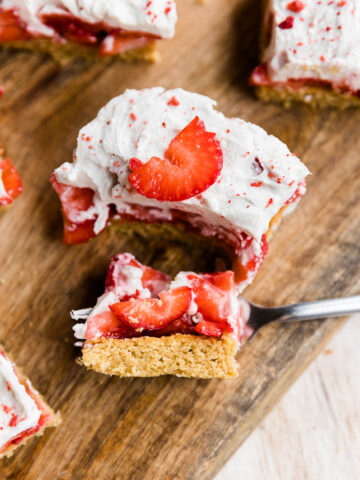
Yayy!! That's amazing! I also have a strawberry cream pie bar that is very similar!
Emily
I am not sure how these worked out for anyone, following the recipe there was not nearly enough liquid. The “batter” mixture was not even moist. I am unsure of how this recipe worked for anyone else?
[email protected]
Hi Emily! I'm sorry the recipe didn't work out for you.. did you swap any ingredients? I've made this recipe quite a few times without any issues! Here's a link to a video on how I make it! https://pin.it/vlseJC5
Nicole
We loved them! The coconut whipped cream is amazing! Added fresh banana slices on top too.
Ryan
Not too sweet - they’re delicious!
Dawn
Would a flax or chia seed egg work in this recipe in place of the egg? I would like to make this for my daughter, who is vegan.