

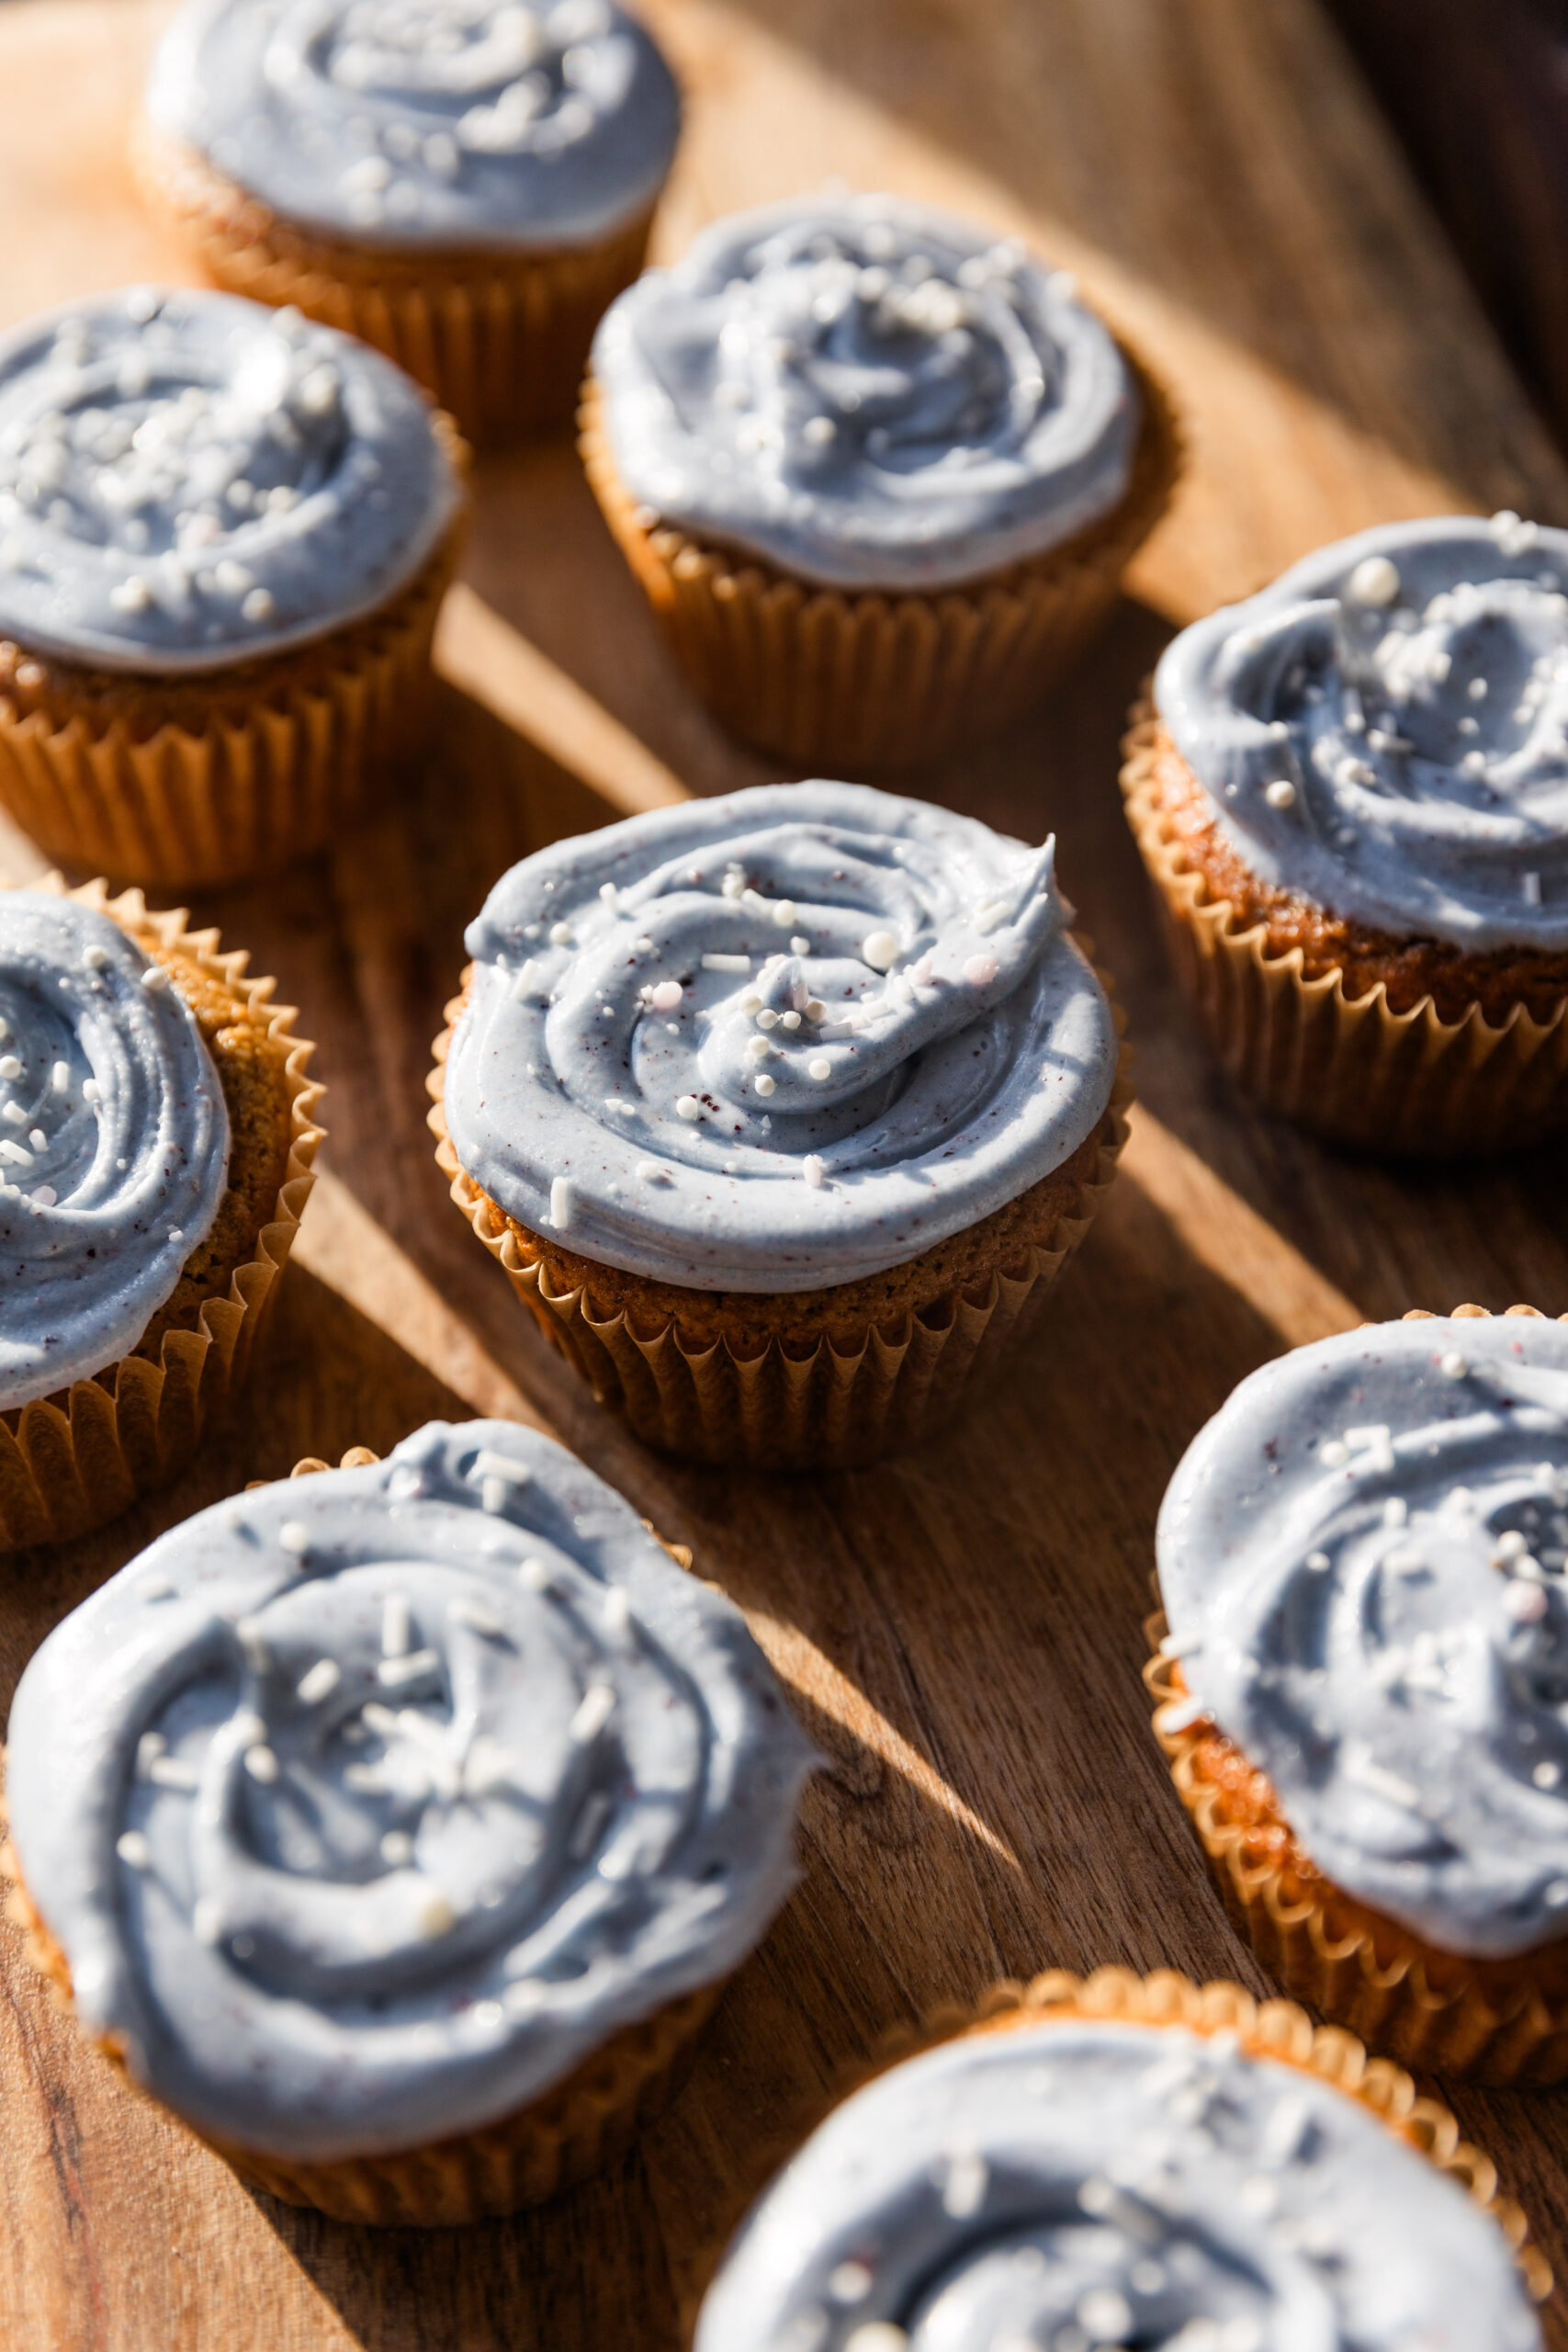
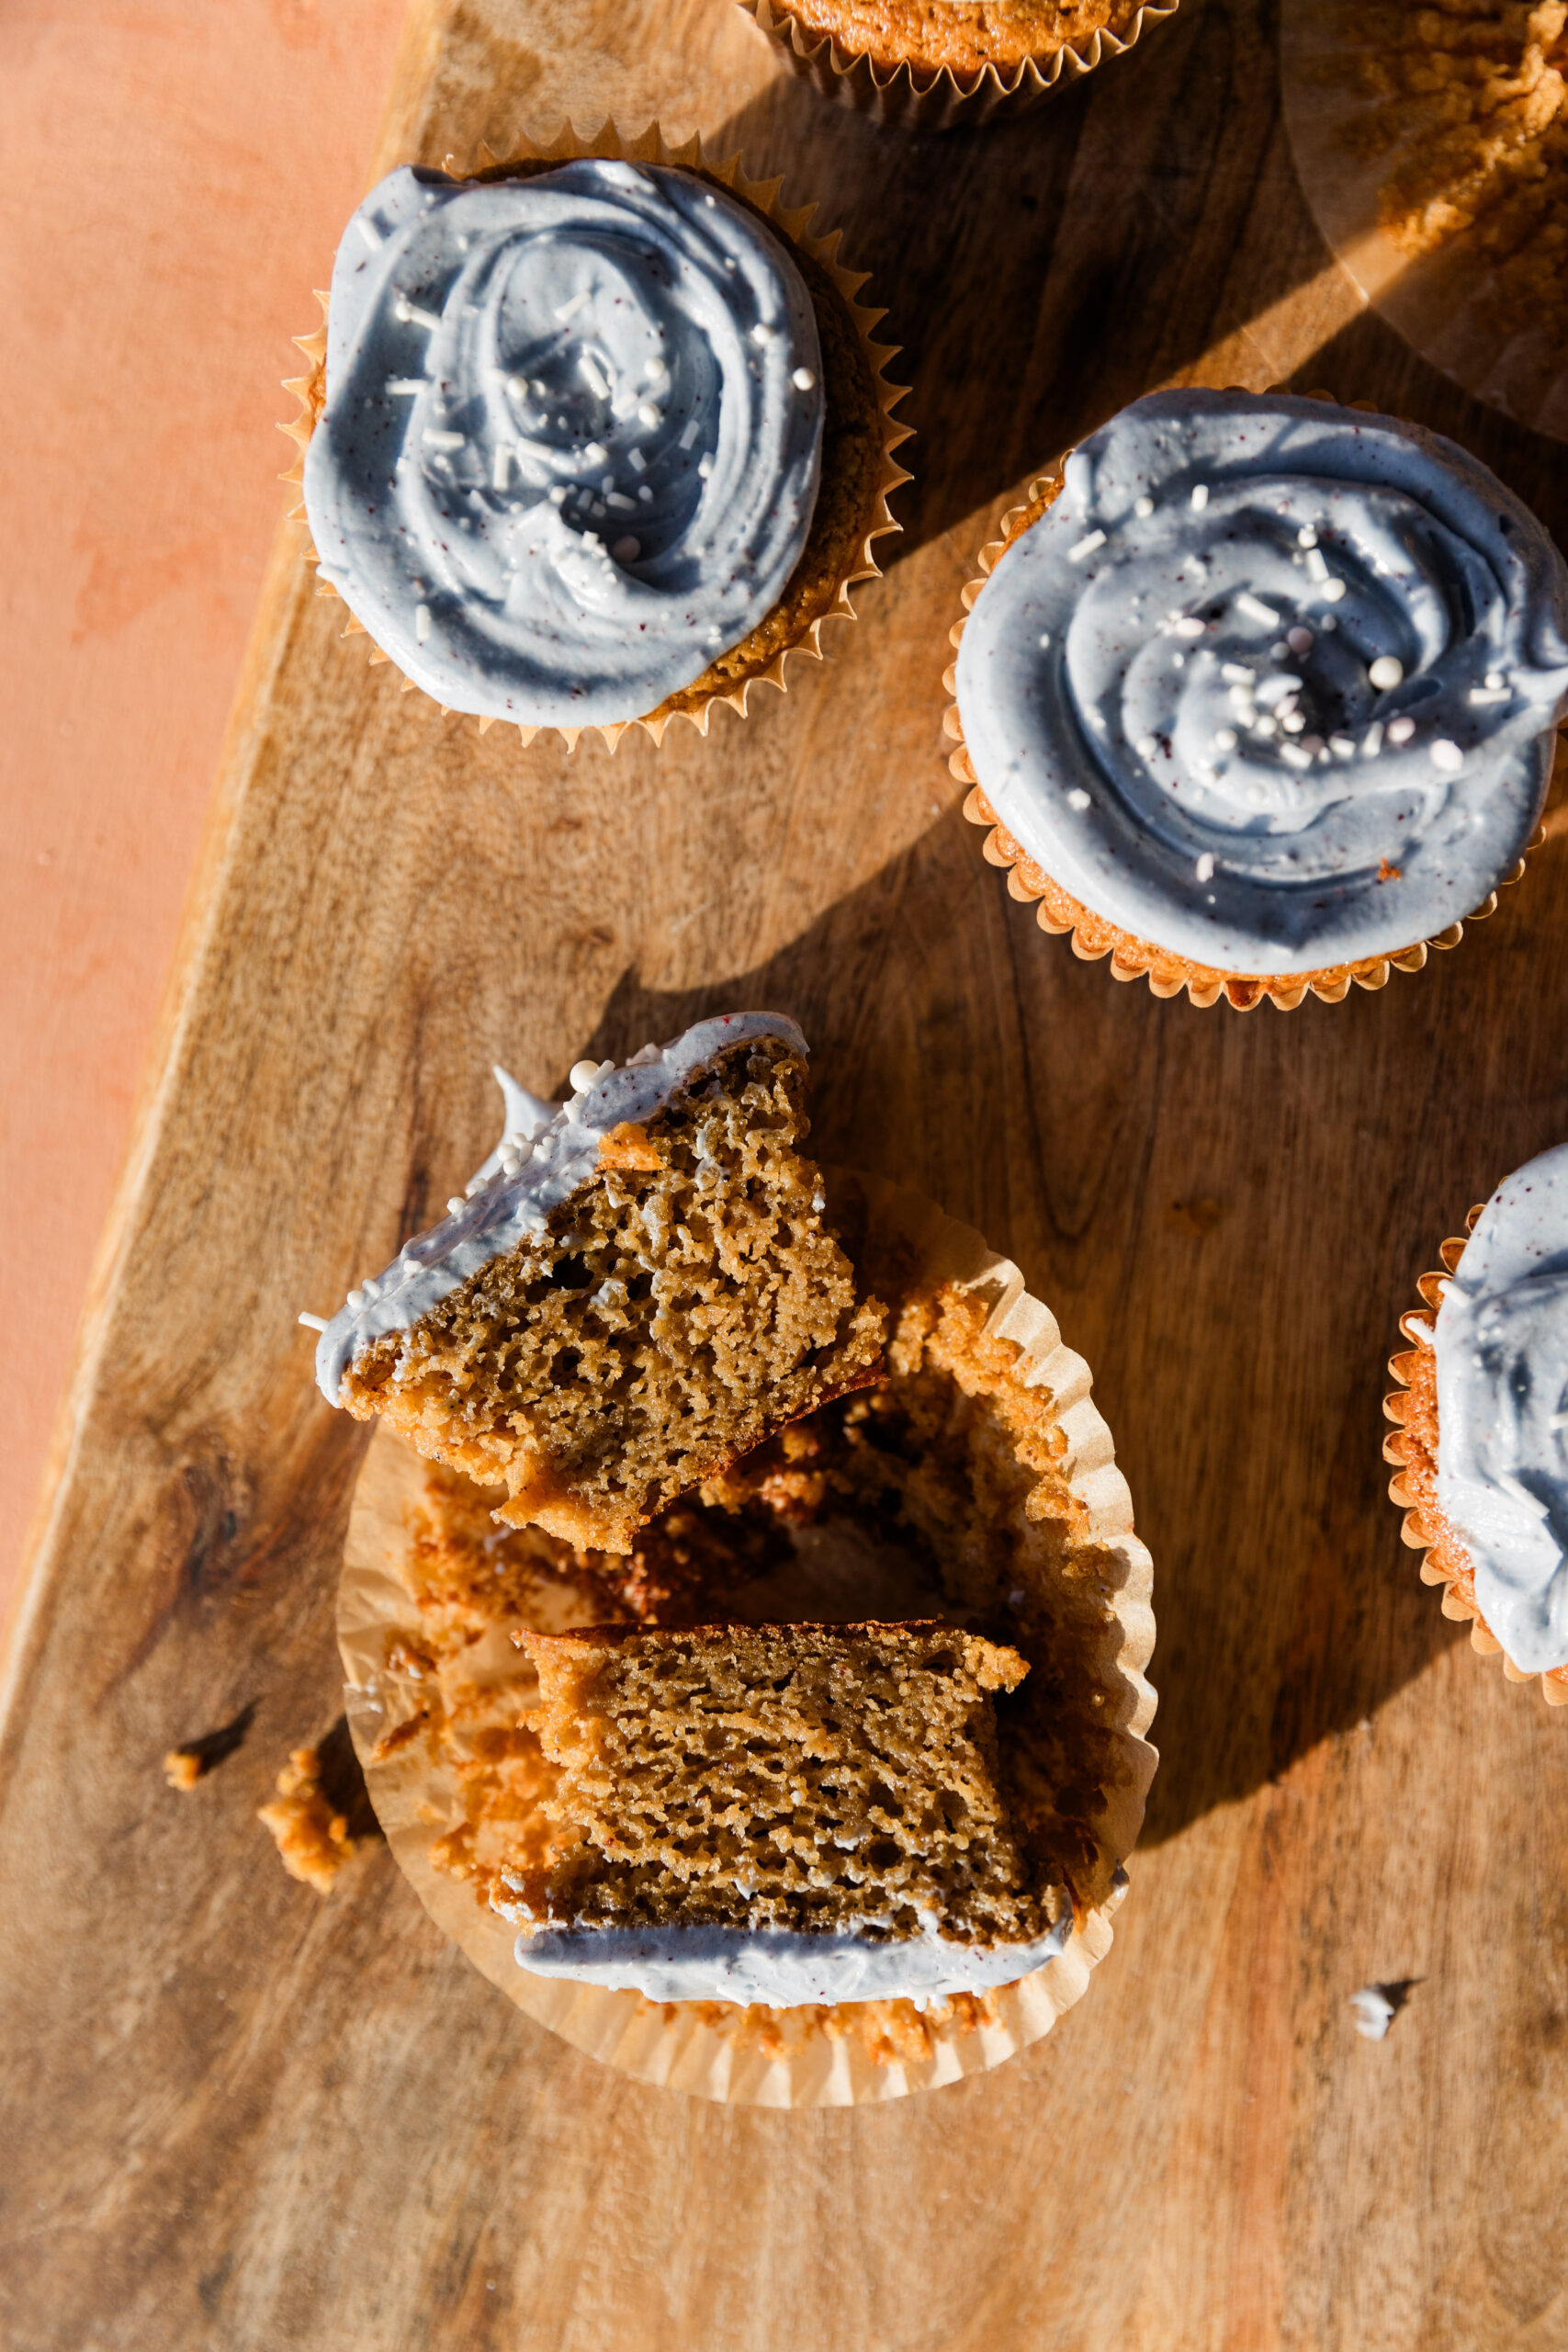
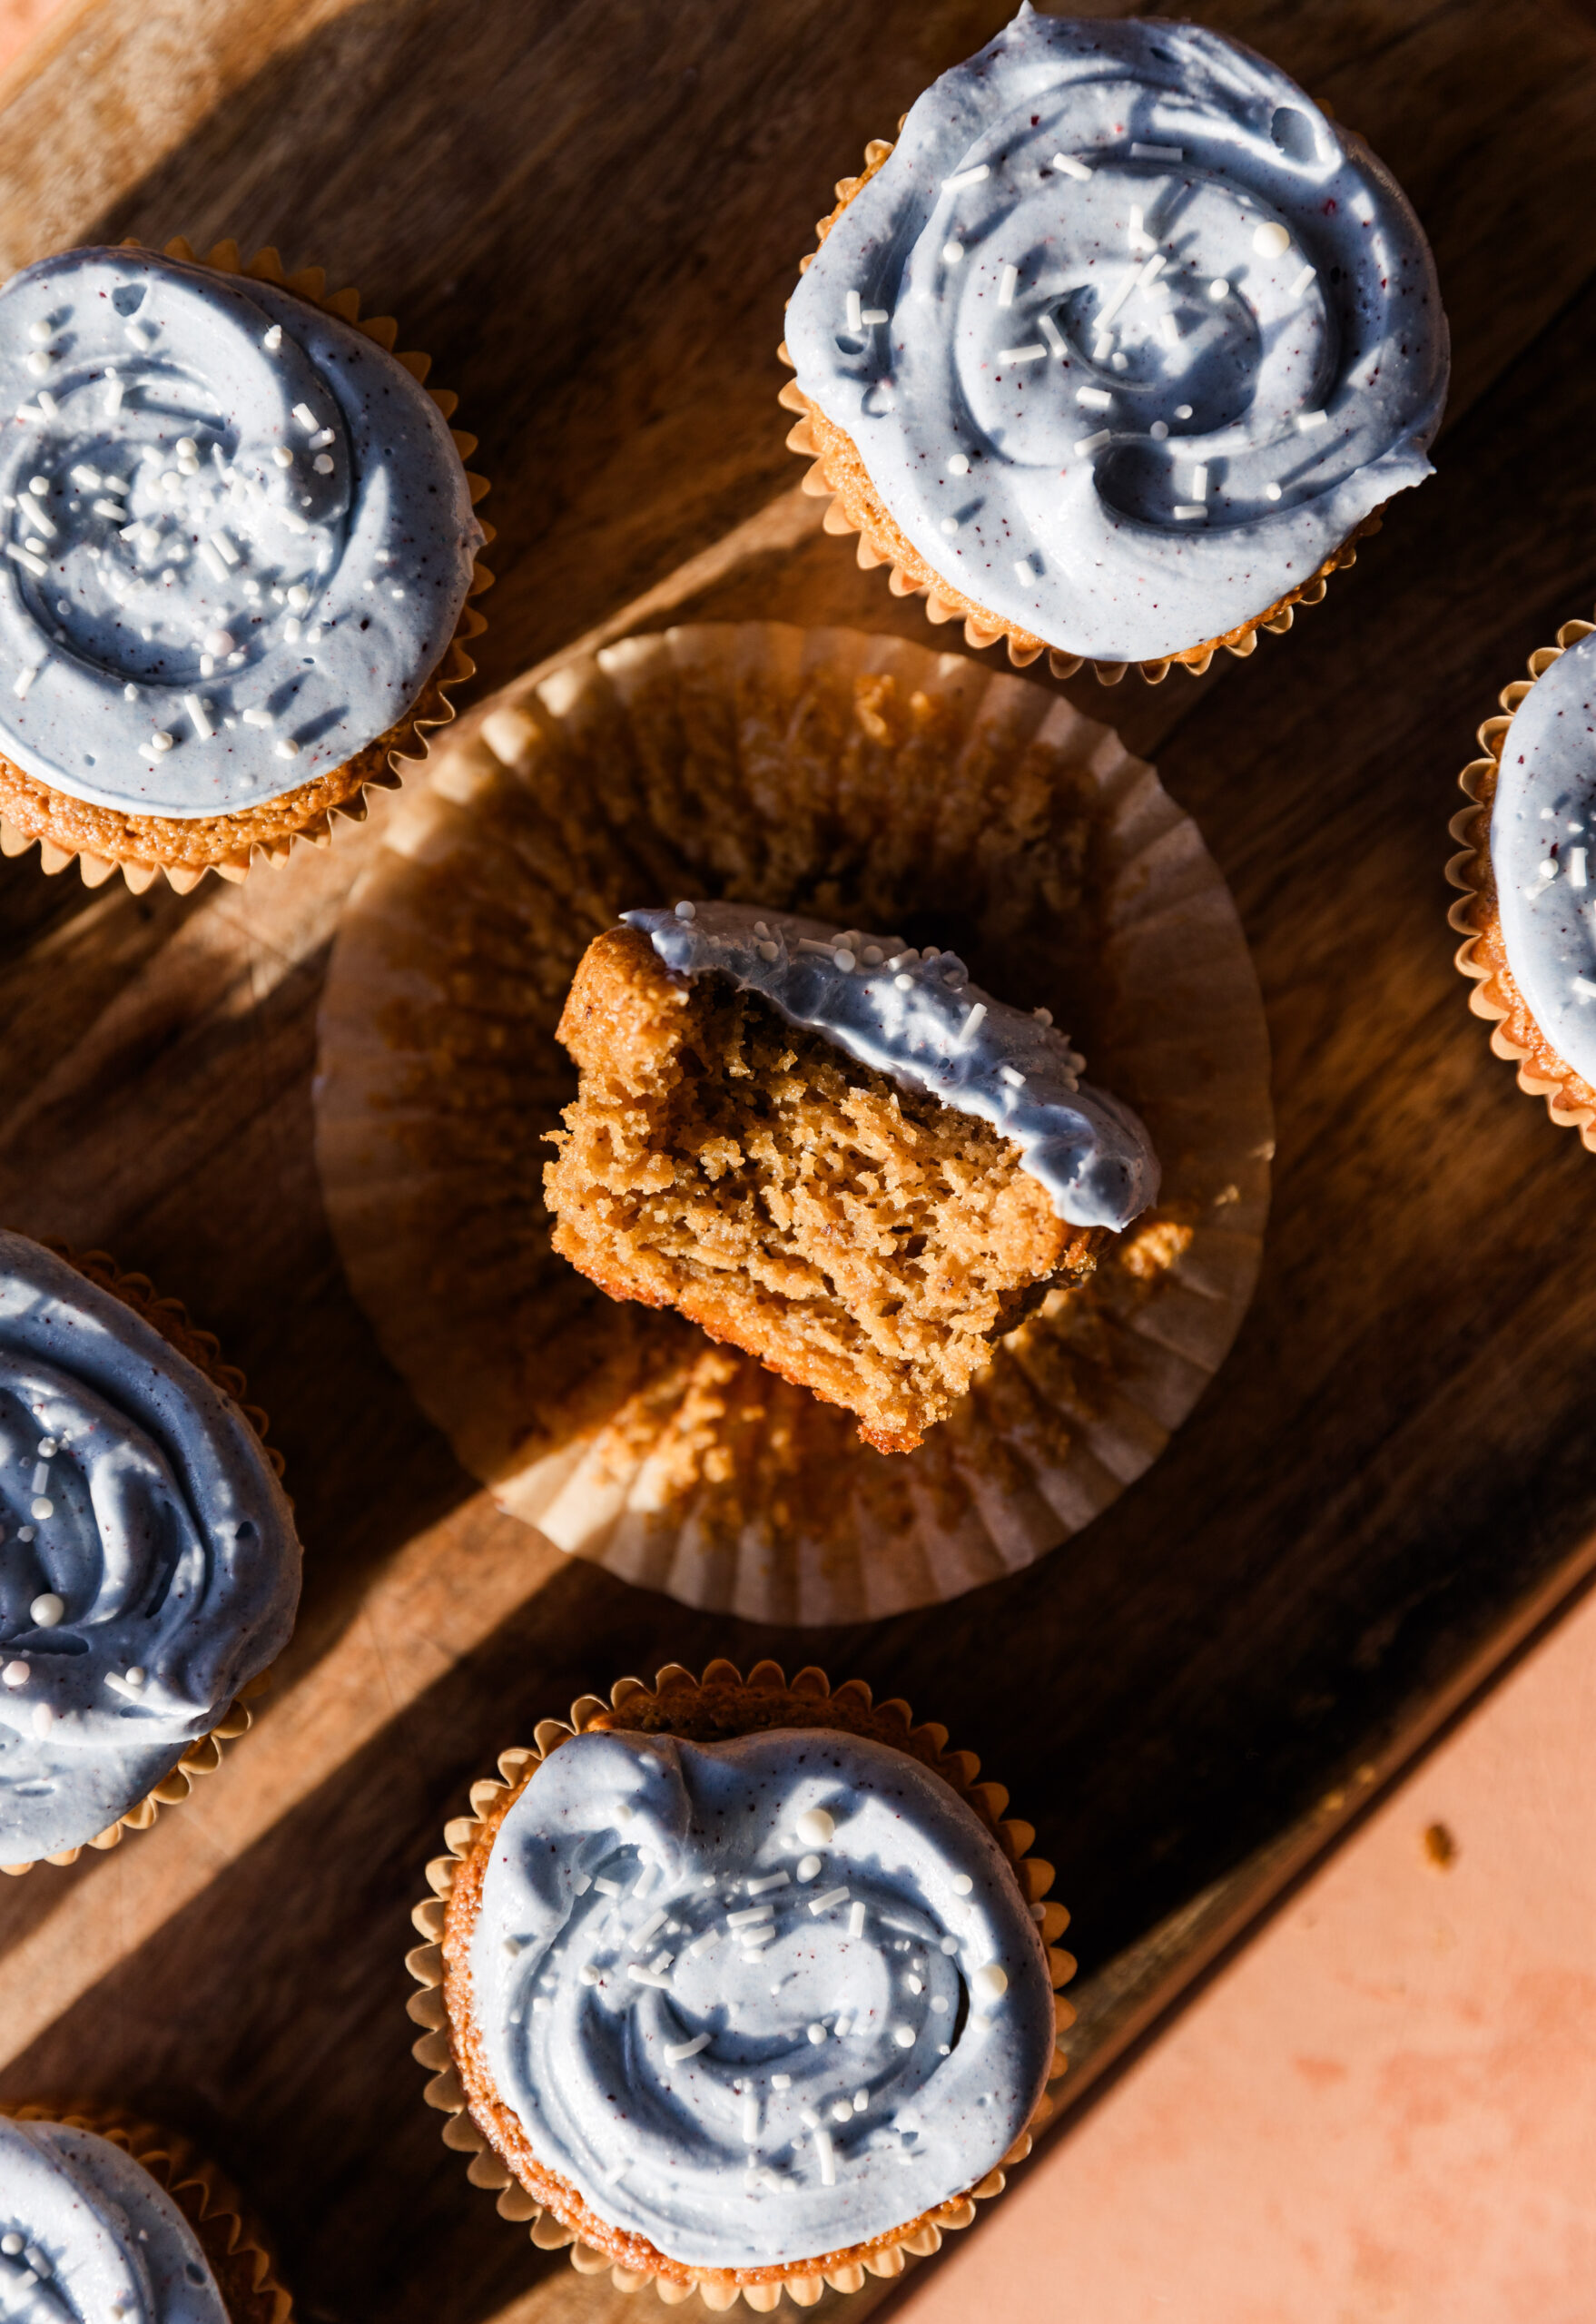
Gluten-Free Vanilla Cupcakes are soft, moist, and topped with a naturally dyed blue frosting! They come together quickly and easily and are great for birthday parties or special occasions.
Disclaimer: Some of the links in this post are affiliate links, which means I earn a commission if you choose to purchase through qualifying links.
Jump to:
Why You'll Love This Recipe
Homemade Gluten-Free Vanilla Cupcakes are everything you want in a cupcake—soft, moist, and perfectly sweet!
Plus, they're great for those with dietary restrictions because they're naturally gluten-free, dairy-free, and lower in sugar.
To give them their light and fluffy texture, I used almond flour, eggs, and dairy-free yogurt.
If you'll love healthier treats like this, check out my gluten free chocolate cupcakes, healthy vanilla cake pops, and my almond flour vanilla cake!
🍴Ingredient Notes
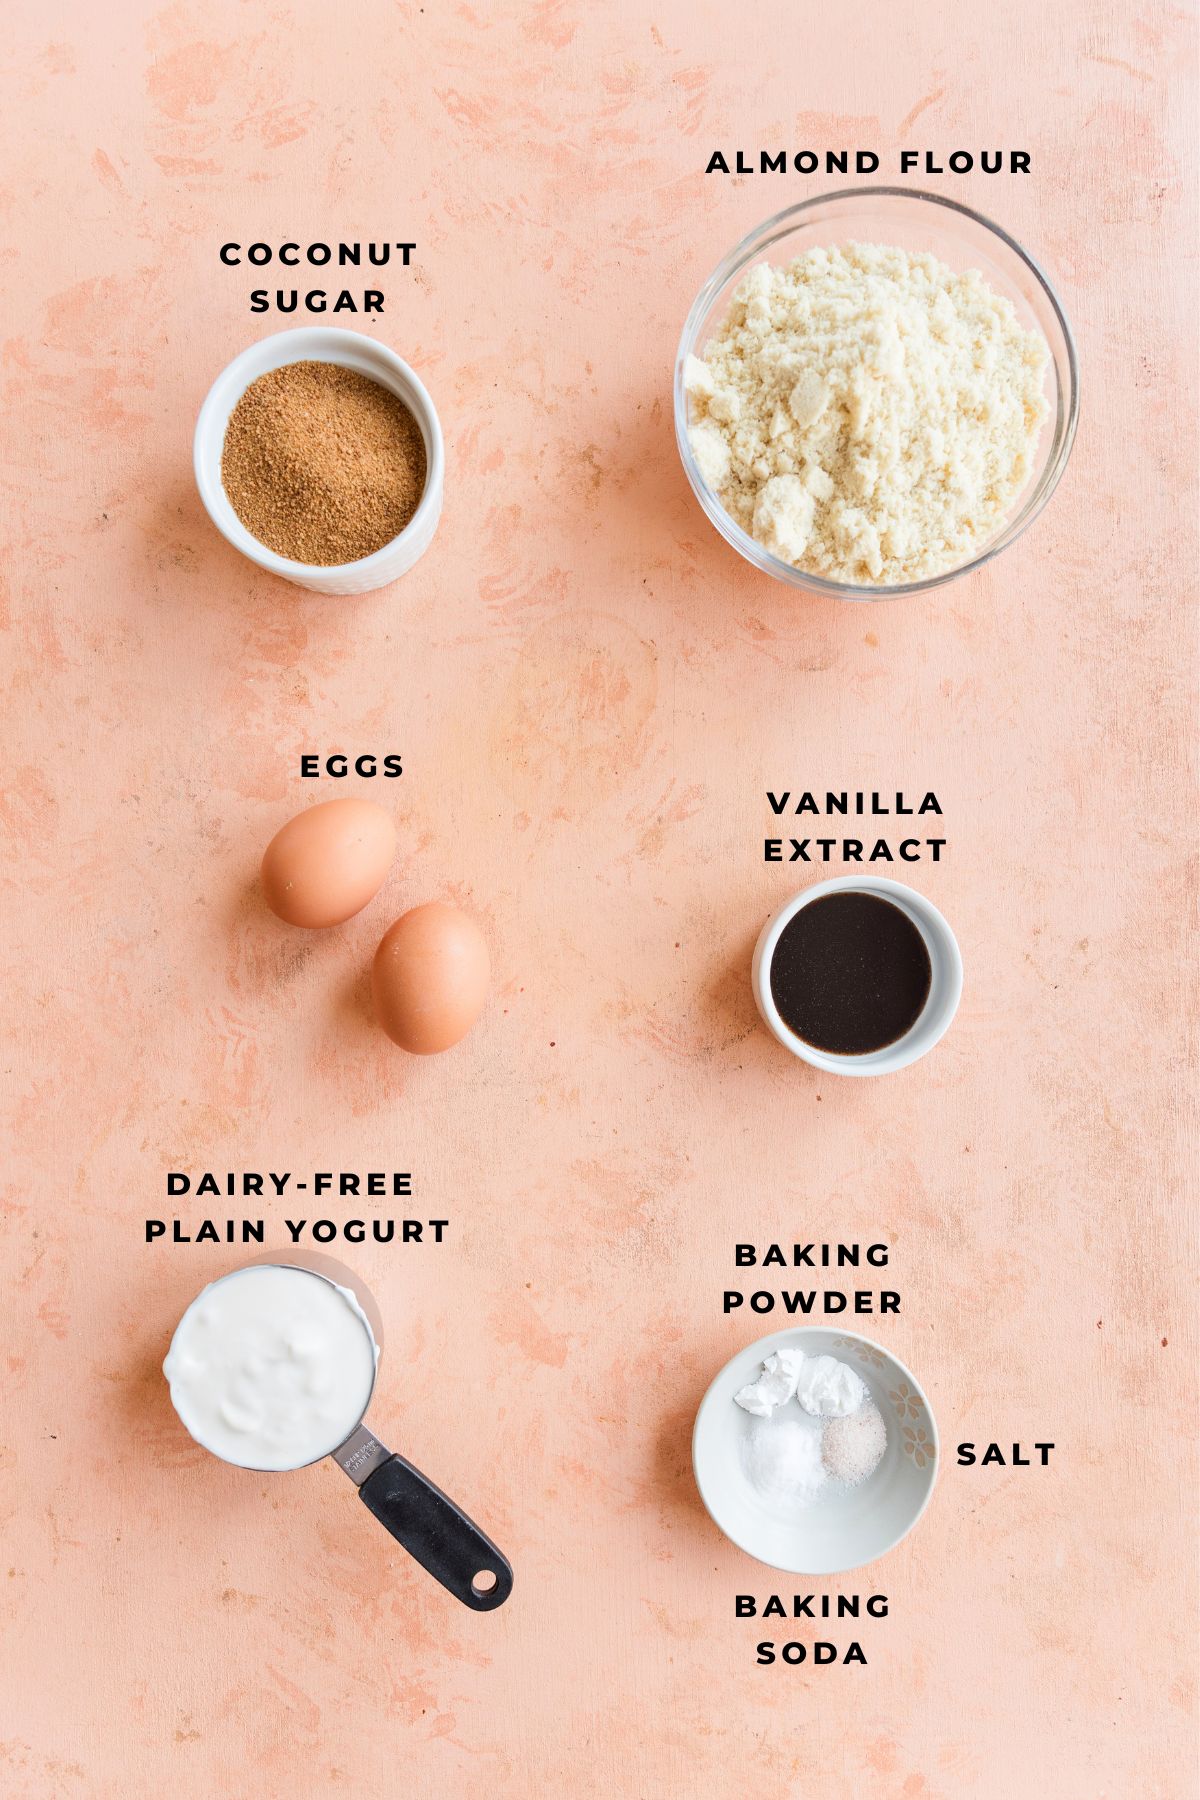
- Coconut Sugar - You can swap for organic white sugar or any granulated sugar. For a sugar-free replacement, try Lakanto Golden Monkfruit.
- Plain Dairy-Free Yogurt - I used unsweetened coconut yogurt, but any plain yogurt will work with this recipe.
- Eggs - I do not recommend swapping for an egg replacement.
- Vanilla Extract - For a rich vanilla flavor, try using vanilla bean paste.
- Almond Flour
- Leavening Agents - You'll need a combination of baking powder and baking soda to create a soft, fluffy texture.
- Salt
- Dairy-Free Vanilla Frosting - If you want to use pre-made vanilla frosting, I recommend Miss Jones Bakes. (They also make dairy-free chocolate frosting!)
- Naturally Dyed Sprinkles - I used Supernatural naturally dyed sprinkles. They come in a variety of shapes and colors! I also love their Rainbow Sprinkles, especially for kids' birthday parties.
🍴Step by Step Instructions
Step 1: Dry Ingredients
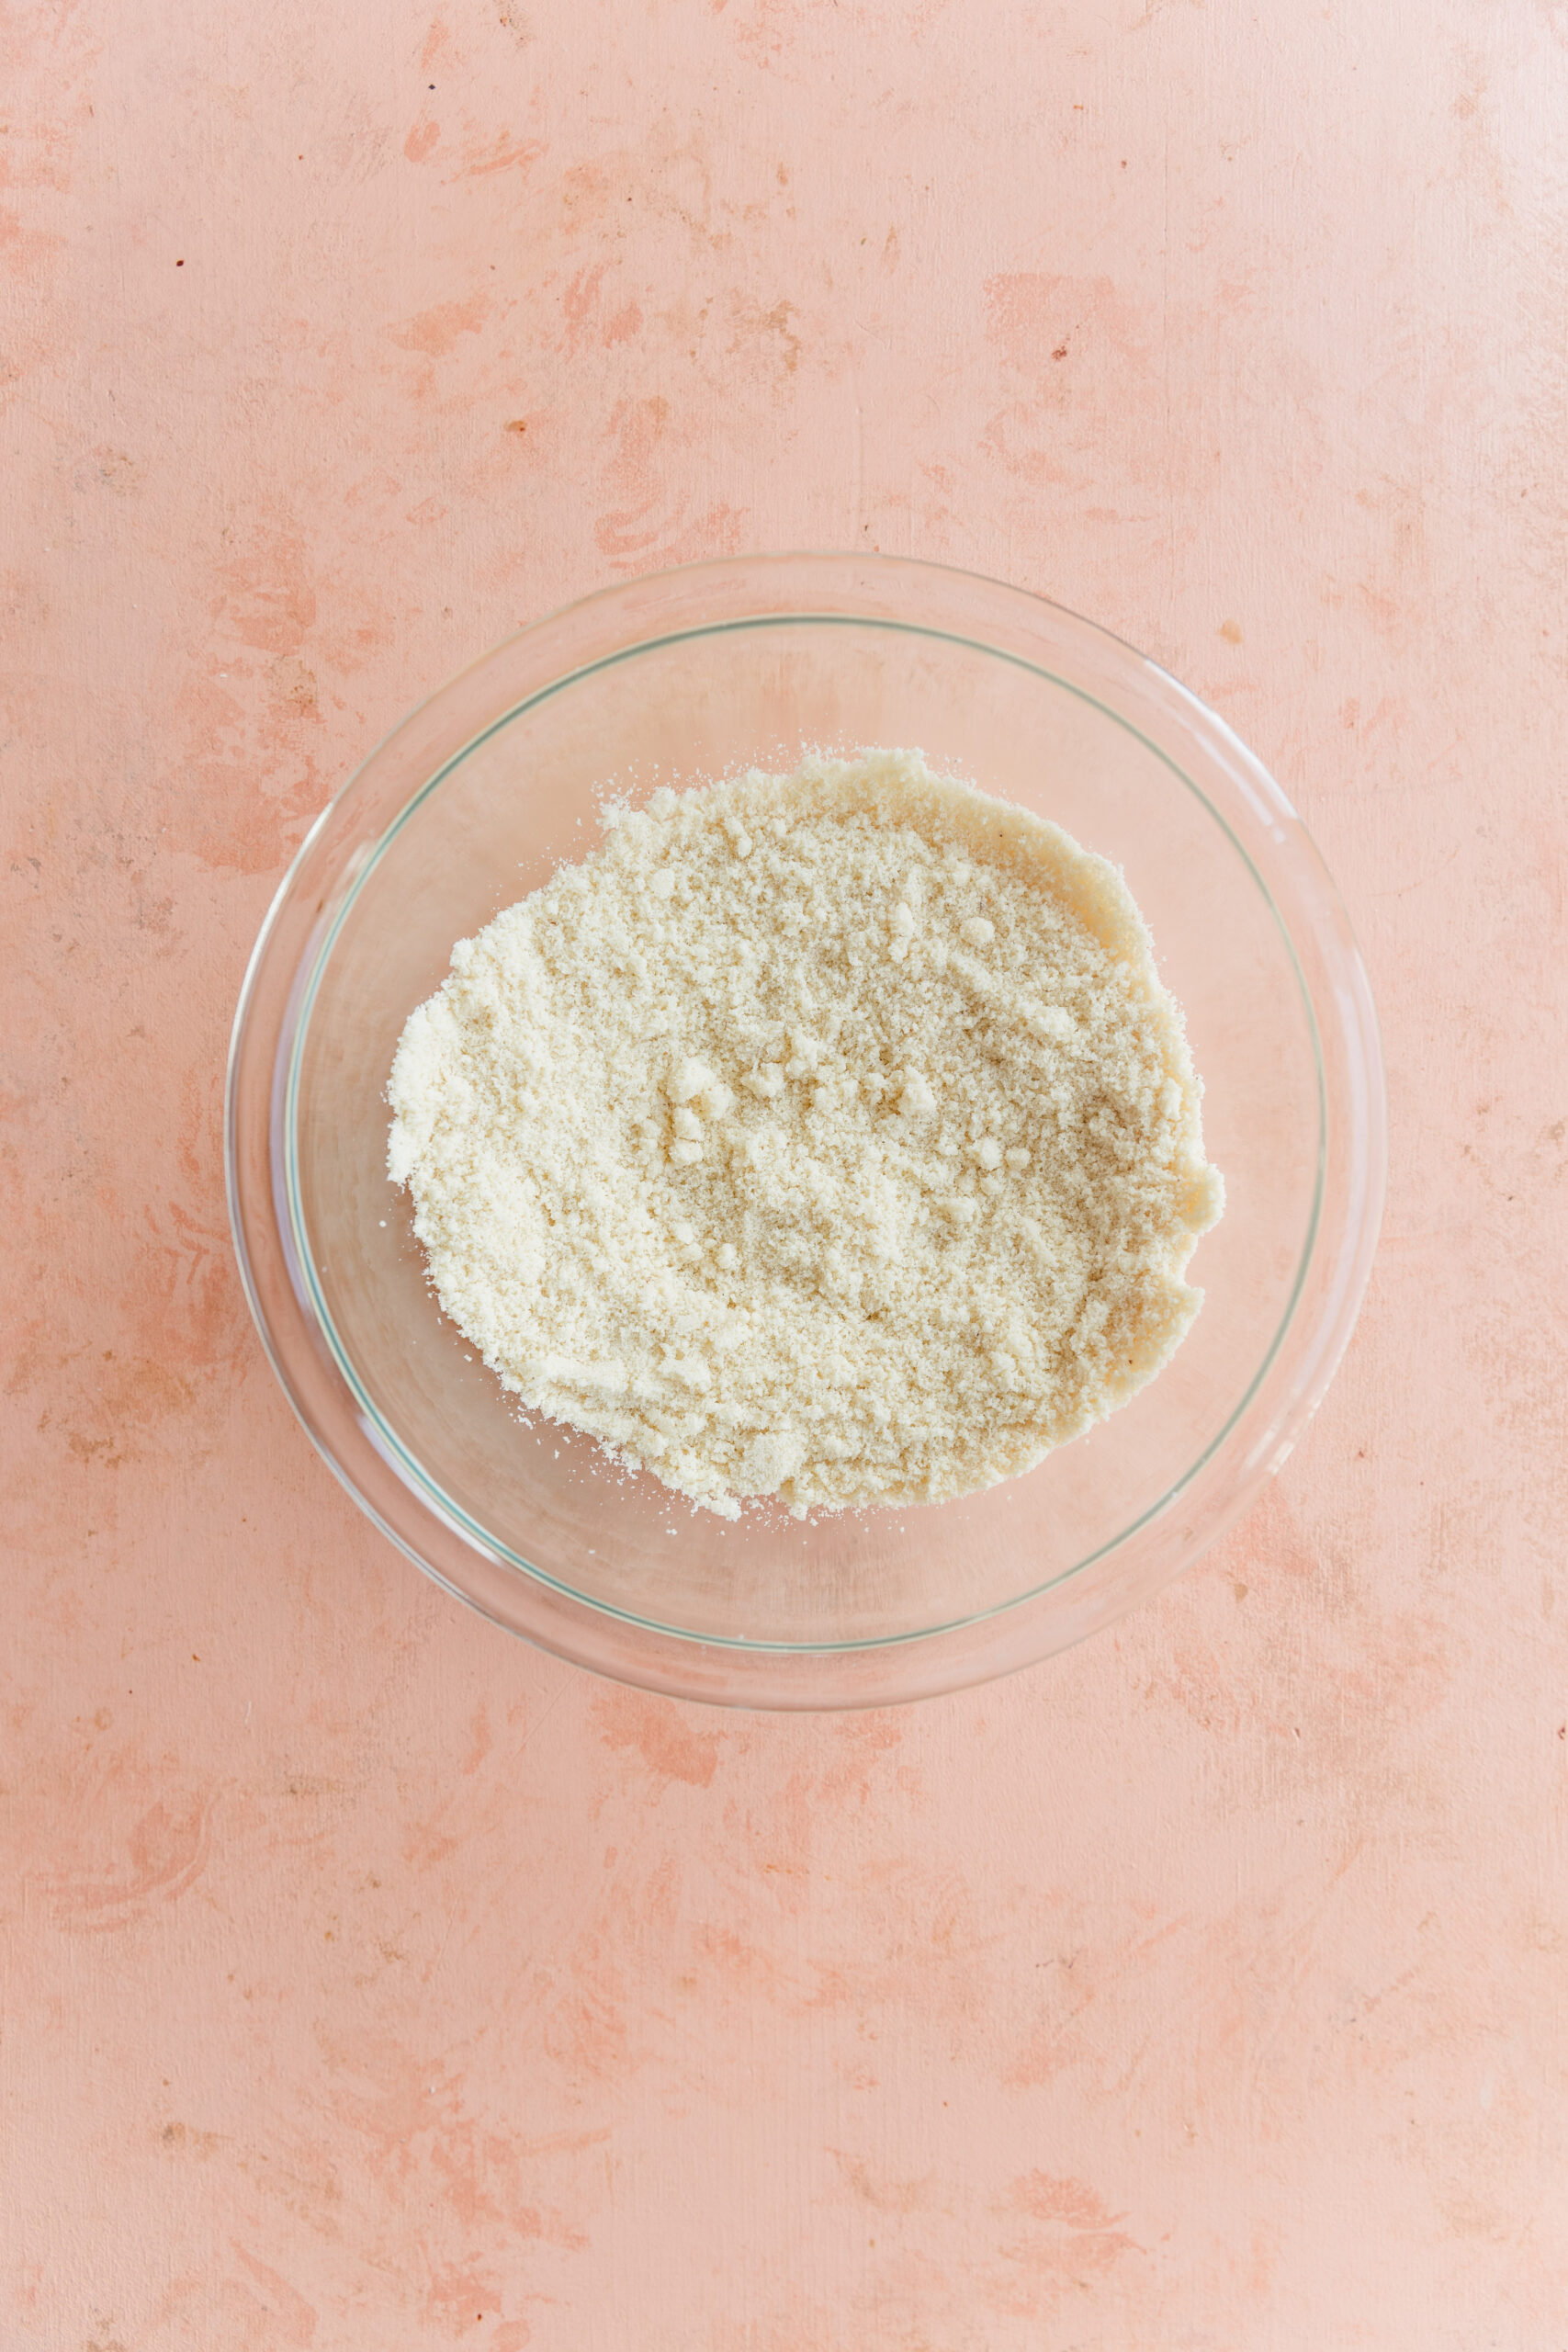
Start by adding almond flour, baking powder, baking soda, and salt into a small mixing bowl. Stir together with a whisk until fully combined.
Step 2: Wet Ingredients
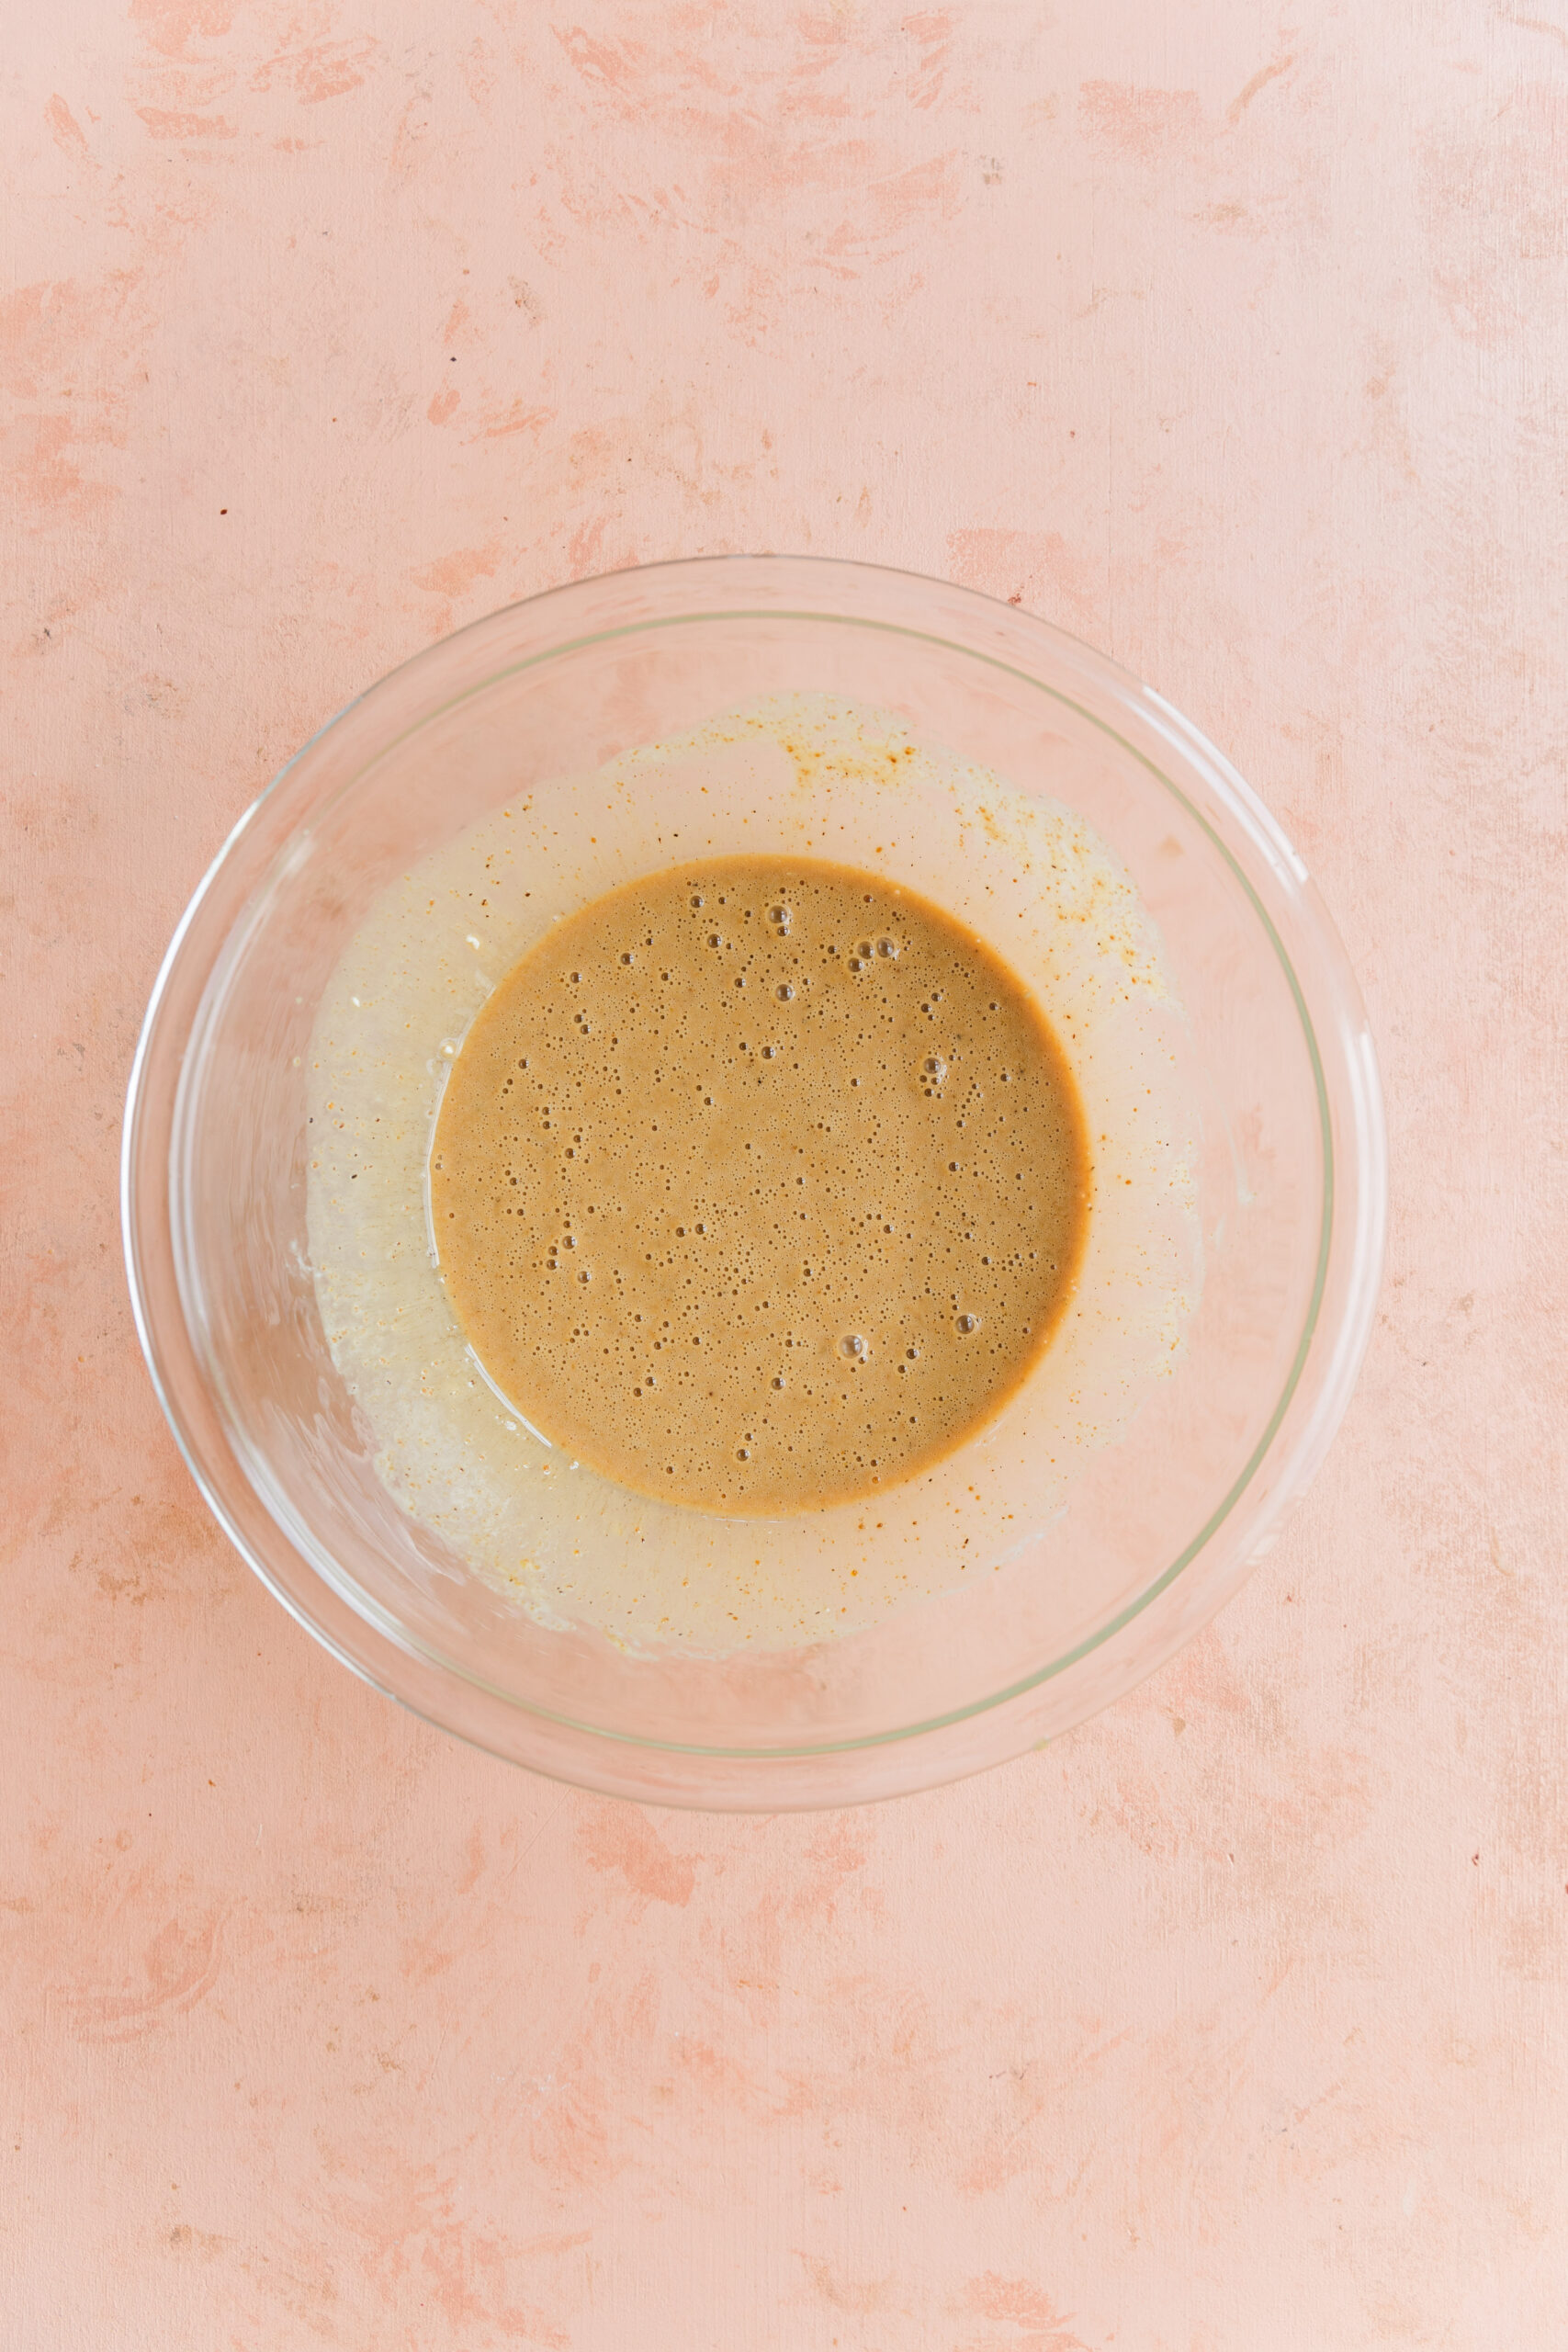
Next, add eggs, coconut sugar, plain yogurt, and vanilla extract into a mixing bowl. Whisk together until fully combined.
Step 3: Vanilla Cupcake Batter
Pour the dry mixture into the wet mixture and stir together until all of the flour has been absorbed.
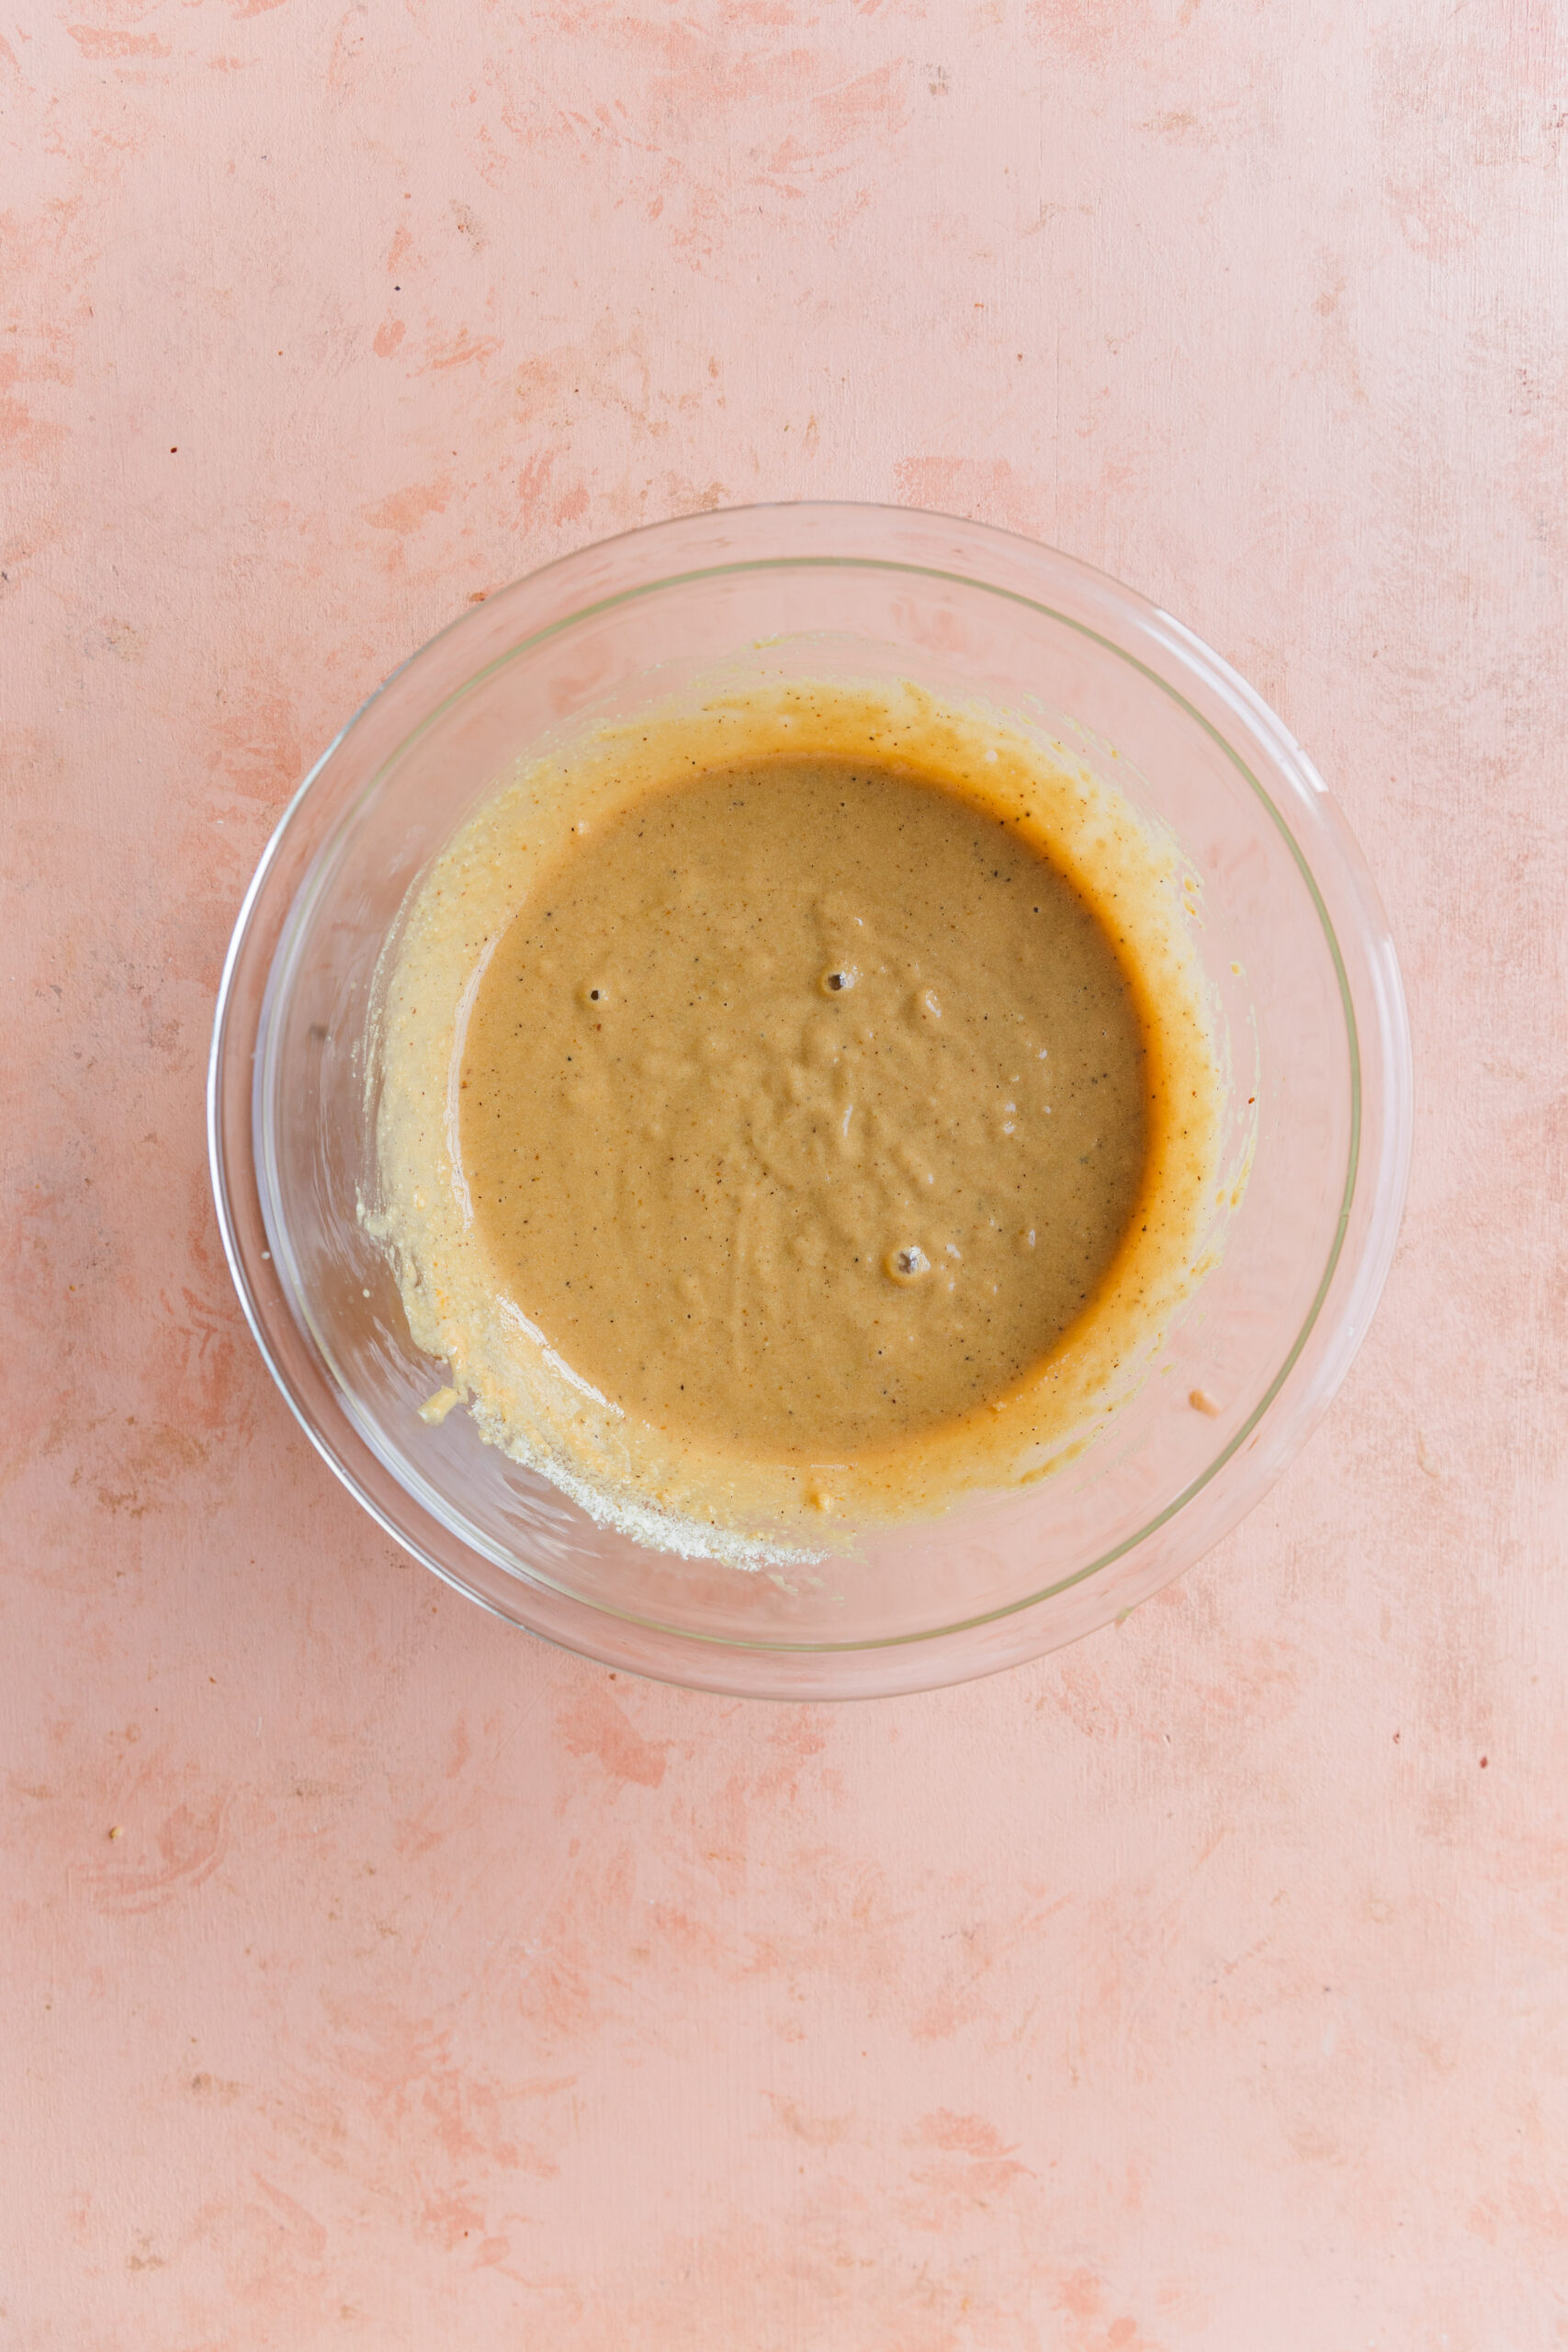
Step 4: Pour into Cupcake Tin
Line 9 cupcake tins with parchment paper liners. Pour an even amount of cupcake batter into each cupcake tin.
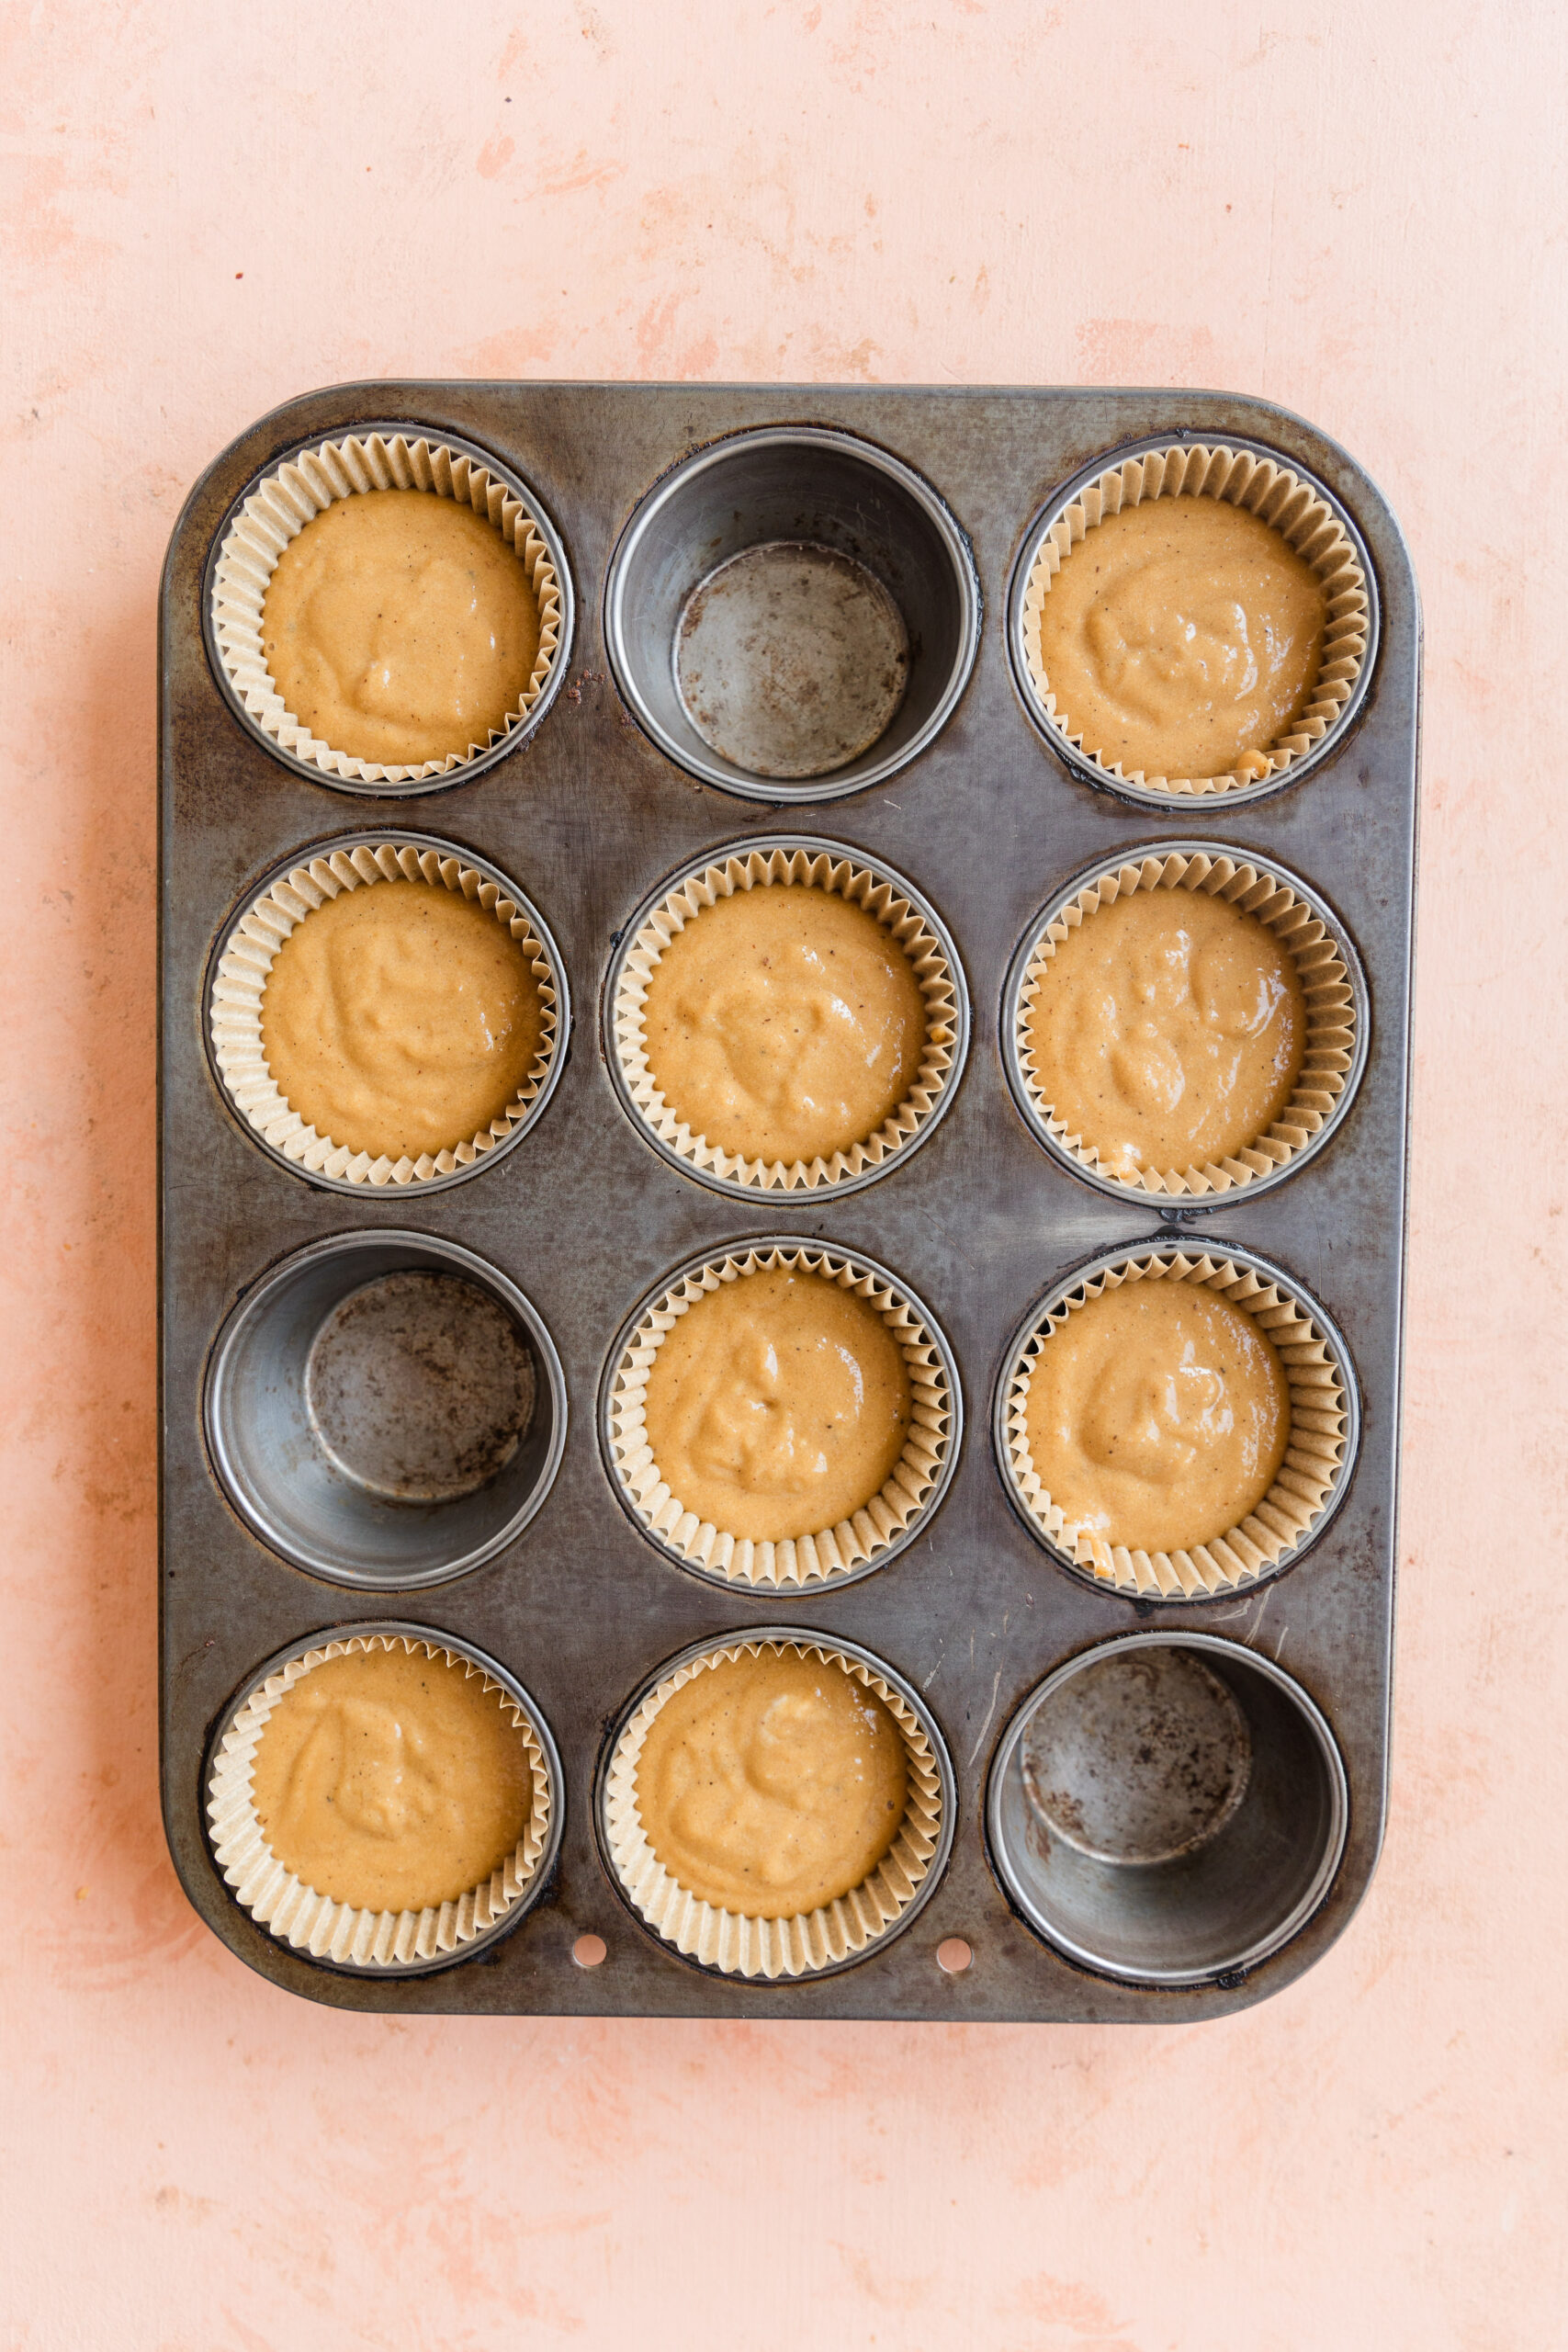
Step 5: Bake Cupcakes
Bake at 350 degrees for about 18-20 minutes.
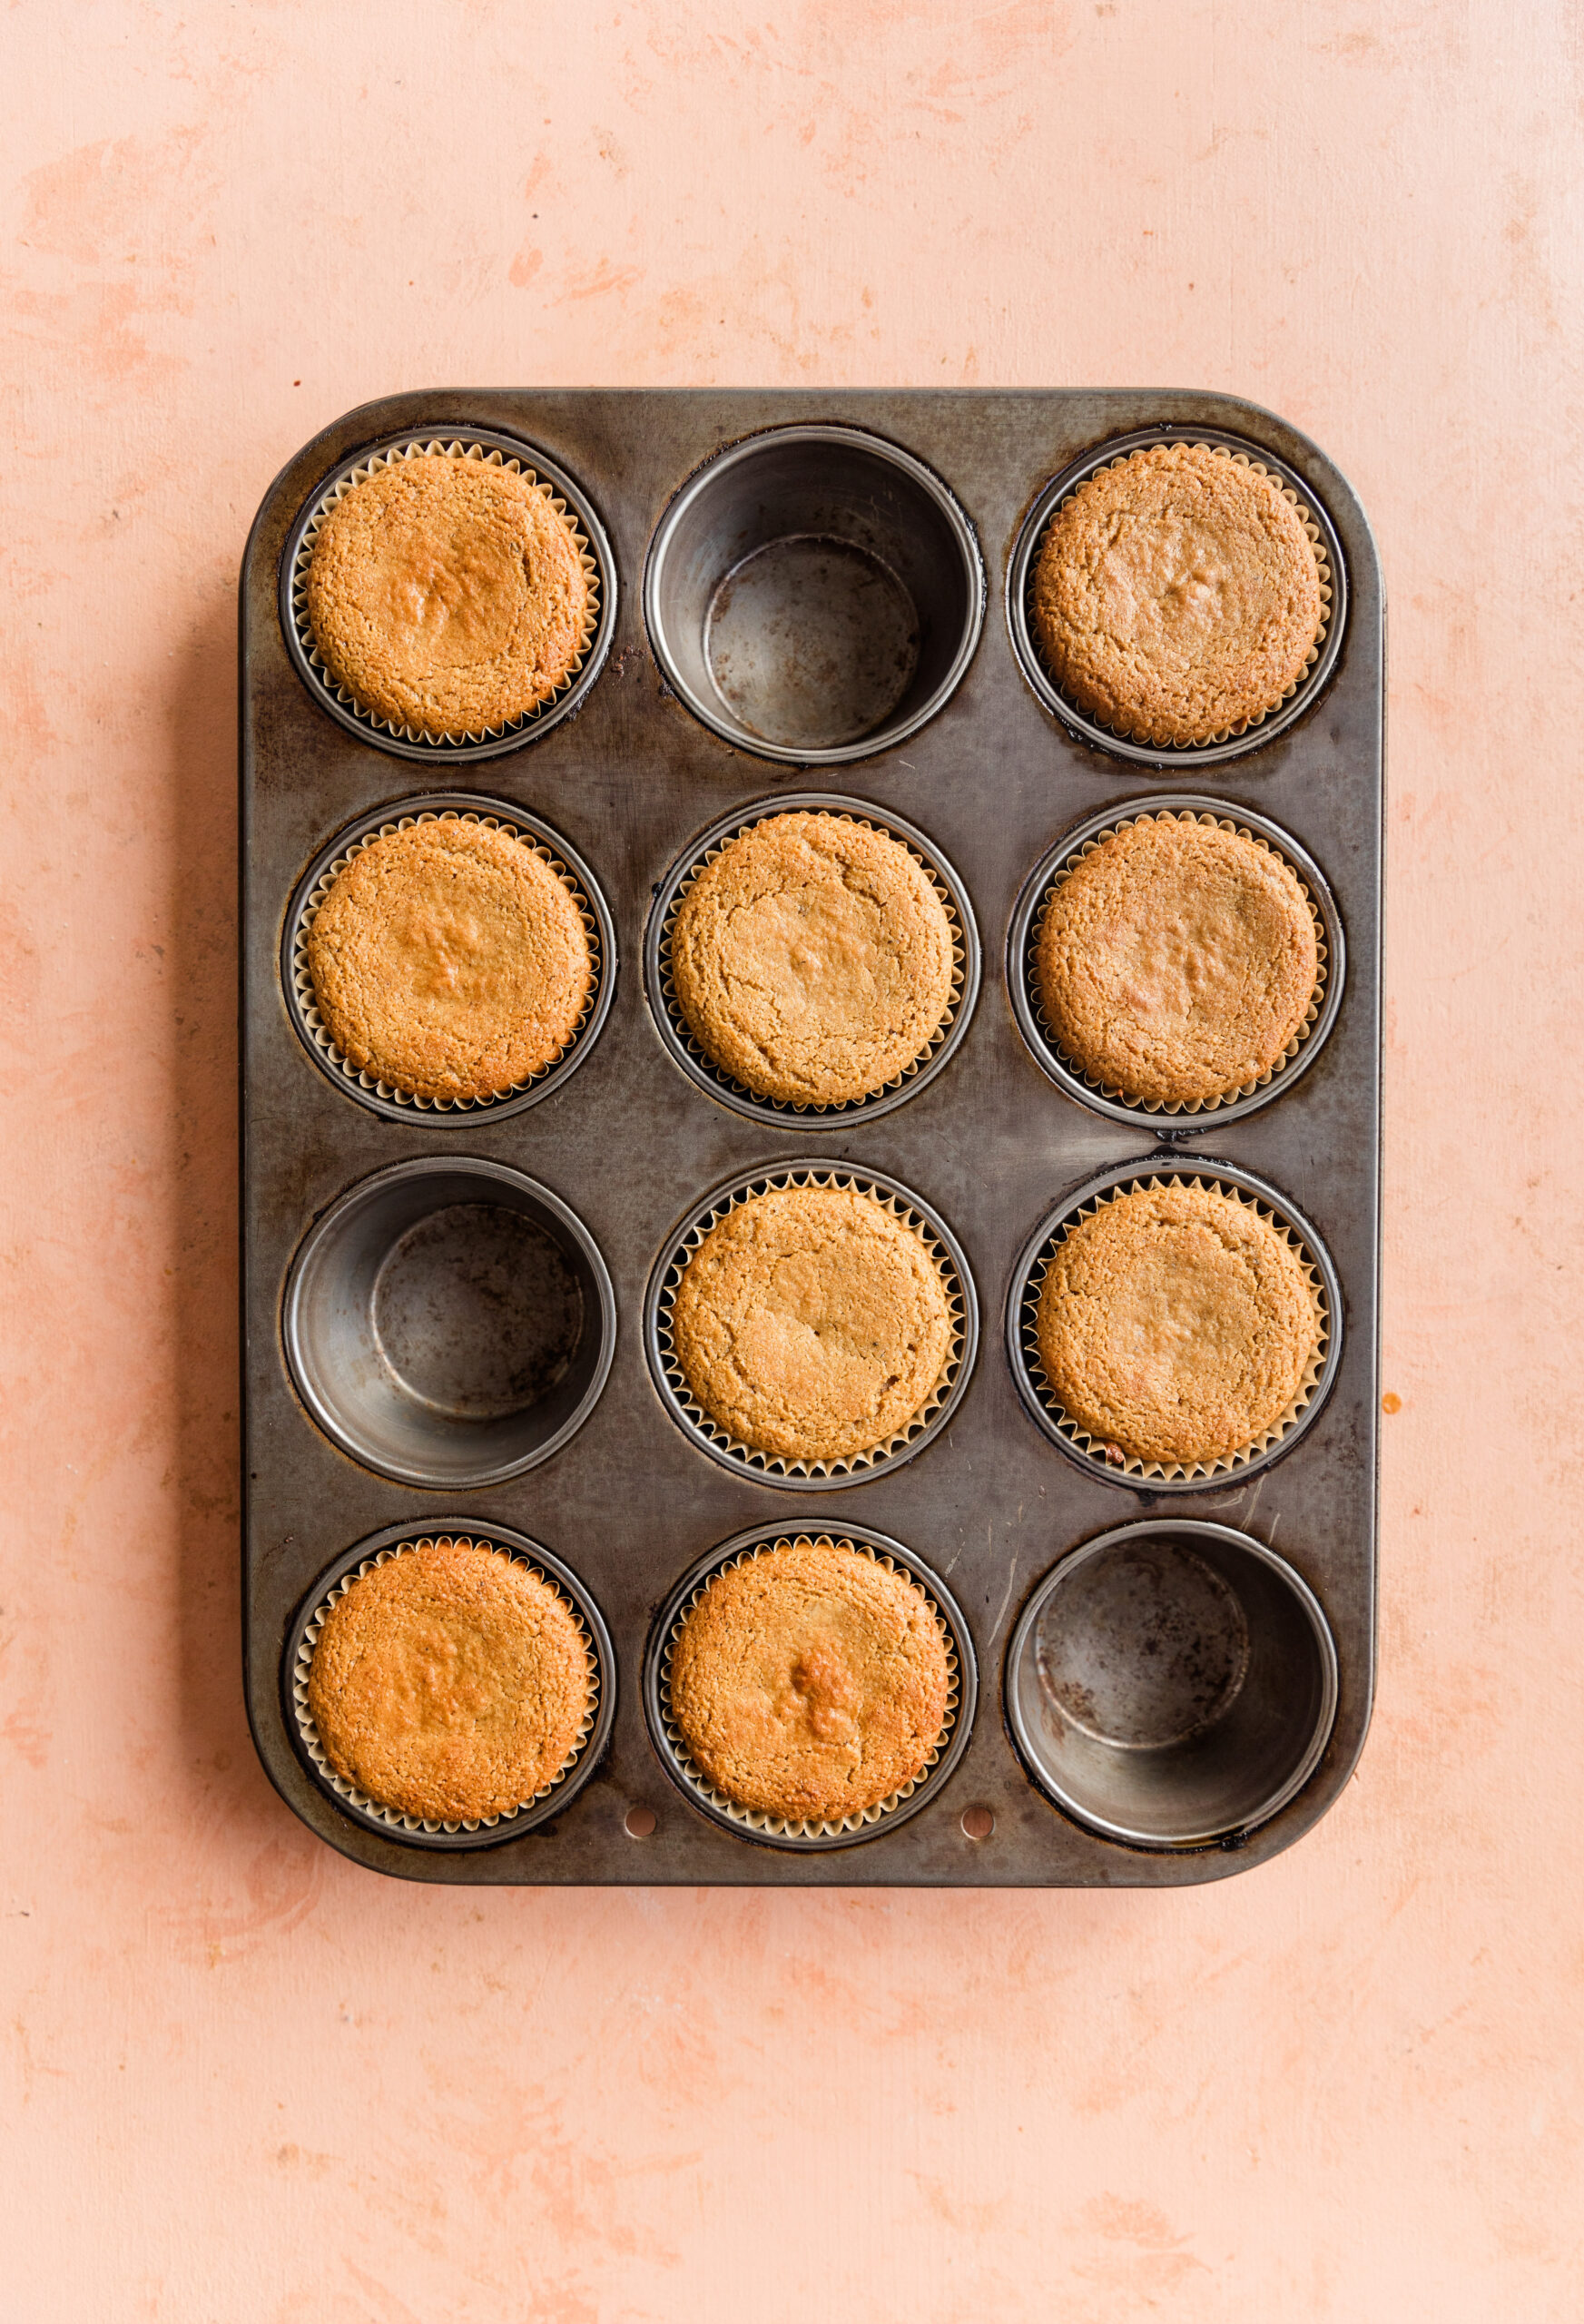
Step 6: Cool Cupcakes
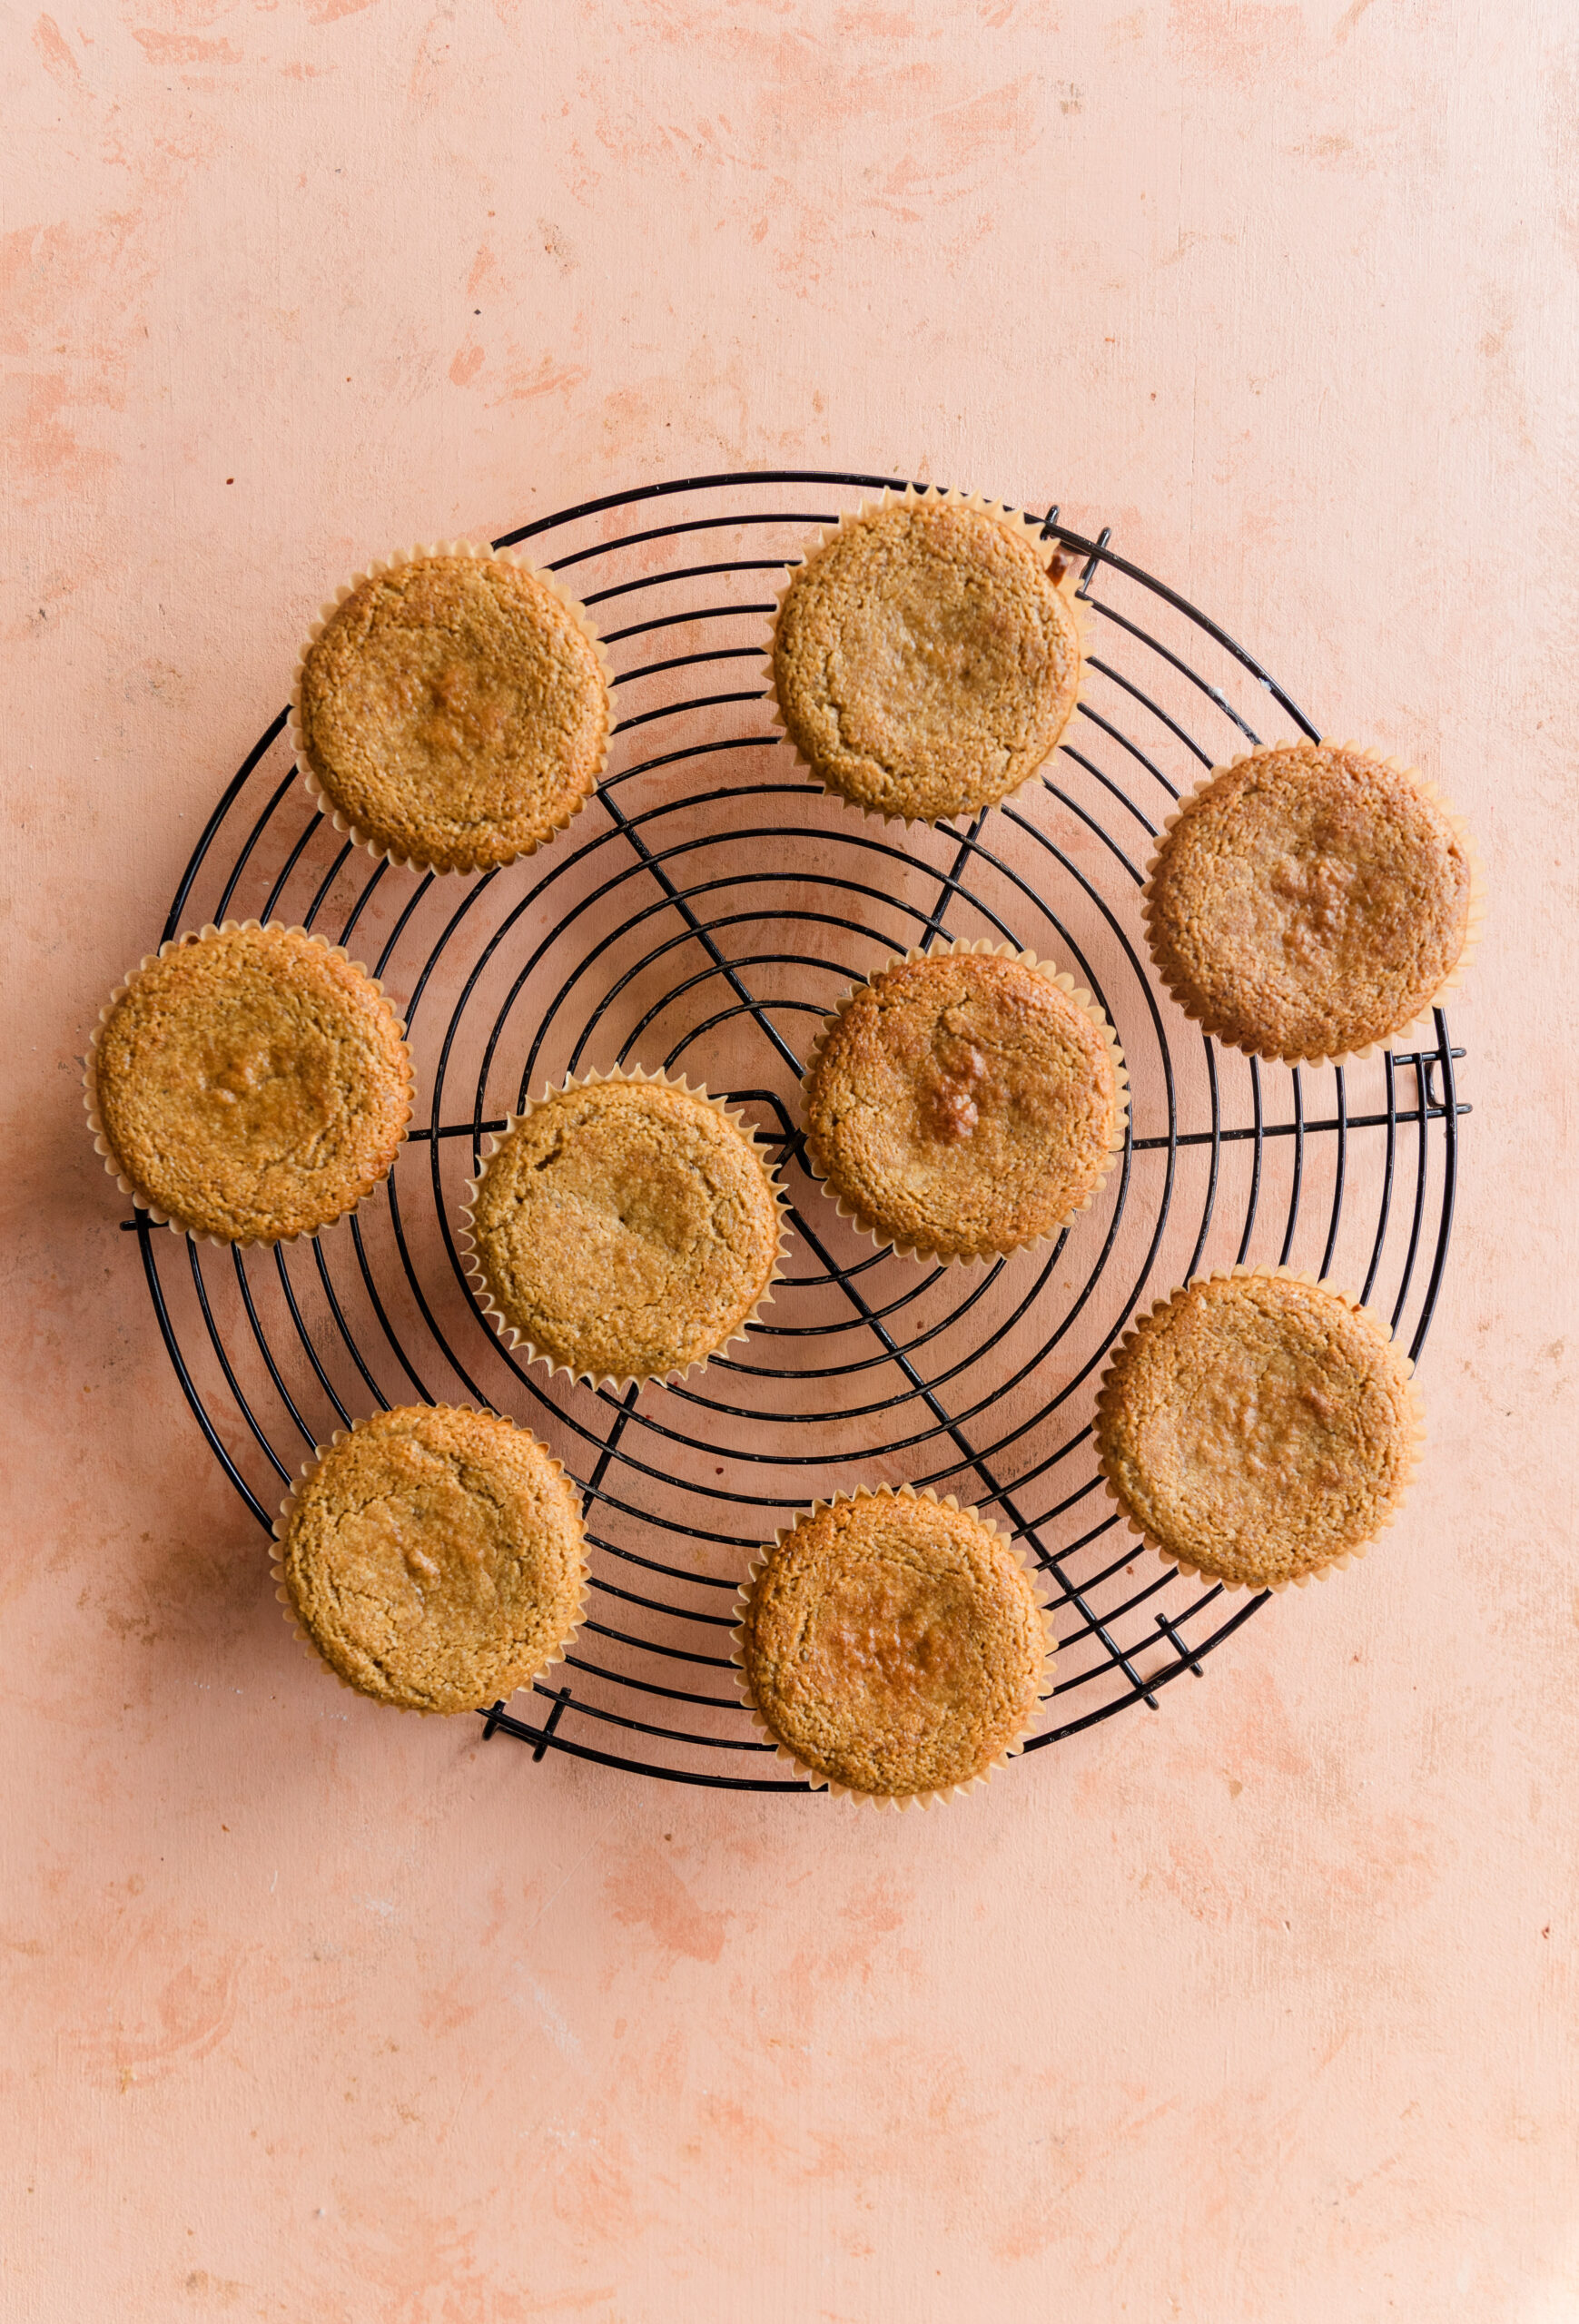
Remove the cupcakes from the baking tin and place on a wire rack to cool until room temperature.
Top the cooled cupcakes with your favorite frosting and sprinkles!
How to Make Naturally Dyed Blue Frosting
Start by adding about ¾ cup of any premade dairy-free vanilla frosting into a food processor with about a ¼ teaspoon of blue spirulina powder.
Blend on high until you reach a smooth and creamy consistency. For a darker blue color, slowly add more blue spirulina powder until you've reached your desired color.
Use a butter knife to spread the frosting onto the cupcakes for a thinner frosted top.
For a thicker swirled look, add the frosting into a piping bag or plastic baggie and cut off the corner.
Expert Tips
- Because this cupcake recipe is very soft, I suggest using parchment paper cupcake liners to prevent them from sticking.
- For best results, do not pack the almond flour into the measuring cup.
- Let the cupcakes cool completely before adding frosting.
- Make a double batch if you're serving a crowd!
How to Store Leftovers
Leftover cupcakes can be stored at room temperature in an airtight container for 2-3 days.
To keep them fresh for longer, store in the refrigerator for up to a week!
You can also freeze unfrosted cupcakes in a freezer bag for up to 3 months. Defrost in the refrigerator or on the counter and top with frosting when you're ready to serve.
Gluten-Free Desserts You'll Love!


After you make these Gluten Free Vanilla Cupcakes, make sure to leave a comment & rate the recipe!
Recipe Card
Gluten-Free Vanilla Cupcakes
Equipment
- 1 Cupcake Tin
Ingredients
Wet Ingredients
- ½ Cup Coconut Sugar You can also use Lakanto Monkfruit for a sugar-free replacement.
- ½ Cup Plain Dairy-Free Yogurt I used unsweetened coconut yogurt, but any plain yogurt will work with this recipe.
- 2 Eggs
- 3 Teaspoons Vanilla Extract You can also swap for vanilla paste.
Dry Ingredients
- 1+/2 Cups Almond Flour
- ½ Teaspoon Baking Powder
- ¼ Teaspoon Baking Soda
- ¼ Teaspoon Salt
Frosting & Sprinkles
- Dairy-Free Vanilla Frosting If you want to use pre-made vanilla frosting, I recommend Miss Jones Bakes. (They also make dairy-free chocolate frosting!)
- Naturally Dyed Sprinkles I love Supernatural naturally dyed sprinkles - they come in a variety of shapes and colors!
Instructions
- Start by adding almond flour, baking powder, baking soda, and salt into a small mixing bowl. Stir together with a whisk until fully combined.
- Next, add eggs, coconut sugar, plain yogurt, and vanilla extract into a mixing bowl. Whisk together until fully combined.
- Pour the dry mixture into the wet mixture and stir together until all of the flour has been absorbed.
- Line 9 cupcake tins with parchment paper liners. Pour an even amount of cupcake batter into each cupcake tin.
- Bake at 350 degrees for about 18-20 minutes.
- Remove the cupcakes from the baking tin and place on a metal rack to cool until room temperature. Once cooled, you can top with your favorite frosting!
Notes
Expert Tips
- Because this cupcake recipe is very soft, I suggest using parchment paper cupcake liners to prevent them from sticking.
- For best results, do not pack the almond flour into the measuring cup.
- Let the cupcakes cool completely before adding frosting.
- Make a double batch if you're serving a crowd!
How to store leftovers
Leftover cupcakes can be stored at room temperature in an airtight container for 2-3 days. To keep them fresh for longer, store in the refrigerator for up to a week! You can also freeze unfrosted cupcakes in a freezer bag for up to 3 months. Defrost in the refrigerator or on the counter and top with frosting when you're ready to serve. **See full post for more information and step by step photos.Want more recipes?
Check out my recipe box where you can browse by season, diet, and flavor!
Comments
No Comments