If you're wondering how to naturally dye deviled eggs, this recipe is for you! I'm going to show you how to dye these beautiful pink deviled eggs with a homemade beet juice. They will wow your guests and look beautiful on your Easter table!

Disclaimer: Some of the links in this post are affiliate links, which means I earn a commission if you choose to purchase through qualifying links.
Jump to:
What are Deviled Eggs?
Deviled eggs are a simple appetizer that is usually served at parties, holidays, and special events. The recipe consists of cutting hard-boiled eggs in half and removing the yolk.
In traditional recipes the yolk is mixed with some combination of mayo or miracle whip, vinegar, mustard, and spices. The egg yolk mixture is then added back into the eggs with a pastry bag or piping bag.
For this recipe, you will naturally dye the egg whites with beets to make a beautiful pink or purple color! To learn exactly how to make deviled eggs, make sure you check out my full step by step Deviled Egg Recipe.
🍴Ingredient Notes

- Hard Boiled Eggs - You'll need 6 hard boiled eggs that have been peeled and rinsed.
- Large Beet - One medium-large beet is plenty to create a vibrant natural food color.
- Filtered Water - In order to blend the beets, you will need water! Add more as needed to blend.
🍴Step by Step Instructions
Step 1: Cut Hard Boiled Eggs in Half
Start by cutting the hard-boiled eggs in half the long way. Flip them upside down over a small bowl and the egg yolk should pop right out! If you have trouble, you can use a spoon to remove the remaining yolk.
Next, place all the egg whites on a plate, tray, or baking sheet.

Step 2: Prepare the Beet
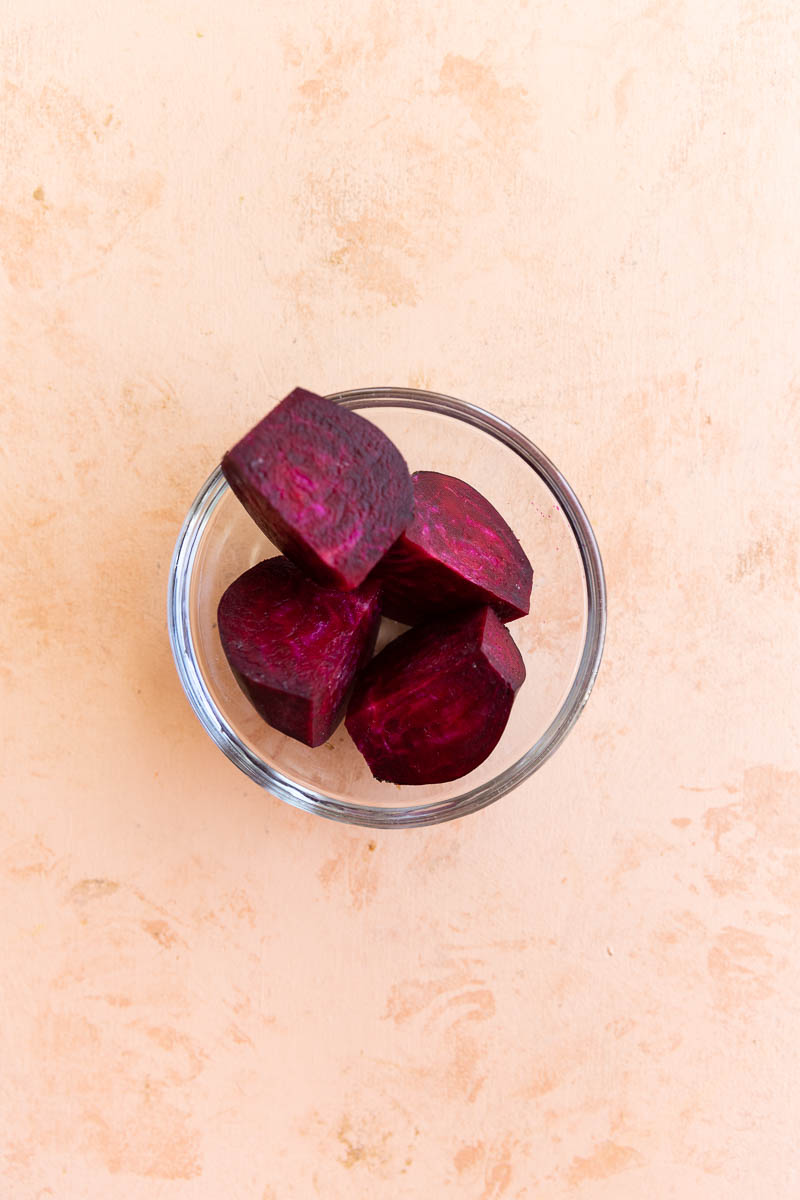
Cut the beet into fourths. (You can peel the beet, but it might get messy!)
Step 3: Making the Beet Juice
Then add the roughly chopped beet into a blender with 2-3 cups of water. Blend on high until you have a smooth, vibrant color. NOTE: You can strain the beet juice with a cheese cloth to make it even smoother, but it's not necessary.


Step 4: Dyeing the Eggs
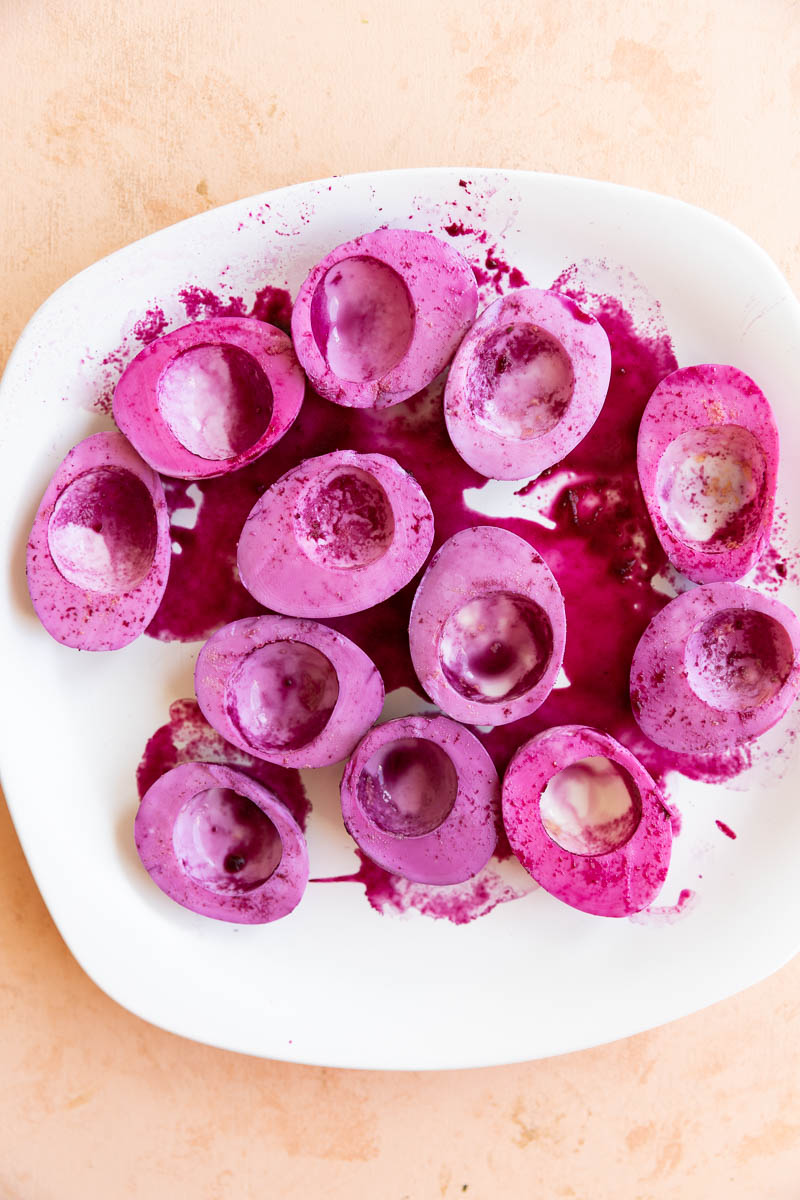
Pour the fresh beet juice into a small bowl. Then place the egg whites with the round side up on a fork. Fully submerge the egg white for about 15-30 seconds for a lighter pink color. For a deeper color, leave the egg white in for 1-2 minutes.
Then set each dyed egg on a plate and repeat until all egg whites are dyed pink.
Step 5: Rinse Eggs
When you're finished dyeing all the eggs, carefully rinse each egg and pat dry with a paper towel.


Expert Tips
- If you don't have a blender, you can also purchase beet juice at most local grocery stores. This will also save time.
- To make the beet juice even smoother, strain it with a cheese cloth first.
- You can also use a juicer instead of blender! Save the leftover beet juice and mix it with a variety of other fruits and vegetables for a homemade juice drink.
- Add more water to the beet juice to make the color less concentrated.
- For a beautiful contrasting color, dip whole eggs in the beet juice BEFORE you cut them in half! This will leave distinct white line.
- Test one egg first to see how long you should leave each egg in the beet juice to reach your desired color.
Frequently Asked Questions
No, there is no difference in the flavor!
Instead of using an artificial coloring that contains red 40 or other potentially harmful ingredients, this recipe is made with just beet juice! It works just as well and it's actually good for you.
You can store the leftover beet juice in the freezer or add it to smoothies or other fruit and veggie juices to boost the nutrition!

Serving Suggestions
These colorful deviled eggs are the perfect appetizer for Easter Brunch or Easter Dinner! Place the eggs on a serving tray or plate with an extra sprinkle of paprika or chives for garnish.
You can also enjoy them any time of the year for breakfast, lunch, or dinner. Eggs are a great source of protein!
How to store leftovers
Leftover deviled eggs should be stored in an airtight container in the refrigerator for about 3-4 days.
Recipes you'll love!
After you make these Naturally Dyed Deviled Eggs, make sure to leave a comment & rate the recipe!
Recipe Card

Naturally Dyed Deviled Eggs
Equipment
Ingredients
- 6 Hard Boiled Eggs
- 1 Large Beet, cut into fourths.
- 2-3 Cups Filtered Water
Instructions
- Start by cutting the hard-boiled eggs in half the long way. Flip them upside down over a small bowl and the yolk should pop right out! If you have trouble, you can use a spoon to remove the remaining yolk.
- Next, place all the egg whites on a paper towel lined plate, tray, or baking sheet.
- Cut the beet into fourths. (You can peel the beet, but it might get messy!)
- Then add the roughly chopped beet into a blender with 2-3 cups of water. Blend on high until you have a smooth, vibrant colored juice. NOTE: You can strain the beet juice with a cheese cloth to make it even smoother, but it's not necessary.
- Pour the fresh beet juice into a small bowl. Then put the egg with the round side up on a fork. Fully submerge the egg white for about 15-30 seconds for a lighter pink color. For a deeper color, leave the egg white in for 1-2 minutes.
- Then set each dyed egg on a plate and repeat until all egg whites are dyed pink.
- When finished dyeing all the eggs, carefully rinse each egg and pat dry with a paper towel.
Notes
Expert Tips
- If you don't have a blender, you can also purchase beet juice at most local grocery stores. This will also save time.
- To make the beet juice even smoother, strain it with a cheese cloth first.
- You can also use a juicer instead of blender! Save the leftover beet juice and mix it with a variety of other fruits and vegetables for a homemade juice drink.
- Add more water to the beet juice to make the color less concentrated.
- For a beautiful contrasting color, dip whole eggs in the beet juice BEFORE you cut them in half! This will leave distinct white line.
- Test one egg first to see how long you should leave each egg in the beet juice to reach your desired color.
How to Store Leftovers
Leftover deviled eggs should be stored in an airtight container in the refrigerator for about 3-4 days. **For more information and step by step photos, see full post!Nutrition
Want more recipes?
Check out my recipe box where you can browse by season, diet, and flavor!





Comments
No Comments