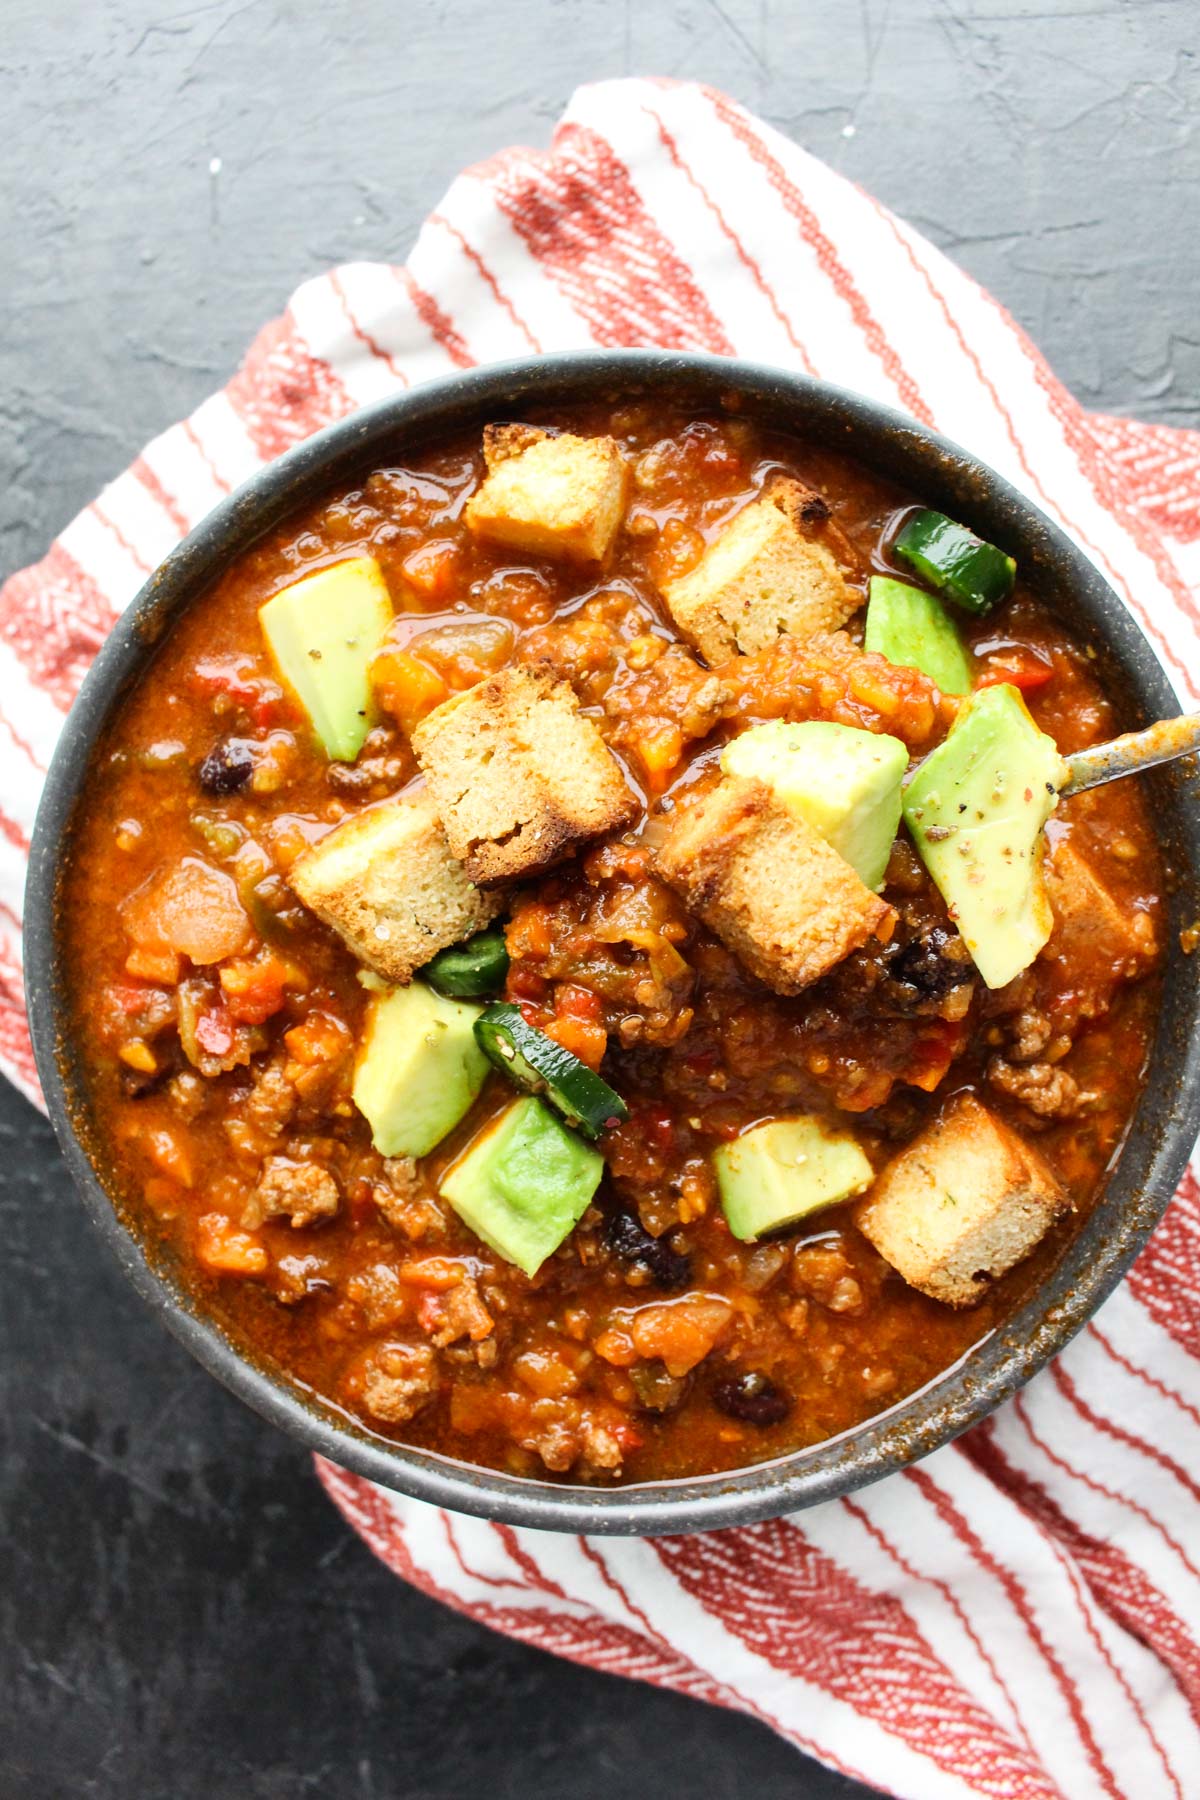
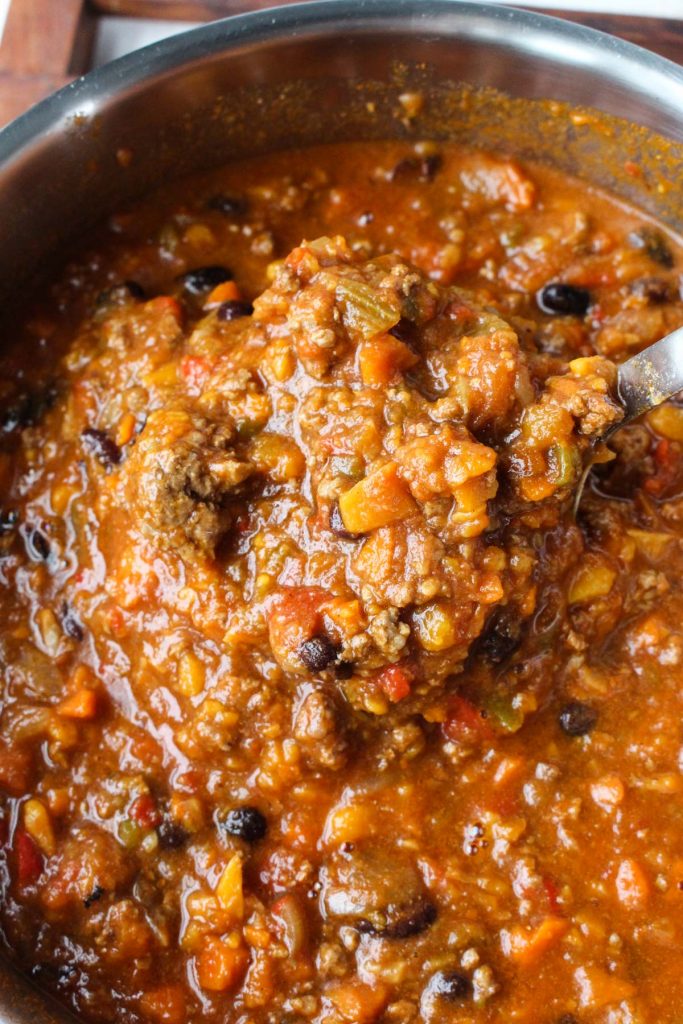
This Veggie Loaded Beef Chili is a winter necessity! It's chunky, flavorful, and takes less than an hour to make in the pressure cooker! Beans are usually the main ingredient in chili recipes, but this chili is FILLED with vegetables. (11 cups in the whole recipe!) And best of all?? It's SO easy to prepare!
Disclaimer: Some of the links in this post are affiliate links, which means I make a small commission if you choose to purchase through qualifying links.
Jump to:
Why I love this Chili Recipe
Instead of chopping all the vegetables by hand, I used my food processor to pulse all of the vegetables into small chunks. This adds a nice texture to the chili, and cuts down on prep time. (Which is a win-win in my book!) I also left plenty of substitutions for anyone who is Paleo, Whole30, or Vegan/Vegetarian. Don't have a pressure cooker? Head over to the FAQ section to find out other cooking options!
🍴Ingredient Notes
- Ground Beef - You can also sub with ground turkey! It's important to choose quality meat. Personally, I buy my beef in bulk from a local farmer, but there are plenty of great options out there! Check to make sure there are no added hormones, and that the cows were grass fed AND grass finished. A lot of brands market their meat saying "grass fed" but that can mean they ate grass ONCE in their life! Because I get mine from the local farmer, it doesn't say what percentage fat it is, but I usually pick 85-90%. When you use a higher percentage meat, you don't need to add oil to the bottom of the pan when you're cooking it with the onions and garlic.
- Whole Peeled Tomatoes, Pureed - You can also use diced tomatoes if you want it to be chunkier.
- Black Beans, drained and rinsed - You can use any beans that you want for this recipe! Personally if I add beans it’s usually black beans, but you could also use white beans, pinto beans, or red kidney beans. It’s also delicious if you do a combination of two different kinds of beans! If you’re making this recipe with meat I would suggest using 1-2 15 oz. cans. If you’re subbing meat for beans I would suggest using four 15 oz. cans!
- Sweet Potato, Peeled & Chopped - 3 cups is about 3 medium sized sweet potato.
- Carrots, Rinsed & Chopped - 2 cups is about 3-4 small/medium carrots.
- Red Peppers, Rinsed & Chopped - I like to use a mix of red, green, and orange! 3 cups is usually about 3 medium sized peppers.
- Celery, Rinsed & Chopped - 2 cups is usually about 3-4 stalks. You can use the whole stalk, just chop off the brown part at the end.
- Cloves of garlic, Peeled & Minced - If you don't have fresh garlic you can use ½-1 teaspoon of garlic powder.
Bean Info
My favorite brand of canned organic beans is Eden. They have extremely high standards, and an extensive cooking process. Eden also uses BPA-Free lining on all of their cans! They soak their beans overnight and pressure-cook all of their beans before packaging! This extensive process helps to reduce something called lectins. Lectins are proteins found in beans, and other foods. They can be difficult to digest, which is essentially what causes gas and bloating when beans aren’t prepared properly. Pressure cooking them will help to make them more easily digestible!
🍴Step by Step Instructions
Preparing the vegetables
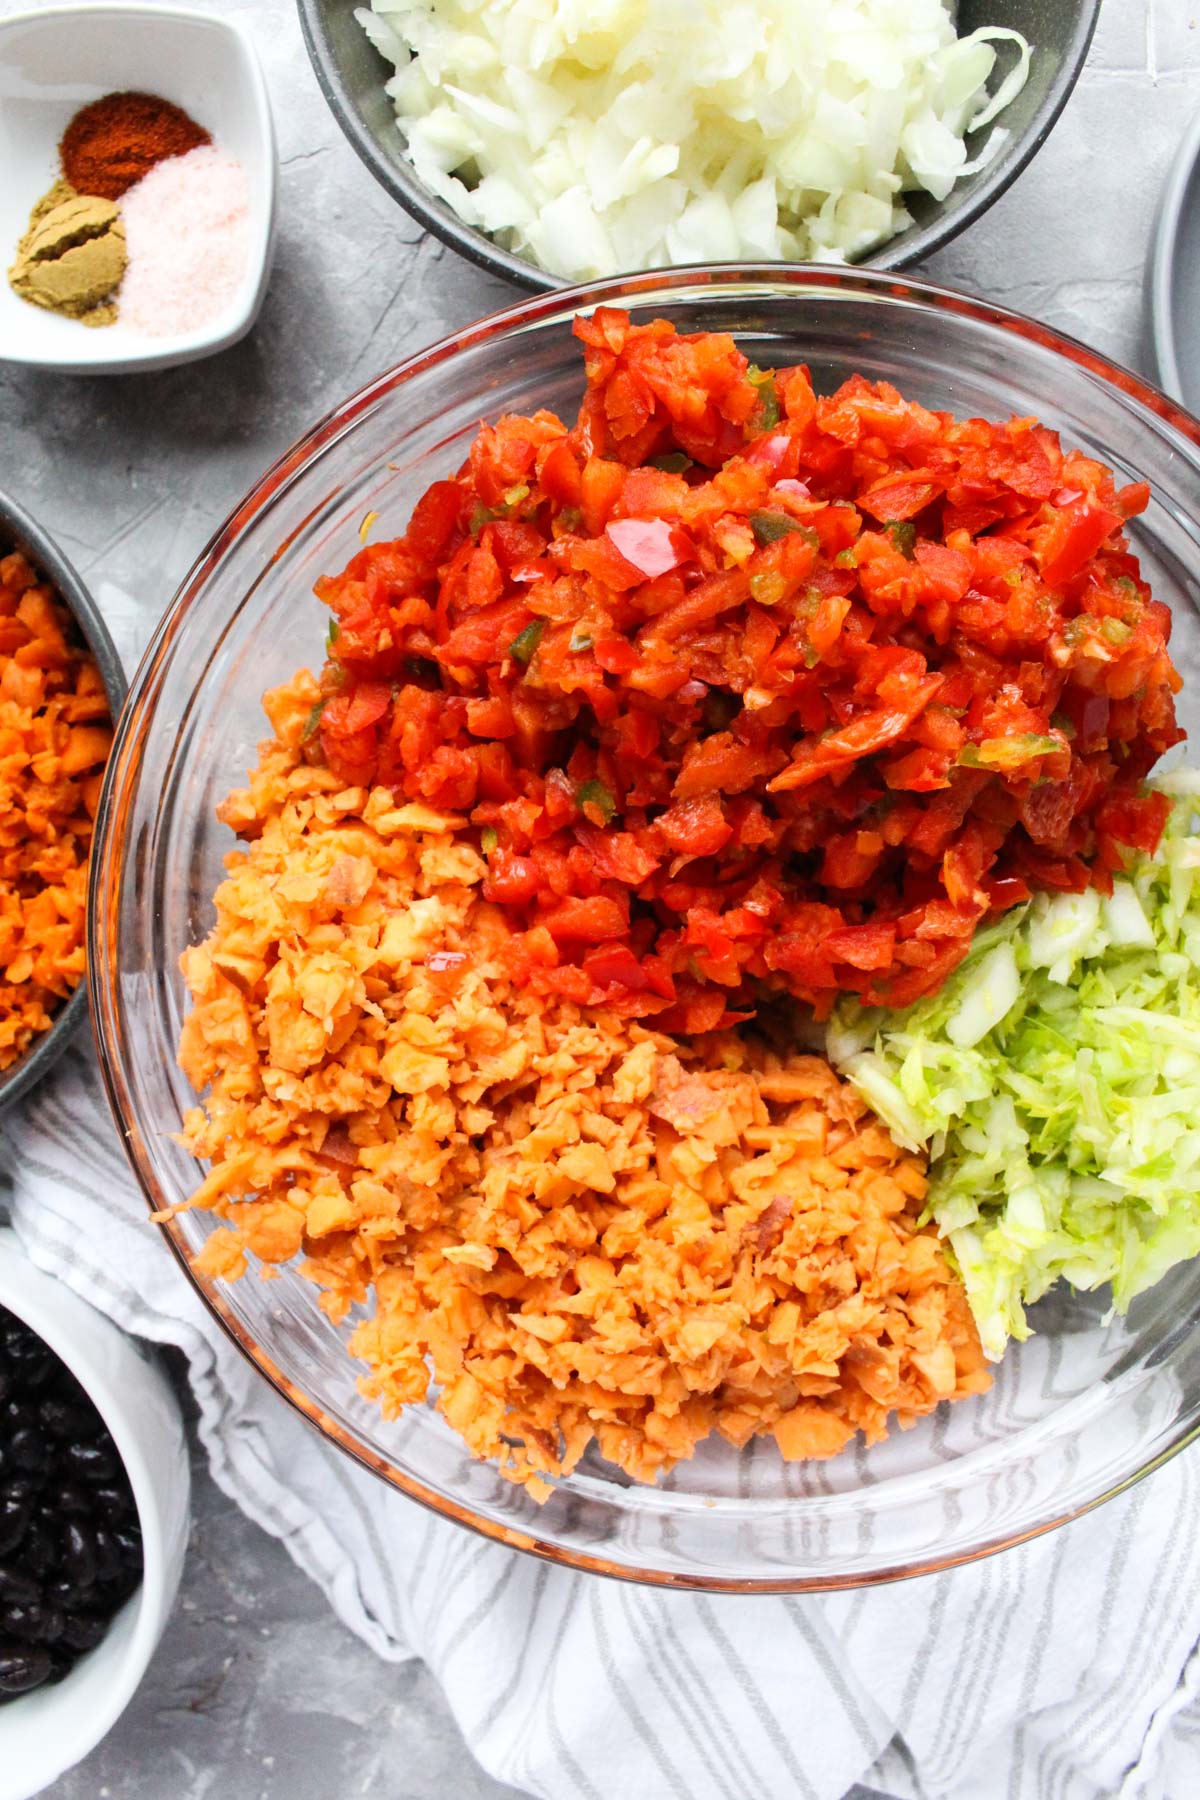
- Start by preparing all of your vegetables. For this recipe I pulsed all of my vegetables (one at a time) in the food processor to eliminate extra time chopping them. It also adds a nice chunky texture to your chili! Make sure you roughly chop your vegetables before adding them into the food processor so they chop more evenly.
- Take your roughly chopped and peeled sweet potato and place it in the food processor. Press the pulse button on and off until it turns into small chunks/shreds. Repeat with carrots, peppers, and celery. Once they're prepared, add them to a large bowl and set them aside for later.
- Next take your peeled garlic cloves, and peeled onion chopped into fourths, and add them to your food processor. Pulse until it becomes small chunks. Remove, and add to a separate small bowl.
Do I need a food processor for this recipe?
No! I like using the food processor because it saves time on hand chopping all of the vegetables, and the pulsed vegetables give it more of a chunky texture. If you don't have a food processor, you can certainly cut them yourself! Just chop them all into small bite size chunks.
Preparing the meat
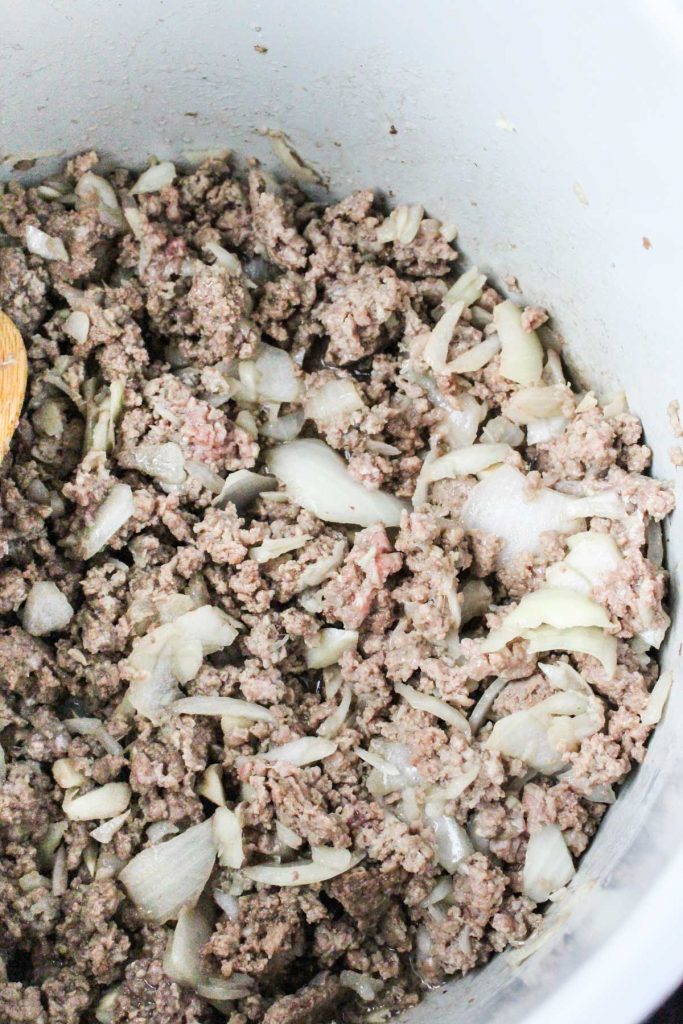
- Turn your pressure cooker to the sauté setting and turn it on high. Let it warm up for a couple minutes, and then add your ground beef, and onion/garlic mixture. Break up the meat and let it cook until it's 80% done. Once it looks about 80% done, turn off the heat.
Putting it all together
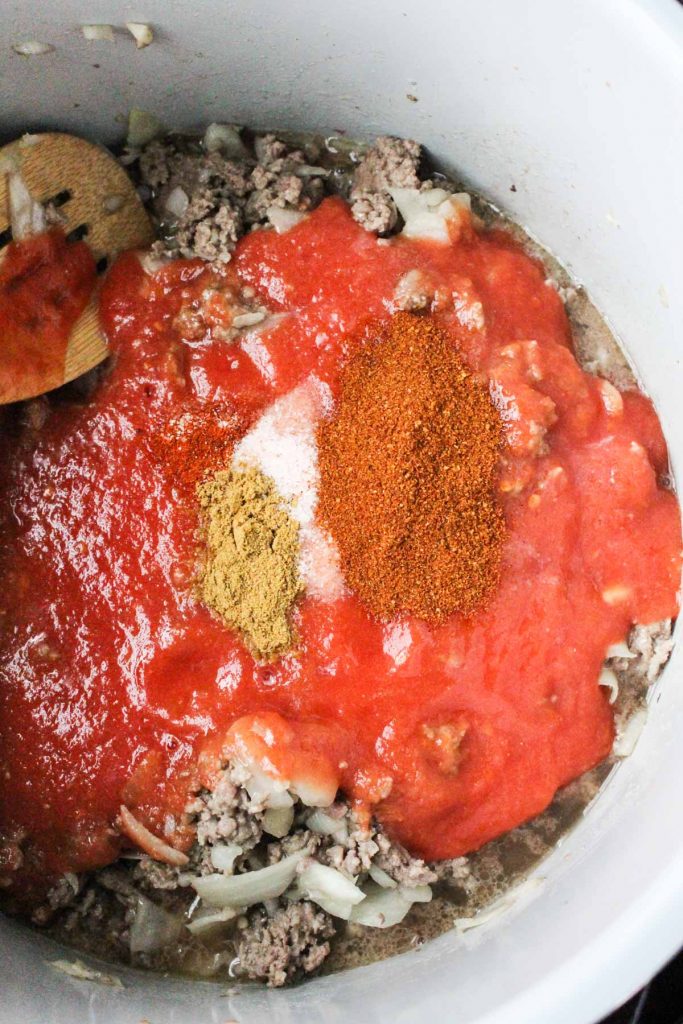
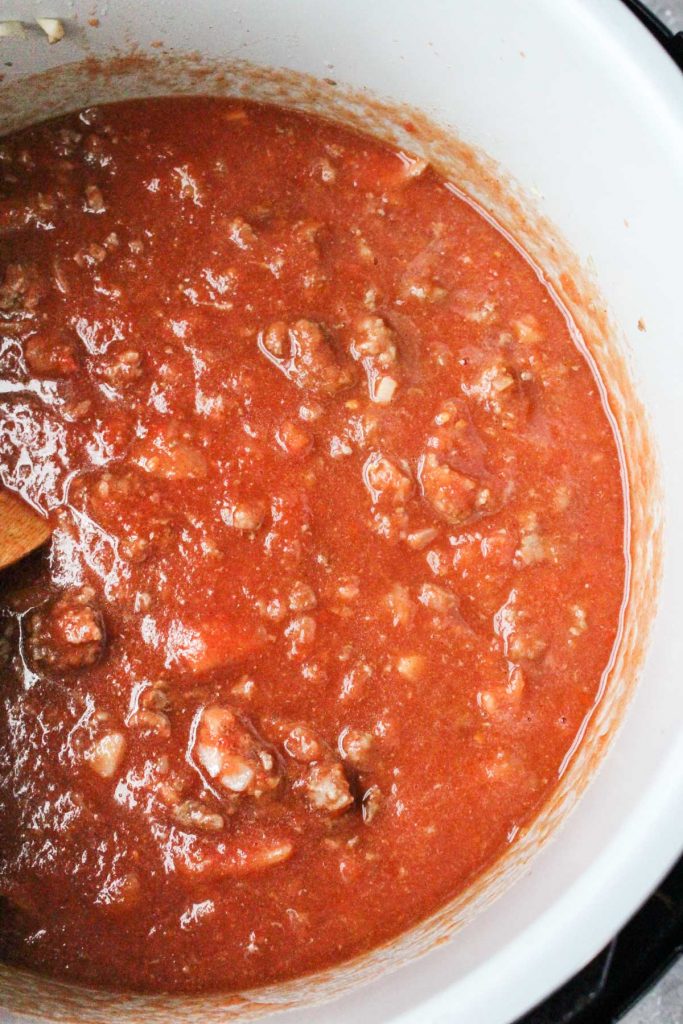
- Next stir in your two cans of pureed tomatoes, chili powder, cayenne pepper, cumin, and salt.
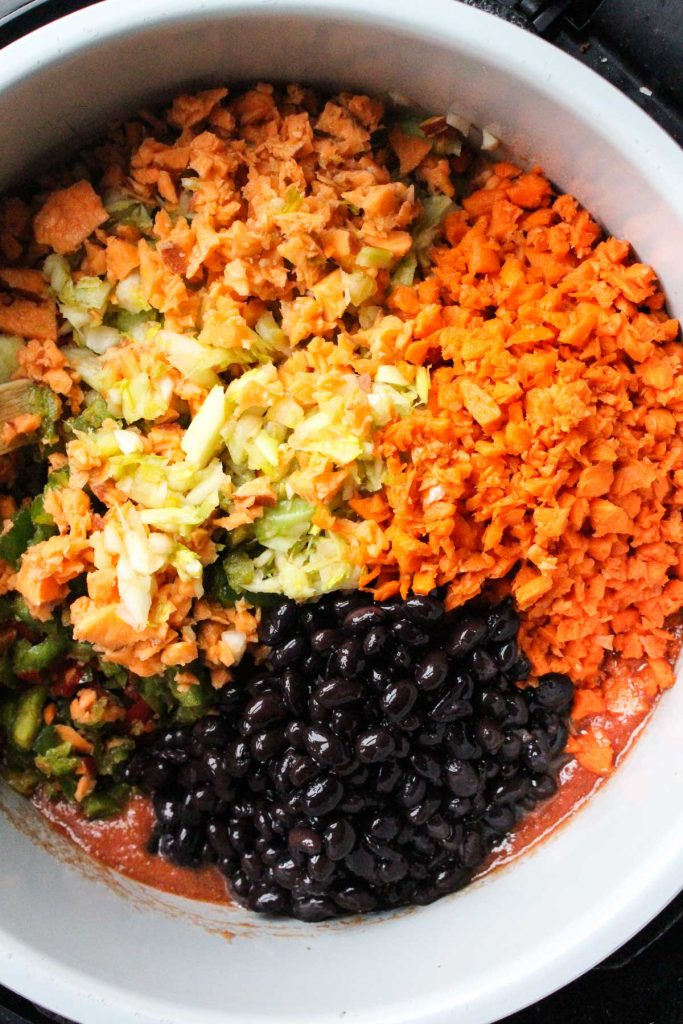
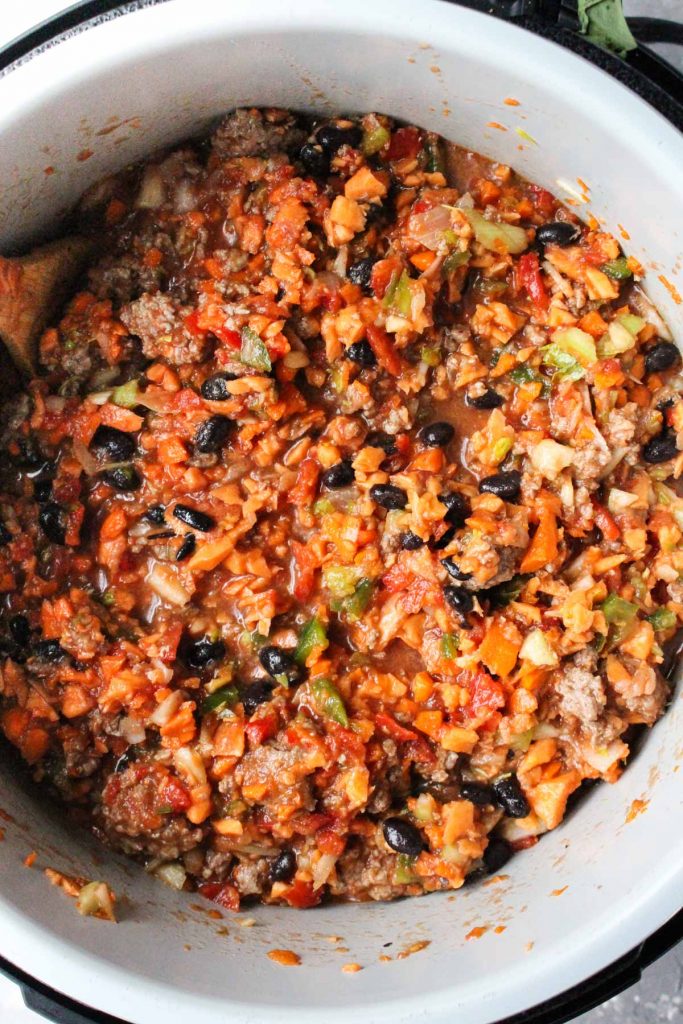
- Then pour in your bowl of pulsed vegetables, and black beans. Give it a good stir, and place the cover on top. Make sure it's set to lock/seal!
Pressure cooking
- Set your pressure cooker to high for 30 minutes.
- Once it's done, release the pressure and remove the cover. Stir the chili a few times and let it sit for a couple minutes before you serve. ENJOY!
Quick Tips for Beef Chili
- Make sure before adding any beans to your chili that you rinse and drain them thoroughly! If you dump them straight in from the can it will add too much liquid.
- What's great about chili is that you can play around with the spices! The measurements that I used create a medium spice! If you're sensitive to spice you can always use a little less cayenne pepper and chili powder. If you enjoy a little more spice, feel free to add ¼ teaspoon more of each!
- It's important to cook the onions, garlic, and beef a the bottom of the pot before you add the rest of the ingredients. This brings out the flavor and allows you time to break up the beef into bite size chunks! To avoid it burning at the bottom of the pot, you must thoroughly stir the soup before pressure cooking or else the meat and onions can stick to the bottom and burn.
What to serve with your Chili
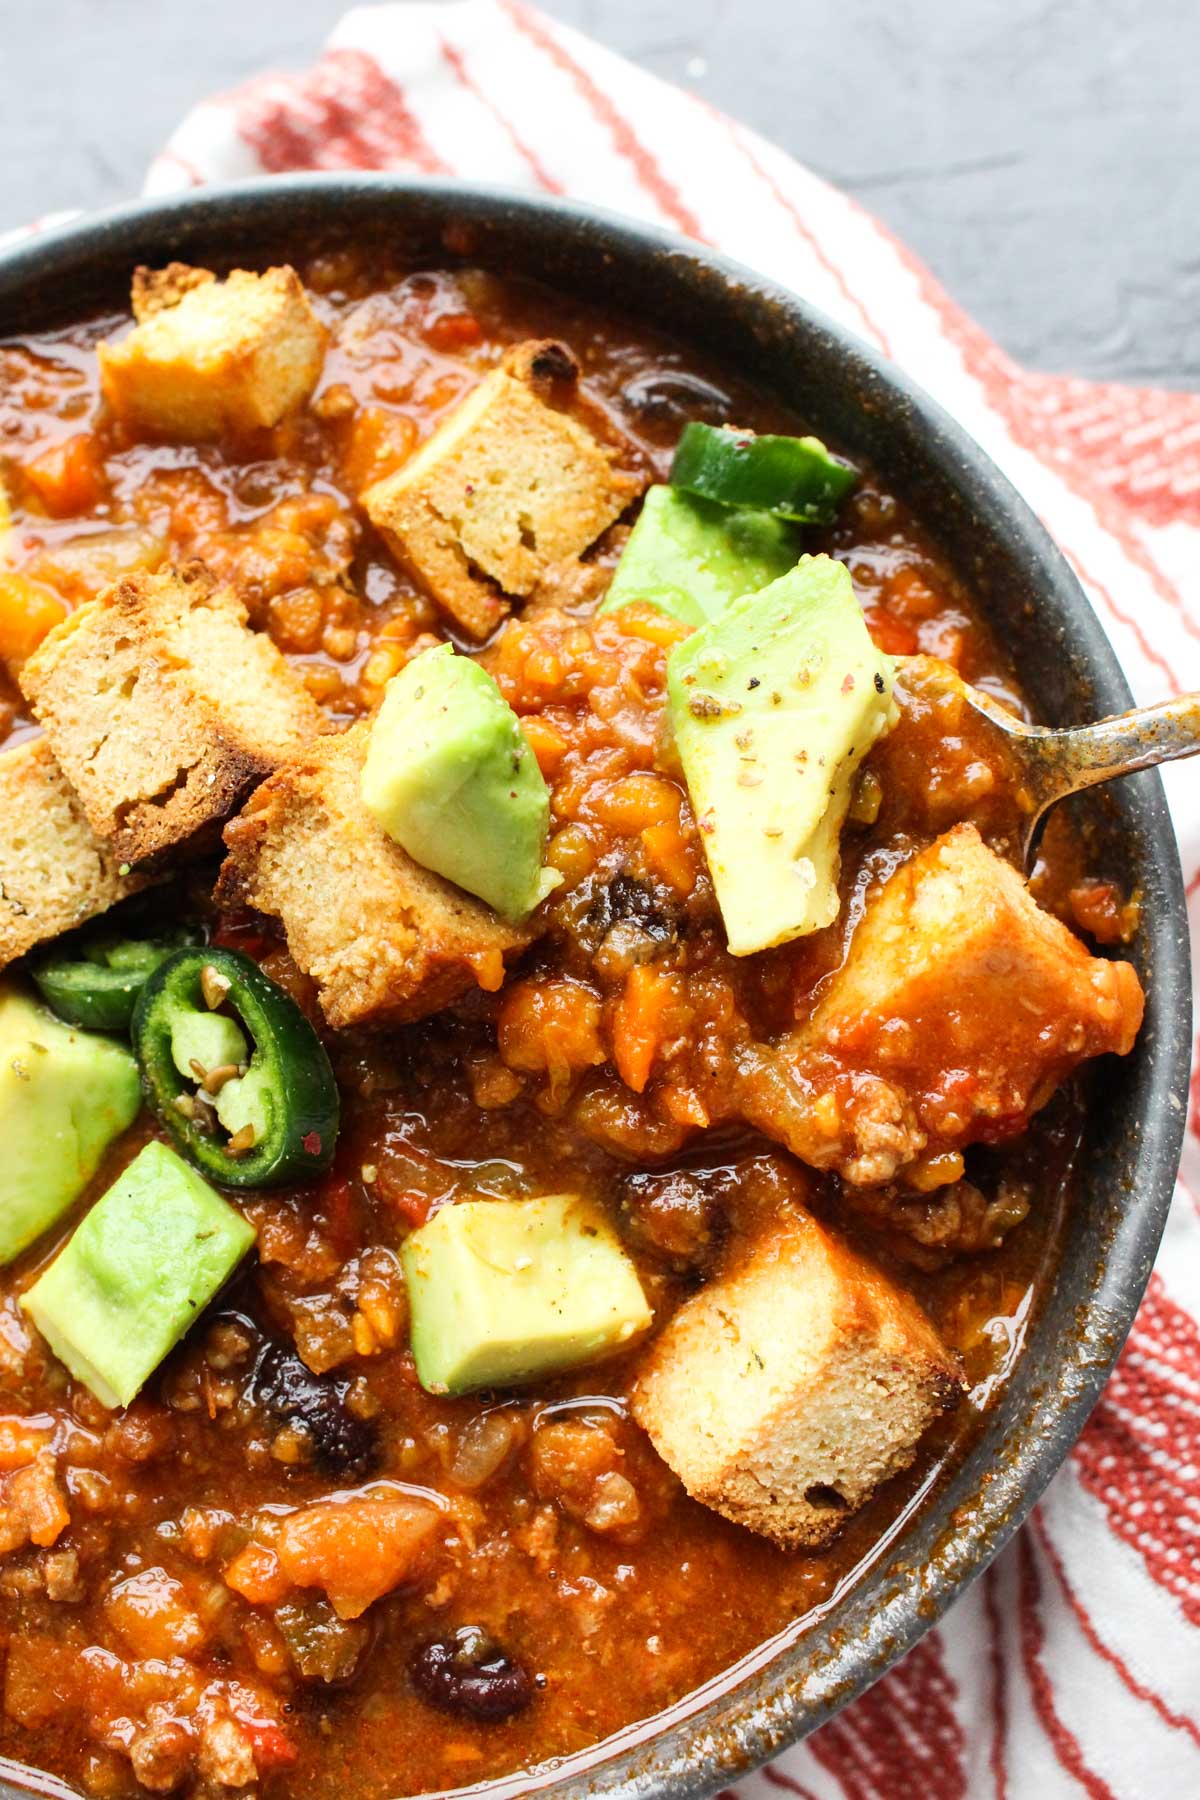
- You can serve your chili on its own, but I love adding toppings! If you like spice, jalapeños are a great option to add on top. You can even add very tiny chopped pieces into the chili while it cooks!
- Avocado is always a great chili topping. It’s full of healthy fats, fiber, and makes a beautiful garnish! Plus I find it balances out the spicy flavor. You can add long slices or little bite sized cubes!
- If you’re looking for a simple gluten-free, no yeast bread, check out my Paleo Garlic Herb Bread! I always toast a slice for dipping. You can also easily turn that bread recipe into homemade croutons!
- If you’re not doing Whole30 or on a Paleo diet, you can also serve your chili with rice.
Frequently Asked Questions
Yes! If you’re subbing meat for beans I would suggest using four 15 oz. cans! It tastes best if you use a variety of different kinds! Black Beans, Pinto Beans, Red Kidney Beans, and White Beans are great options.
Just skip the beans! I only use one 15 ounce can for this recipe, so you can easily skip the beans, and I bet no one will notice! (;
I have not tested it on the stovetop, but it would definitely work! Follow the original directions for the meat and onions. (Cook at the bottom of the pan.) Then stir in broth, spices, and then vegetables/beans. I would bring the chili to a boil, and then turn it on low. Let it simmer for about an hour!
Yes, I would suggest 3-4 hours on high or 5-6 hours on low. Make sure to cook the meat and onions in a pan before adding it to the crockpot. The meat does not need to be 100% cooked through, but as long as the onions soften up and the meat is broken up, you’ll be good to go!
You can use any beans that you want for this recipe! Personally if I add beans it’s usually black beans, but you could also use white beans, pinto beans, or red kidney beans. It’s also delicious if you do a combination of two different kinds of beans!
How to store & reheat leftovers
Leftovers can be stored in the refrigerator for about 5 days. Any longer than 5 days, and I would put them in a freezer safe glass containers. (Preferably glass.) They will last for a few months in the freezer. I usually put half of the batch in the freezer for days I don’t feel like cooking! If you’re putting some of the chili directly into the freezer, make sure it cools completely before putting it in the freezer. To reheat, just let the container defrost on the counter or in the refrigerator. You can add some soup to a microwave safe bowl and heat for a few minutes, or add a large amount to a sauce pan and reheat on the stove! (Cover and turn to medium heat - stirring occasionally.)
More instant pot recipes!
- Instant Pot Minestrone Soup
- Thai Red Curry Chicken Soup
- Creamy Butternut Squash Soup
- Instant Pot Taco Soup
- Easy No-Bean Pumpkin Chili
After you make this Veggie Loaded Beef Chili, make sure to leave a comment & rate the recipe! Your feedback is helpful for me, and for anyone planning to try this recipe. I hope you love it as much as I do!
Recipe
Veggie Loaded Beef Chili
Equipment
- Pressure cooker
Ingredients
- 2 pounds Ground Beef
- 2 28 ounce Cans of Whole Peeled Tomatoes, Pureed You can also use diced tomatoes if you want it to be chunkier.
- 1 15 Ounce Can of Black Beans, drained and rinsed You can add an additional can if you want more! You can also swap the black beans for red kidney beans, pinto beans, or white beans.
Vegetables
- 3 Cups Sweet Potato, Peeled & Chopped 3 cups is about 3 medium sized sweet potato.
- 2 Cups Carrots, Rinsed & Chopped 2 cups is about 3-4 small/medium carrots.
- 3 Cups Red Peppers, Rinsed & Chopped I like to use a mix of red, green, and orange! 3 cups is usually about 3 medium sized peppers.
- 2 Cups Celery, Rinsed & Chopped 2 cups is usually about 3-4 stalks. You can use the whole stalk, just chop off the brown part at the end.
- 1 Sweet Onion, Peeled & Diced
Seasoning & Spices
- 4-6 Cloves of garlic, Peeled & Minced If you don't have fresh garlic you can use ½-1 teaspoon of garlic powder.
- 2 + ½ Teaspoons Chili Powder
- 1 + ½ Teaspoons Salt
- 1 Teaspoon Cumin
- ½ Teaspoon Cayenne Pepper
Instructions
Preparing the vegetables:
- Start by preparing all of your vegetables. For this recipe I pulsed all of my vegetables (one at a time) in the food processor to eliminate extra time chopping them. It also adds a nice chunky texture to your chili! Make sure you roughly chop your vegetables before adding them into the food processor so they chop more evenly.
- Take your roughly chopped and peeled sweet potato and place it in the food processor. Press the pulse button on and off until it turns into small chunks/shreds. Repeat with carrots, peppers, and celery. Once they're prepared, add them to a large bowl and set them aside for later.
- Next take your peeled garlic cloves, and peeled onion chopped into fourths, and add them to your food processor. Pulse until it becomes small chunks. Remove, and add to a separate small bowl.
Preparing the meat:
- Turn your pressure cooker to the saute setting and turn it on high. Let it warm up for a couple minutes, and then add your ground beef, and onion/garlic mixture. Break up the meat and let it cook until it's 80% done. Once it looks about 80% done, turn off the heat.
Putting it all together:
- Next stir in your two cans of pureed tomatoes, chili powder, cayenne pepper, cumin, and salt.
- Then pour in your bowl of pulsed vegetables, and black beans. Give it a good stir, and place the cover on top. Make sure it's set to lock/seal!
Pressure cooking:
- Set your pressure cooker to high for 30 minutes.
- Once it's done, release the pressure and remove the cover. Stir the chili a few times and let it sit for a couple minutes before you serve. ENJOY!
Notes
Tips for beef chili
- Make sure before adding any beans to your chili that you rinse and drain them thoroughly! If you dump them straight in from the can it will add too much liquid.
- What's great about chili is that you can play around with the spices! The measurements that I used create a medium spice! If you're sensitive to spice you can always use a little less cayenne pepper and chili powder. If you enjoy a little more spice, feel free to add ¼ teaspoon more of each!
- It's important to cook the onions, garlic, and beef a the bottom of the pot before you add the rest of the ingredients. This brings out the flavor and allows you time to break up the beef into bite size chunks! To avoid it burning at the bottom of the pot, you must thoroughly stir the soup before pressure cooking or else the meat and onions can stick to the bottom and burn.
Frequently Asked Questions
Nutrition
Shop this recipe -
 Buy Now →
  Buy Now →
  Buy Now →
  Buy Now →
  Buy Now →




Molly
My family loved this recipe!! I’ve made it a couple times. So good.
[email protected]
So happy to hear that!! xo Mariah