Gluten-Free Cut Out Sugar Cookies taste just like the classic recipe you know and love, but they're made with simple and healthy ingredients. They're soft yet sturdy and perfect for decorating for the holidays!
Disclaimer: Some of the links in this post are affiliate links, which means I make a small commission if you choose to purchase through qualifying links.
Jump to:
Why You'll Love This Recipe
These delicious gluten-free and dairy-free cut-out sugar cookies are simple, wholesome, and perfect for any occasion.
Made with almond flour and tapioca flour, these cookies have a soft yet sturdy texture that’s ideal for cutting into fun shapes!
They're naturally sweetened with coconut sugar and flavored with pure vanilla extract to just the right amount of sweetness.
Whether they’re decorating cookies with kids or making treats for the holidays, this recipe is a go-to for delicious, allergy-friendly baking!
If you love eating gluten-free sugar cookie dough, try my Edible Sugar Cookie Dough Recipe! You'll also love my Soft Almond Flour Sugar Cookies!
🍴Recipe Ingredients
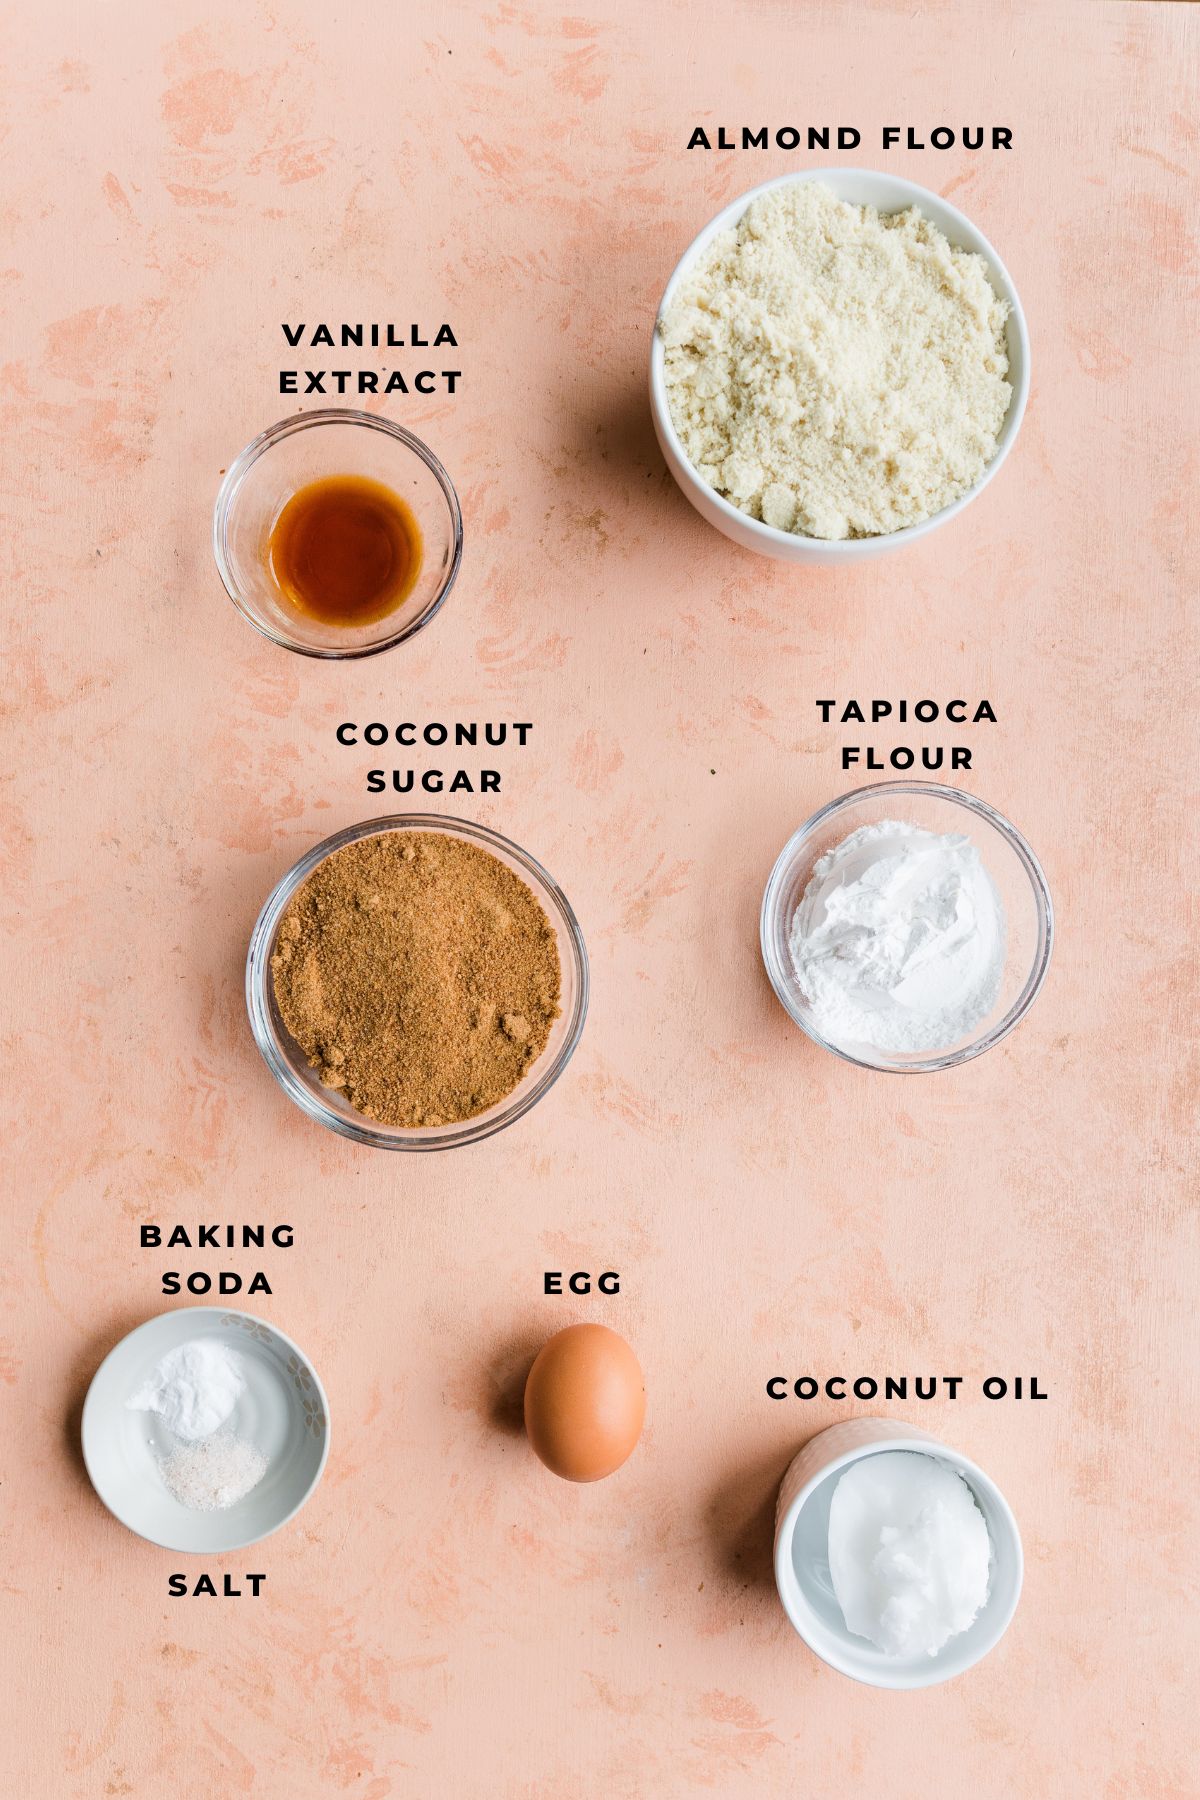
- Coconut Sugar - You can substitute with any granulated sugar you enjoy baking with.
- Coconut Oil - I like to measure the coconut oil first, and then heat it up.
- Eggs & Egg Yolks - I would not recommend using an egg replacement.
- Vanilla Extract - To give them a classic sugar cookie flavor, I suggest adding in high quality vanilla extract.
- Almond Flour - My favorite almond flour brands are Bob’s Red Mill, and Blue Diamond. For more information on Almond Flour, check out my Almond Flour Basics post!
- Tapioca Flour - Tapioca flour is a light flour that helps to create a pliable dough texture. It's gluten-free & grain-free.
- Baking Soda & Salt
🍴Step by Step Instructions
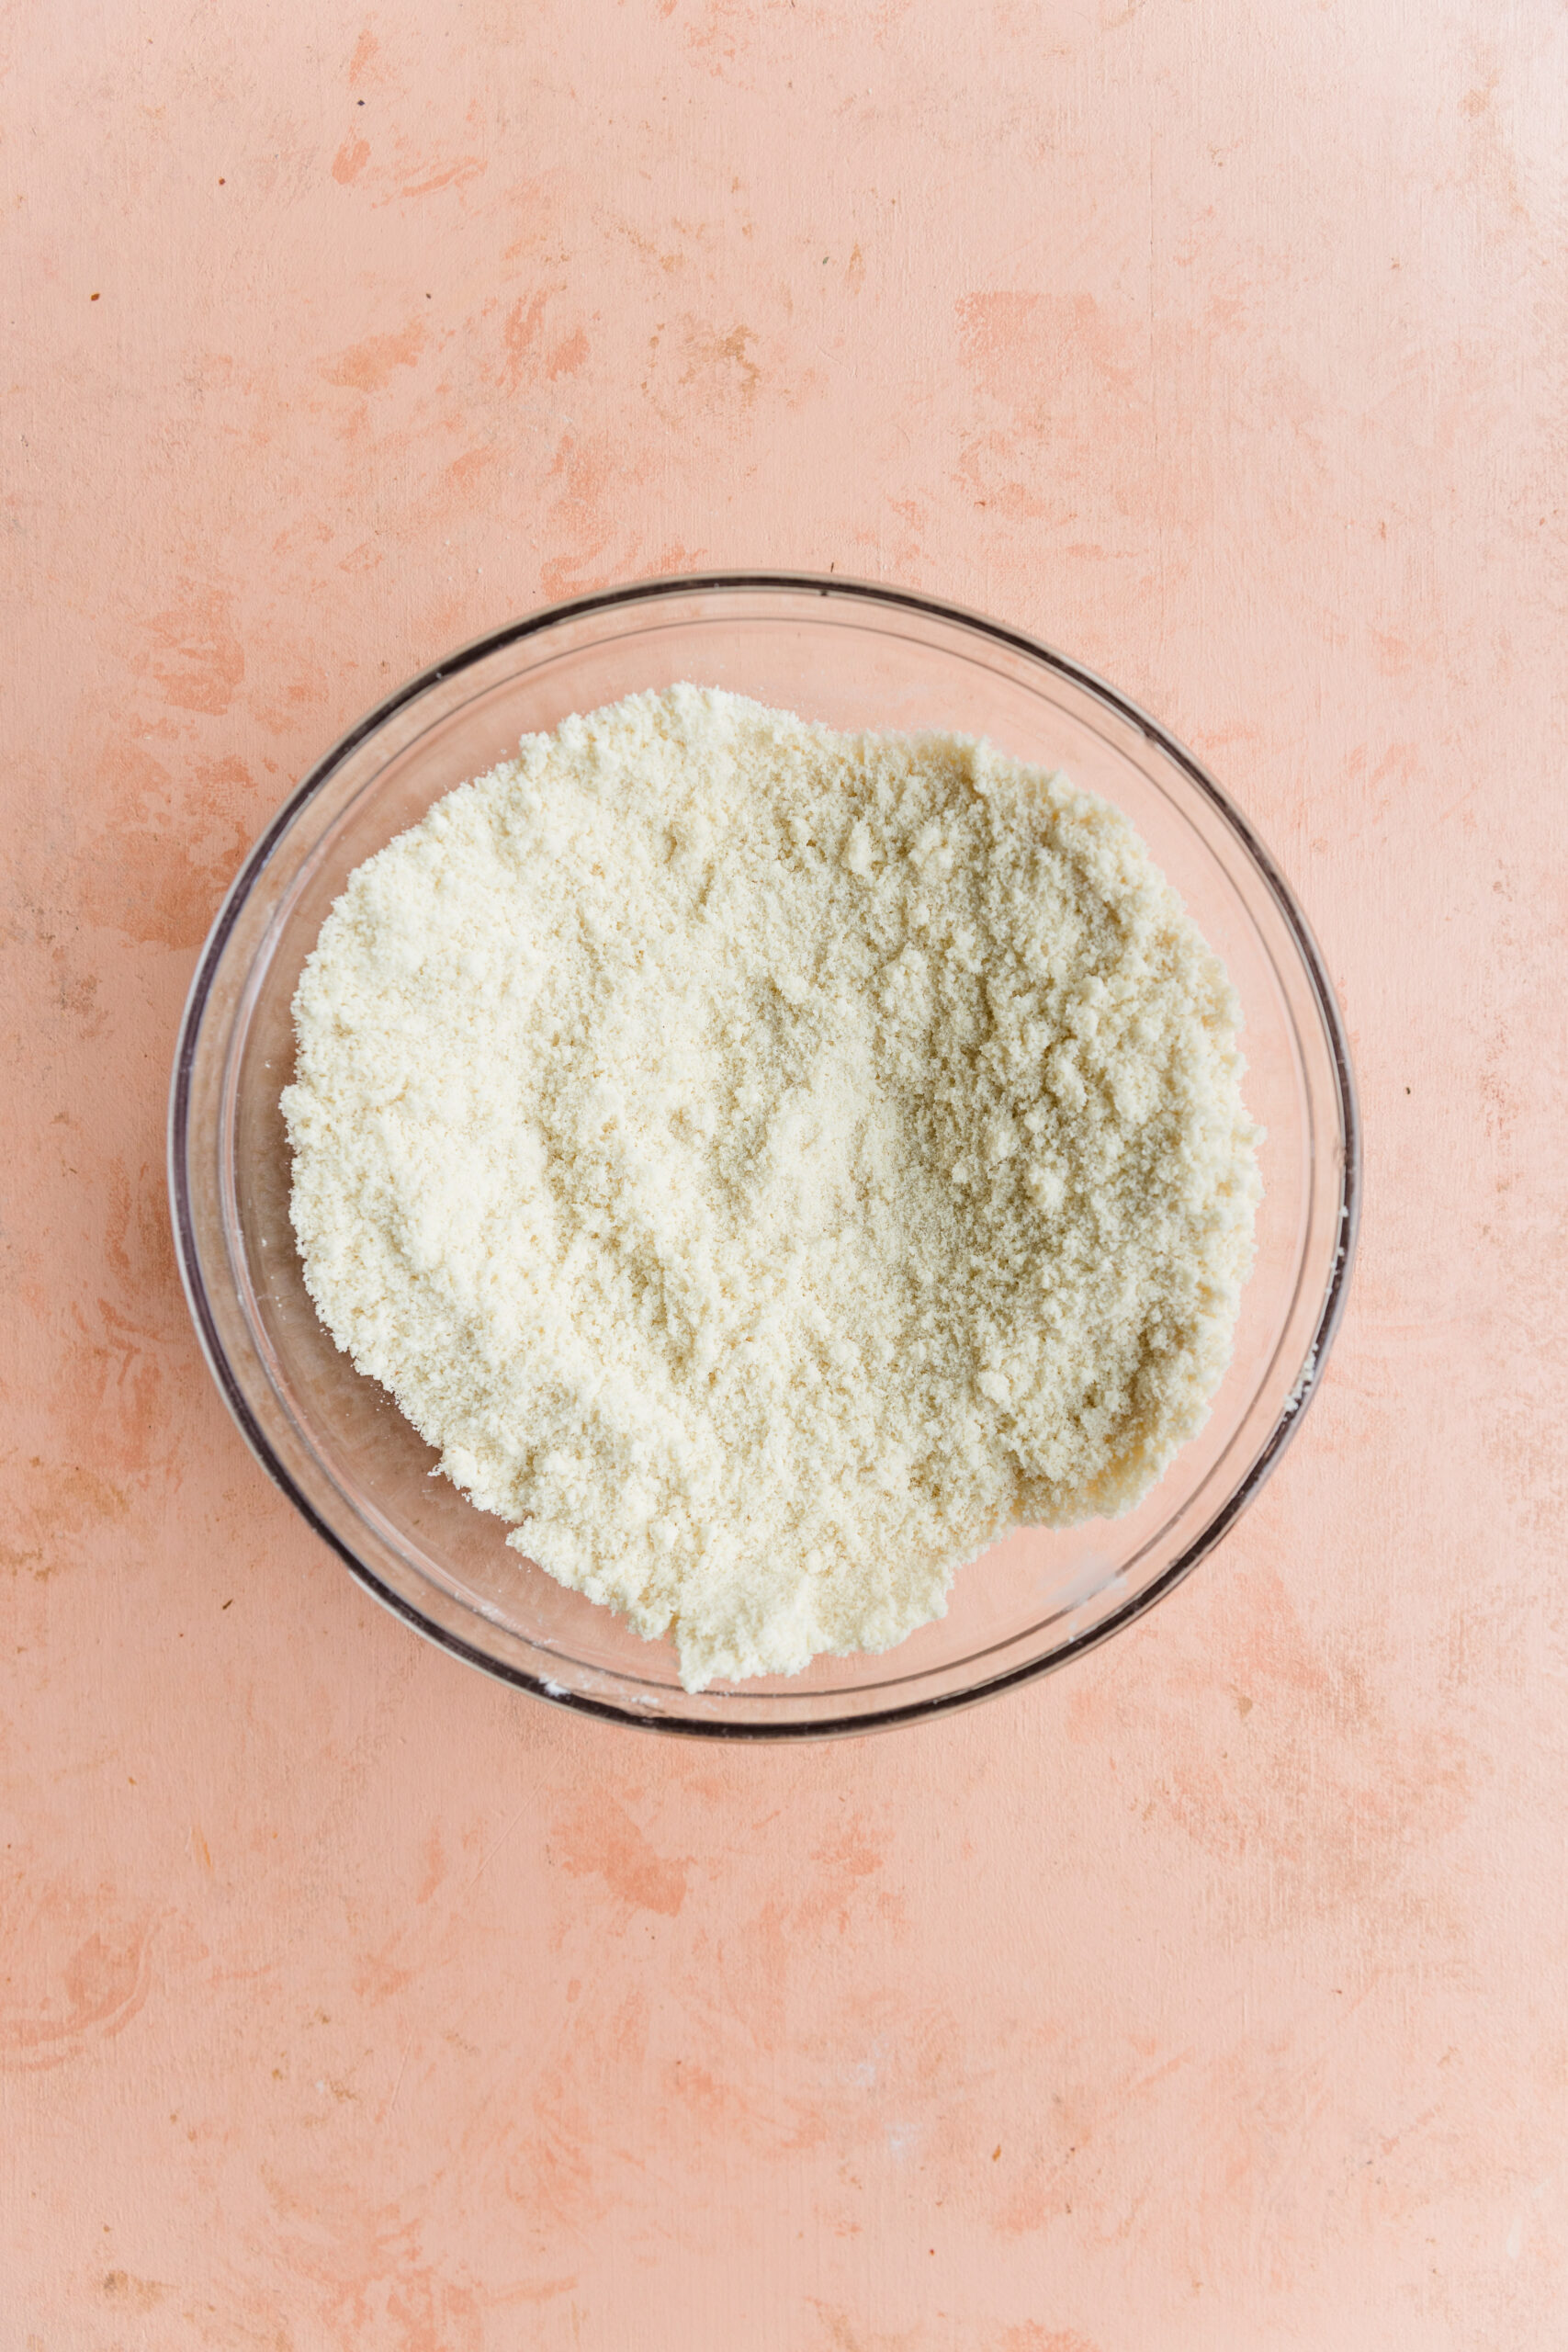
Step 1: Mix Dry Ingredients
Start by adding almond flour, tapioca flour, baking soda, and salt into a medium sized bowl. Mix with a whisk or a fork until fully combined.
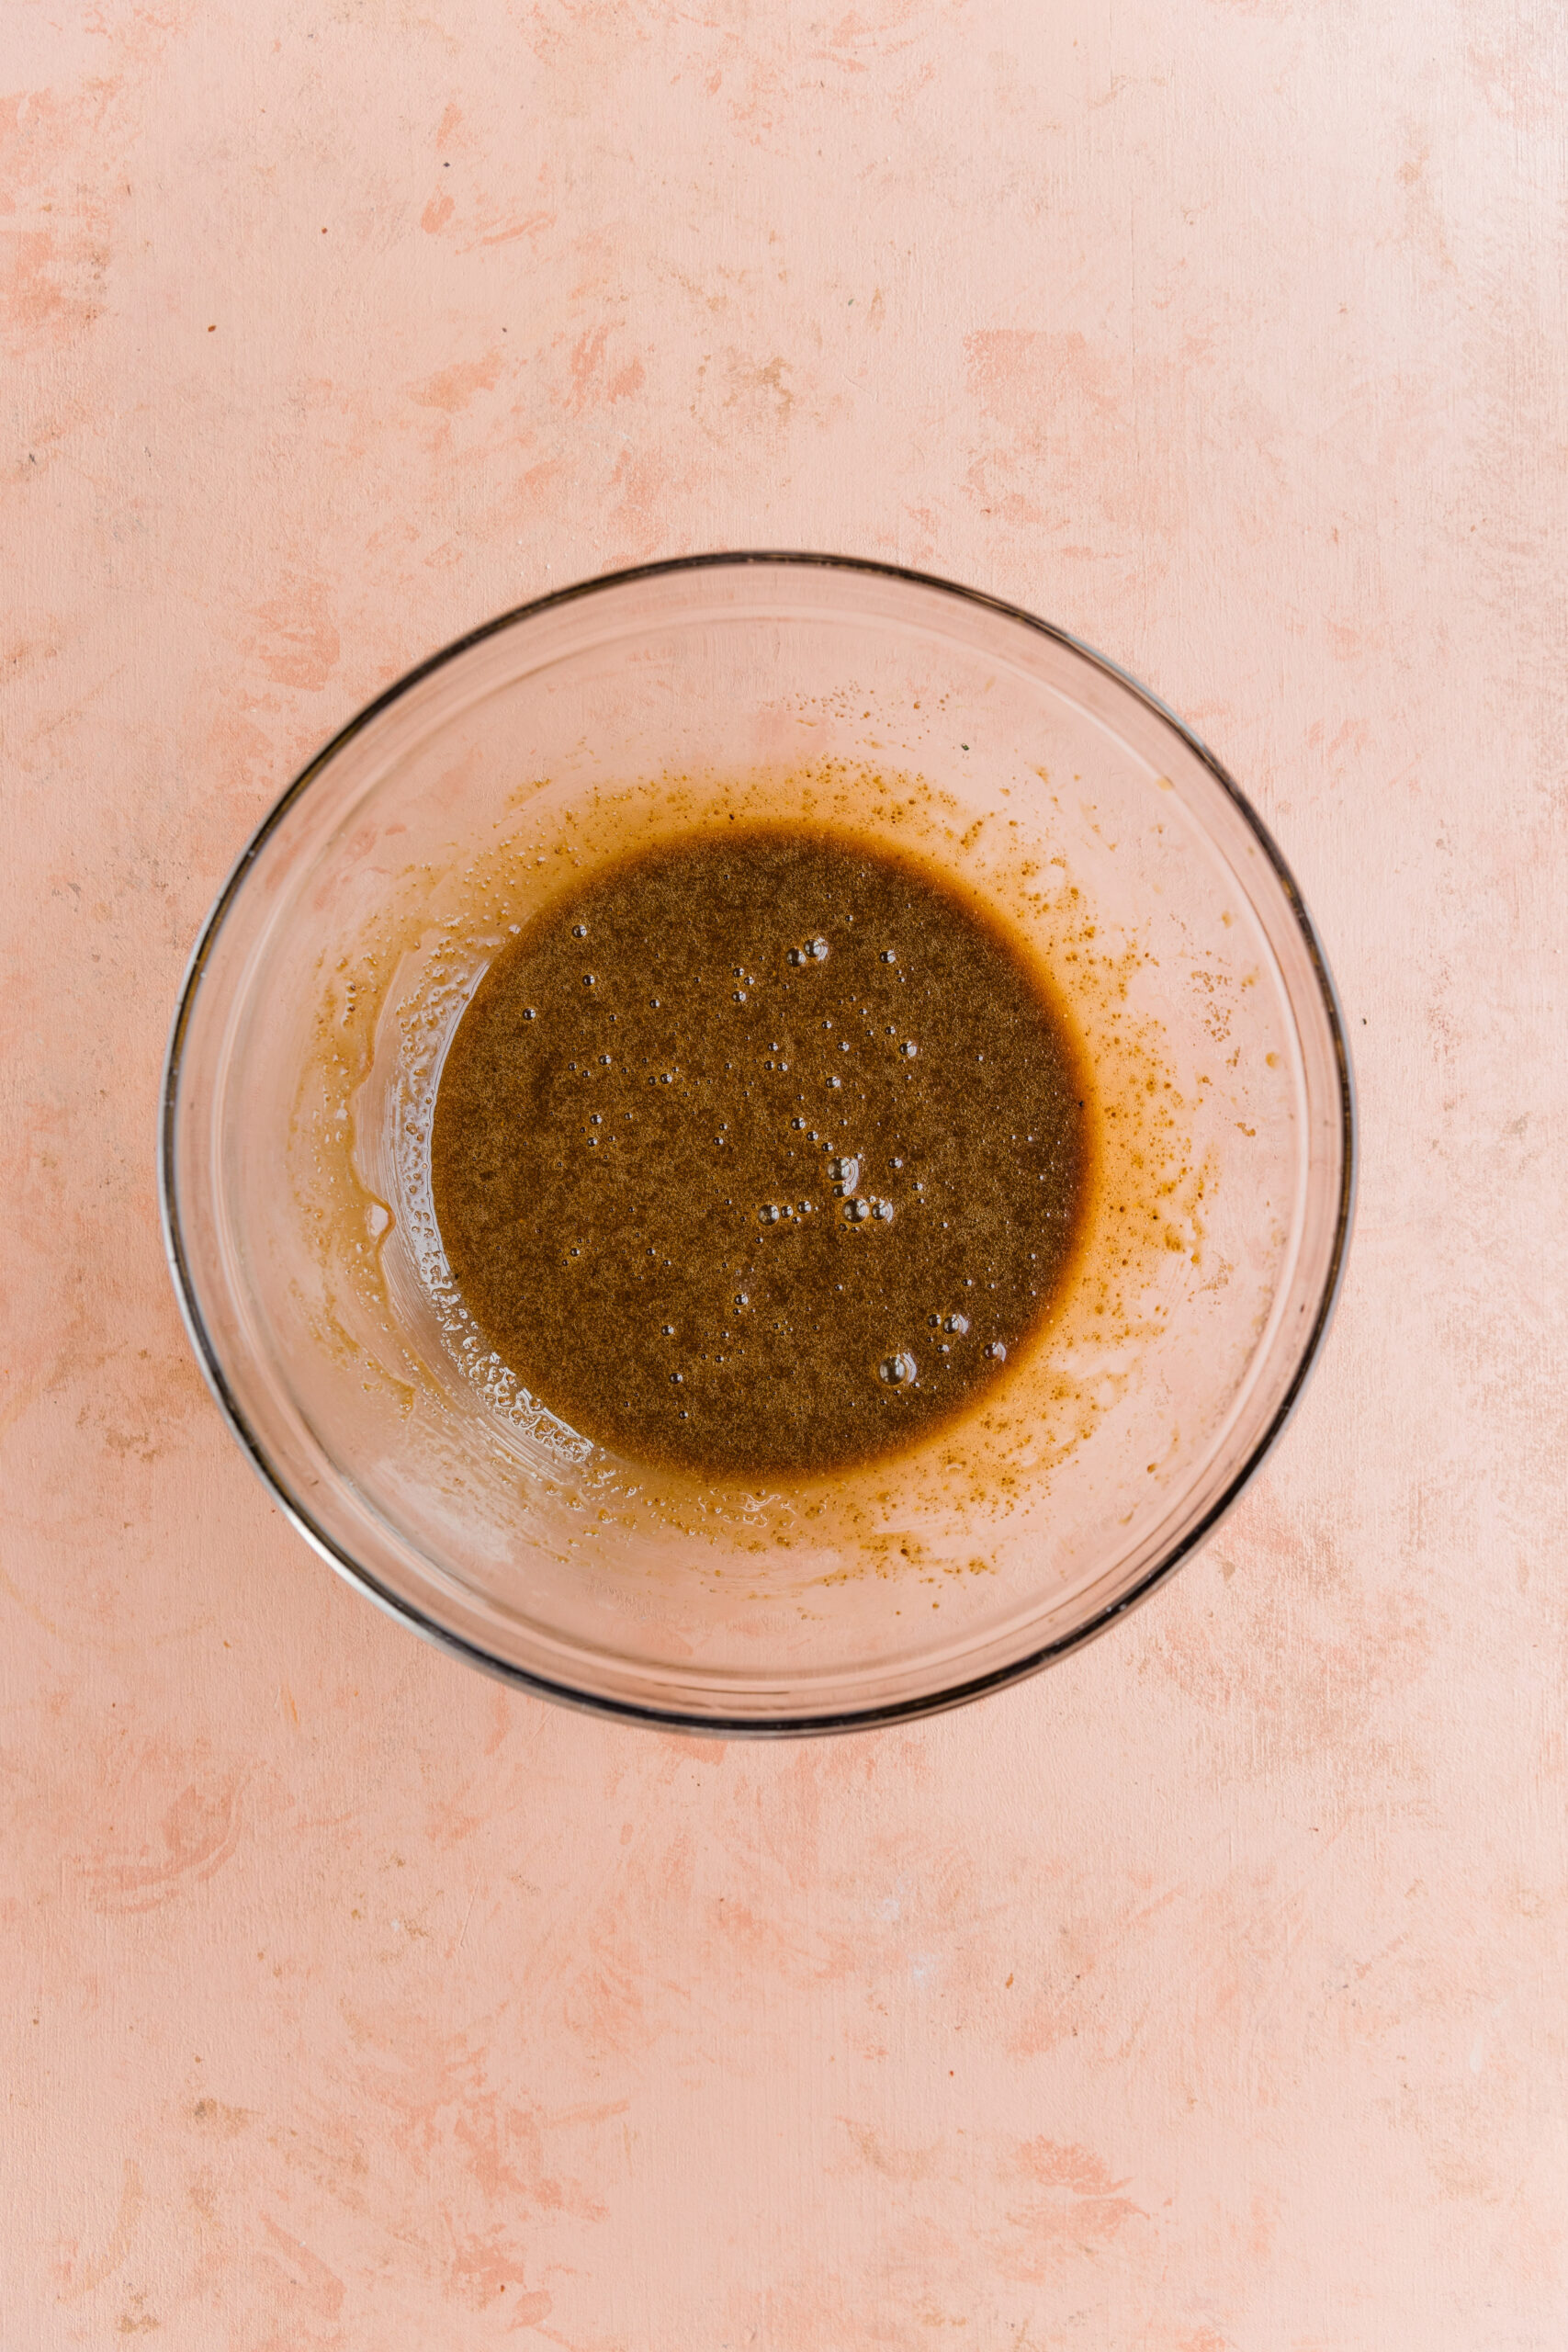
Step 2: Mixing Wet Ingredients
Next, add the coconut sugar, egg, vanilla extract and melted coconut oil into a large bowl. Use a hand mixer or whisk to blend just until ingredients are combined.
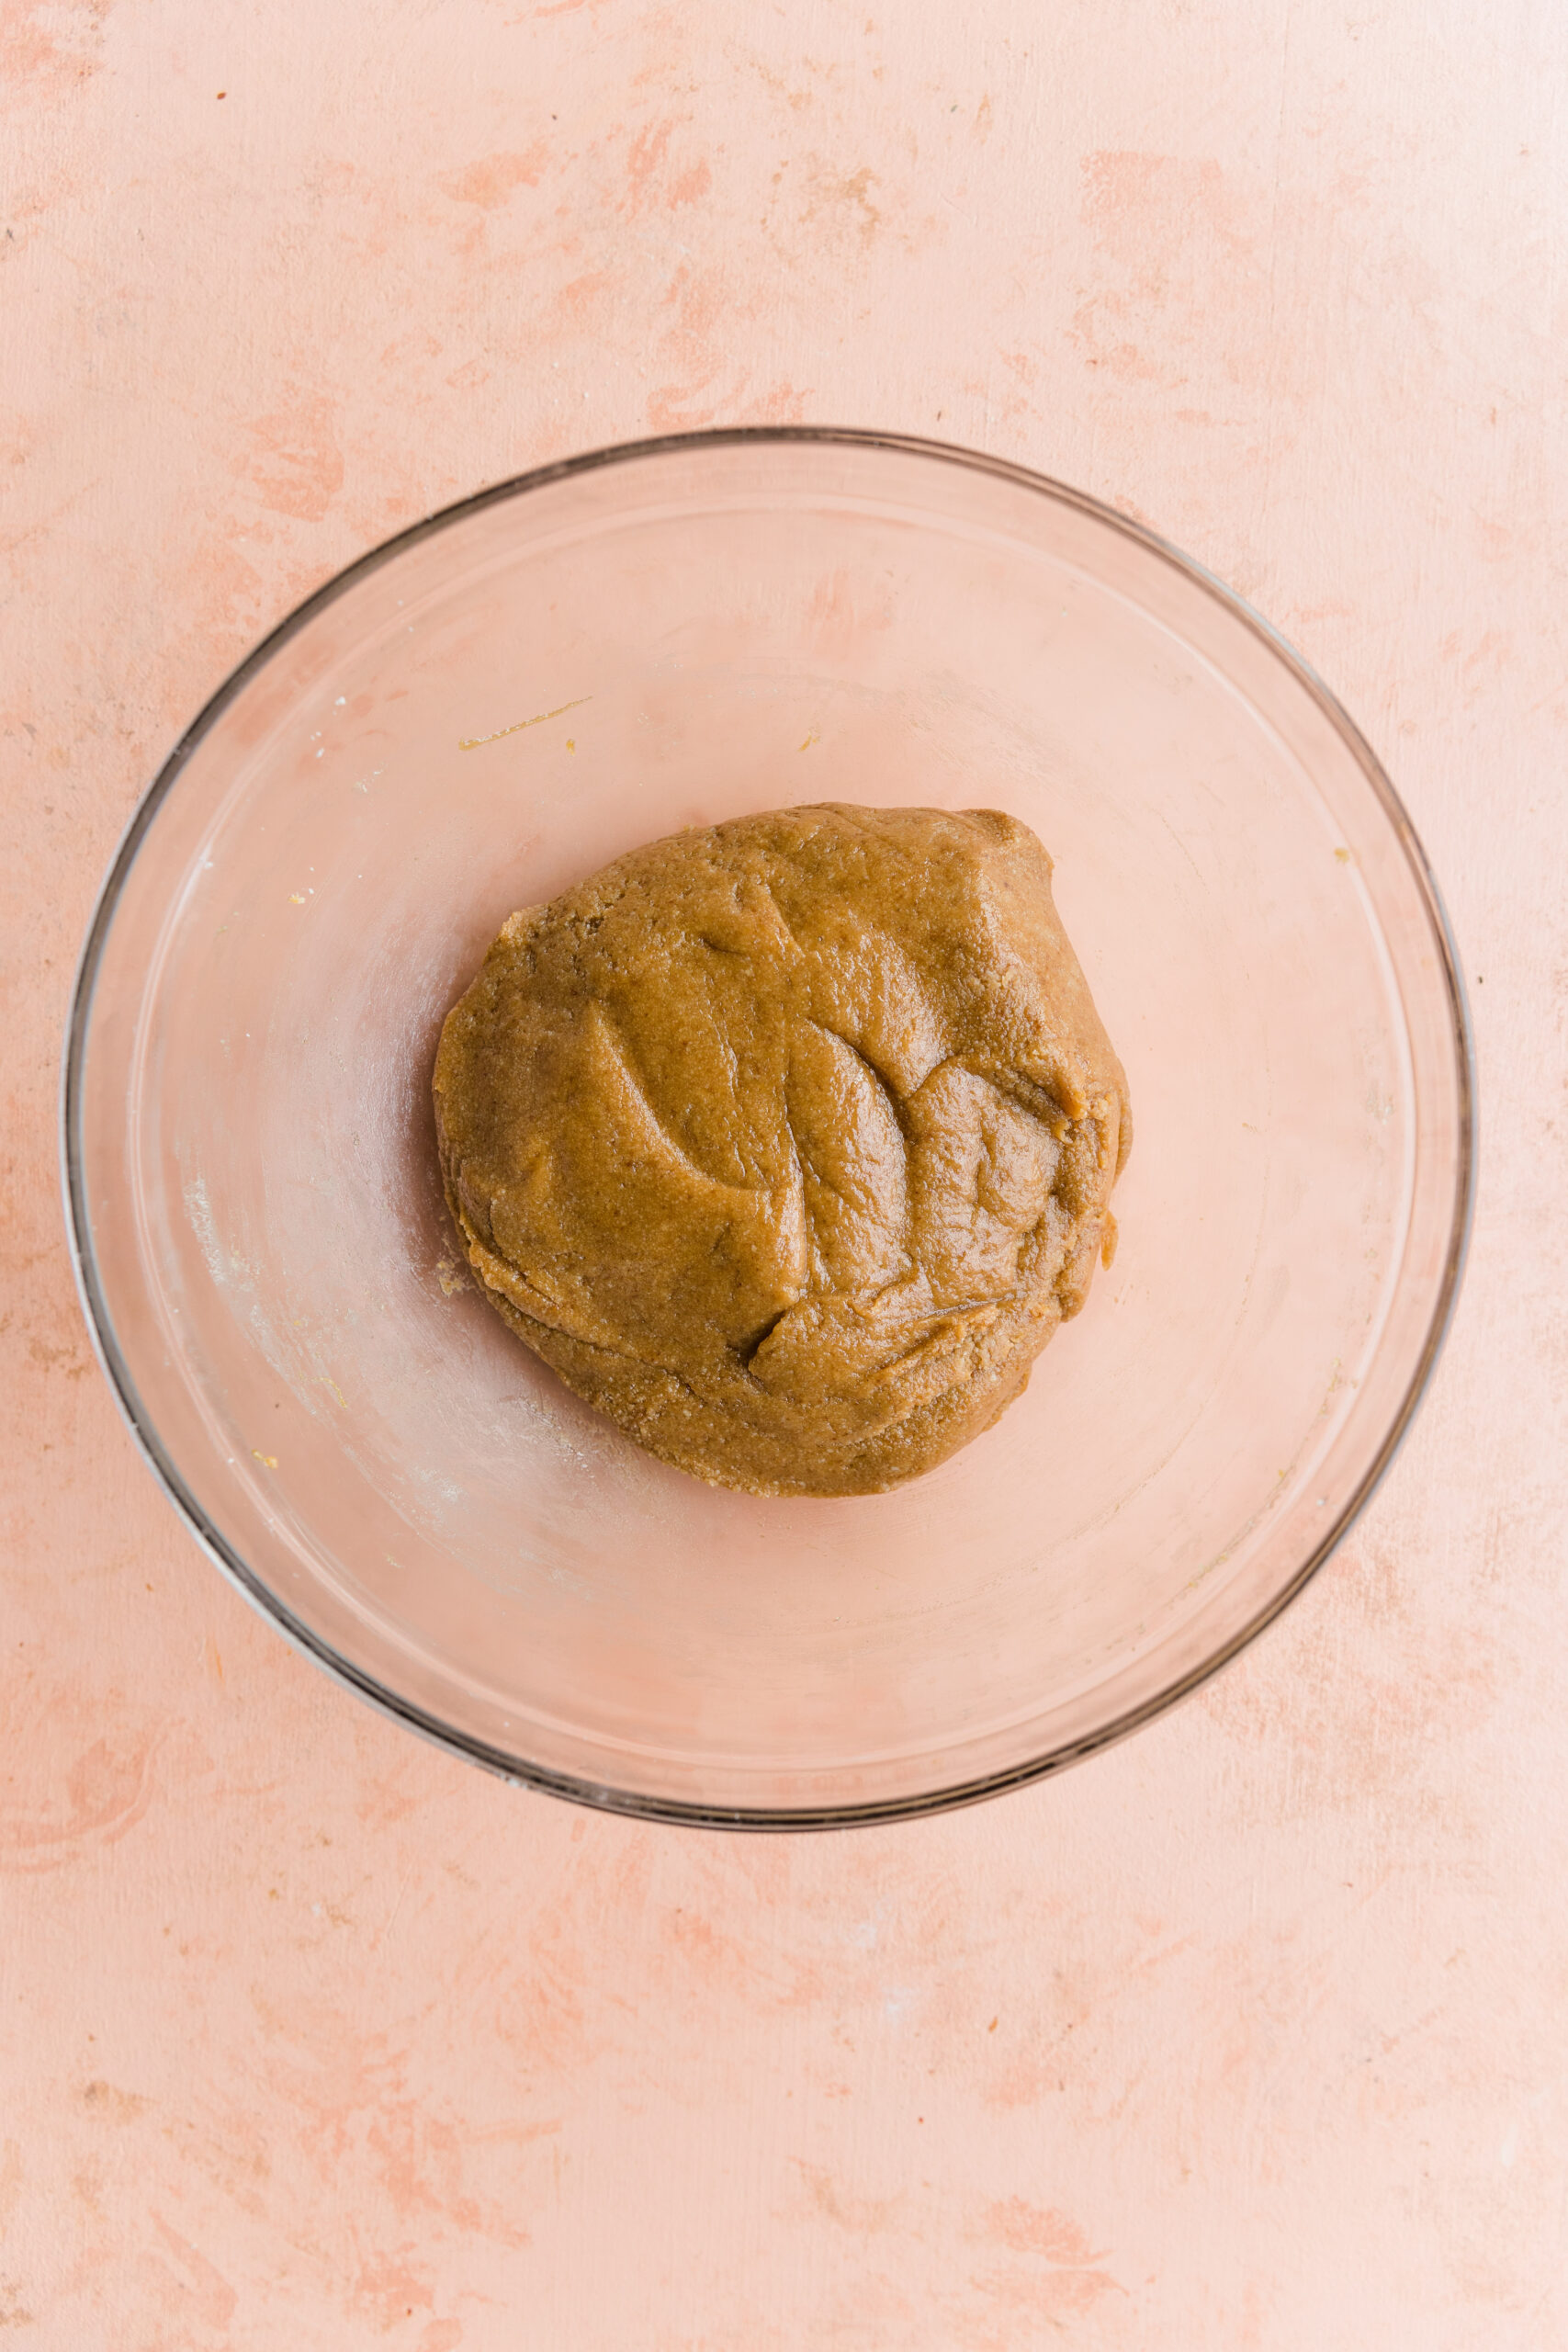
Step 3: Fold Dough Together
Finally, pour the dry ingredients into the wet ingredients and fold together with a firm spatula. Press the dough into a large ball.

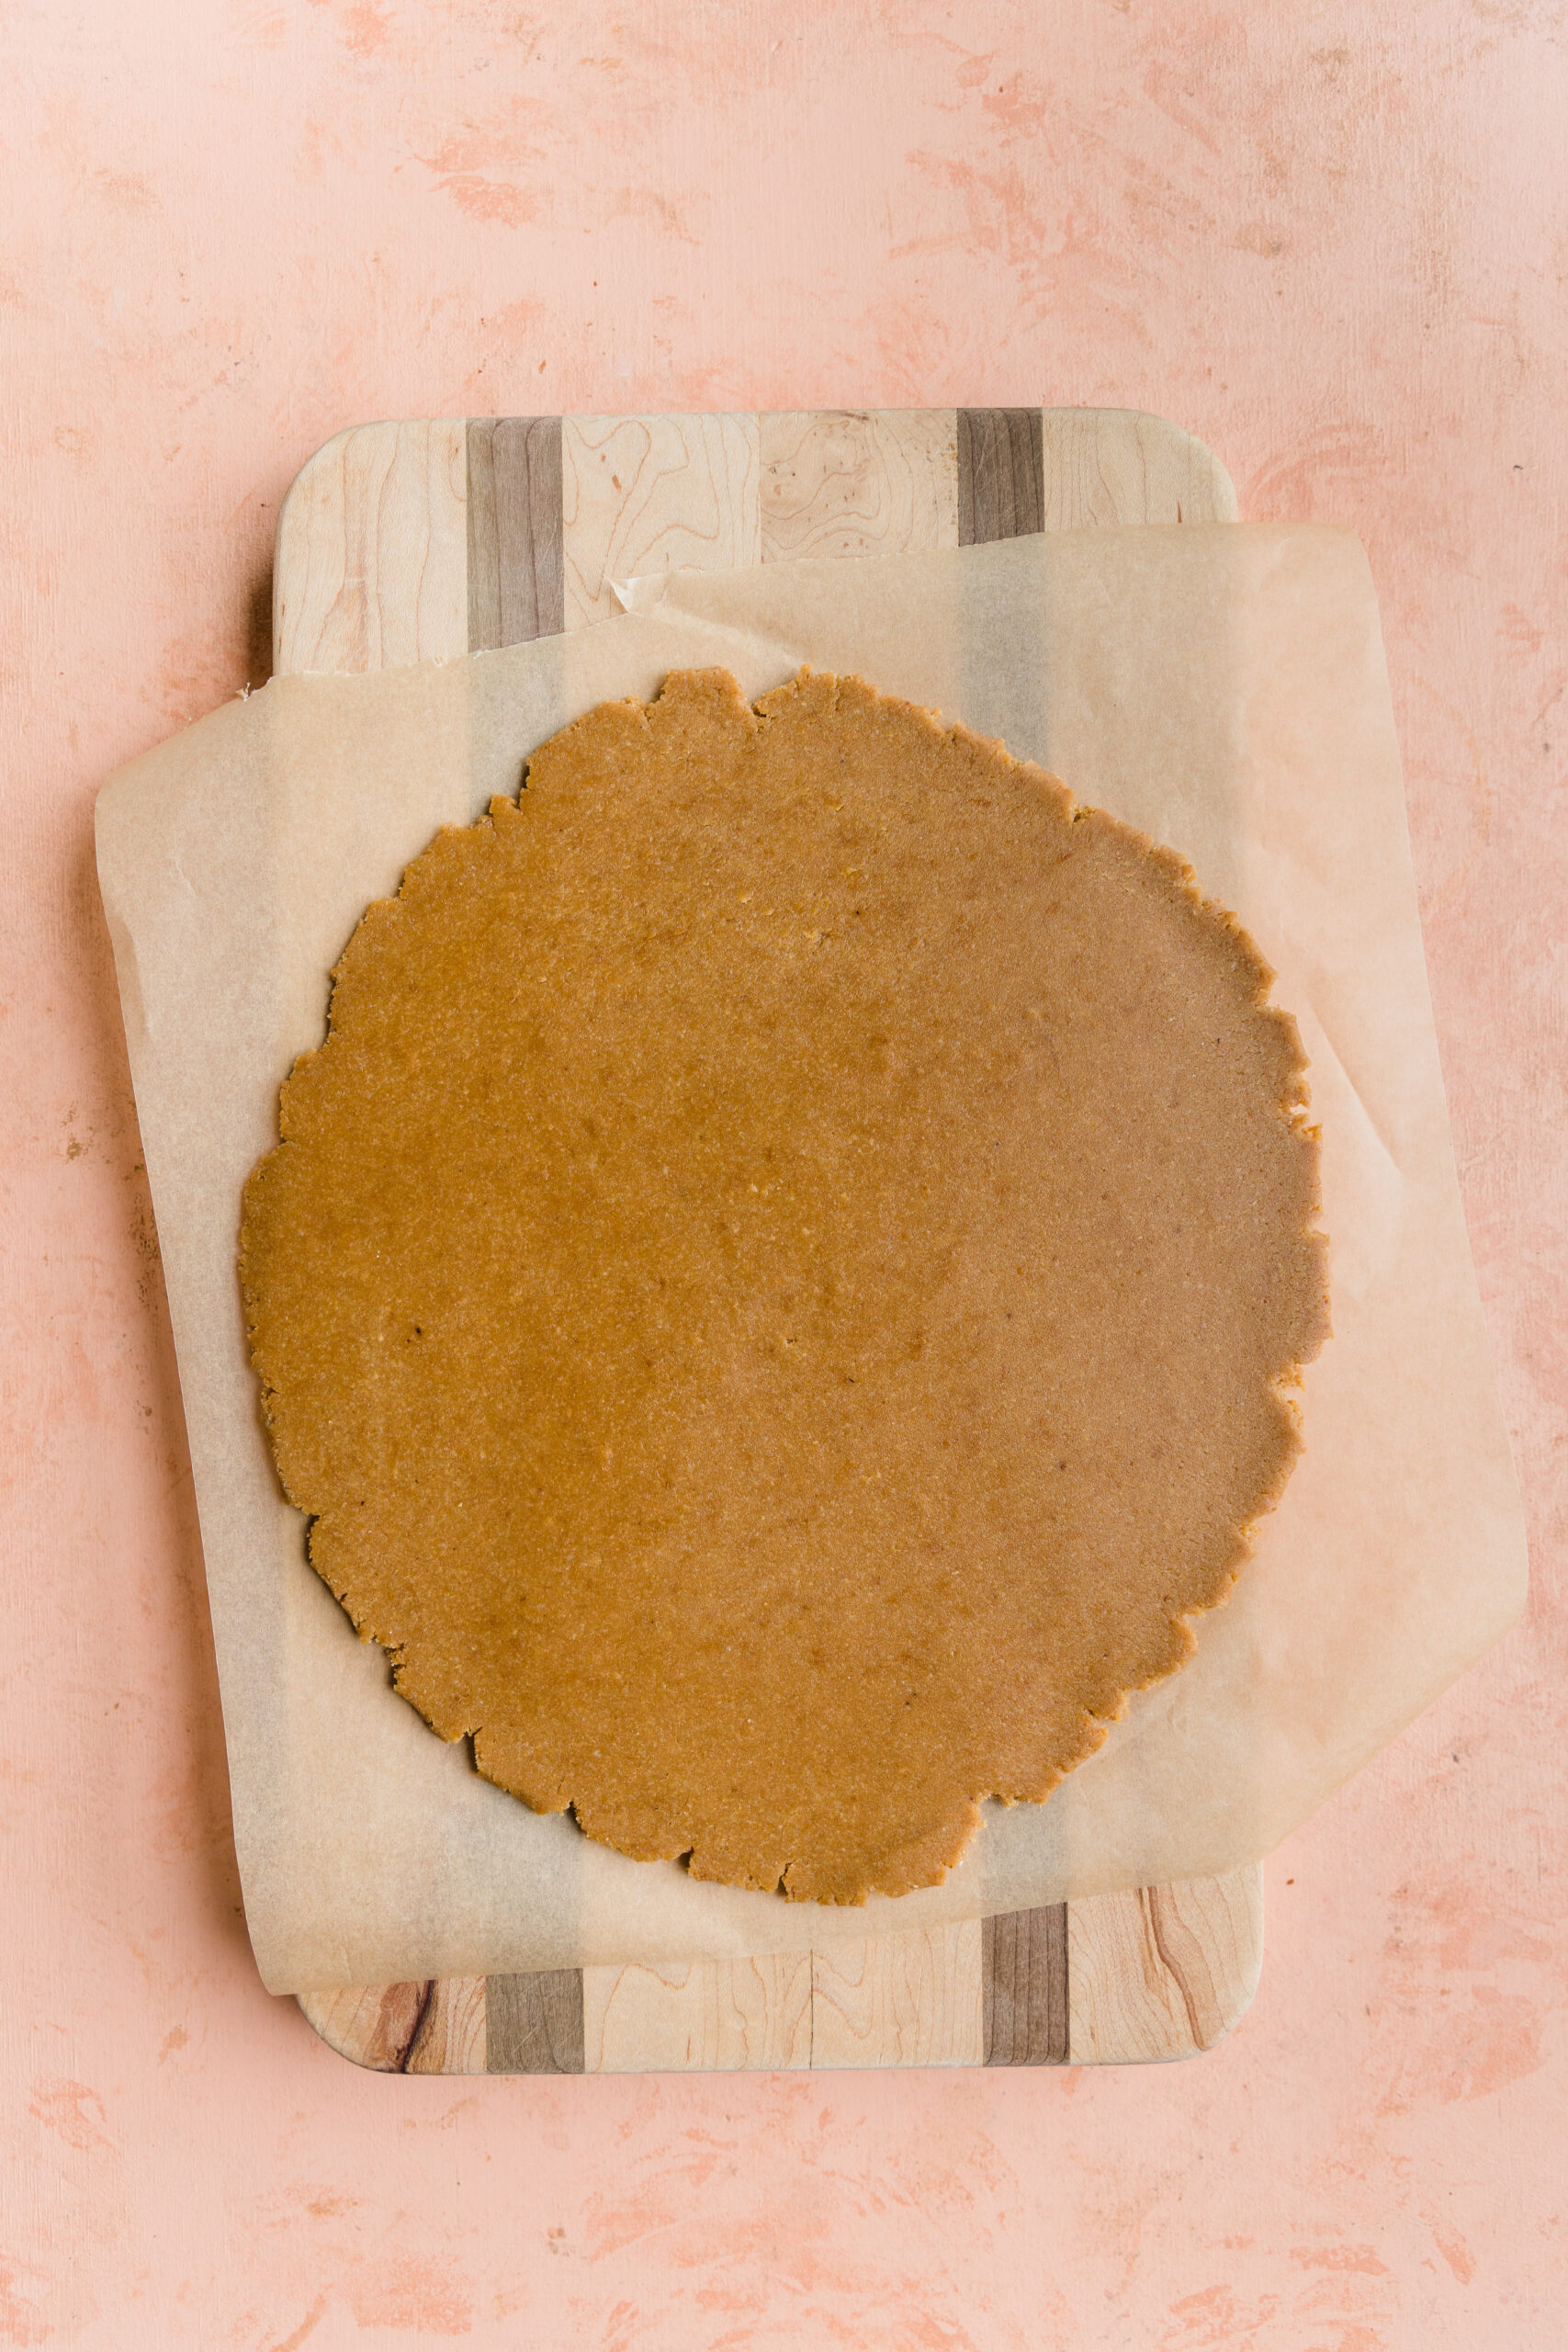
Step 4: Roll Out the Dough
Place the dough it on a large piece of parchment paper. To prevent the dough from sticking to the rolling pin, use another piece of parchment paper on top or sprinkle a light dusting of tapioca flour on the dough ball.
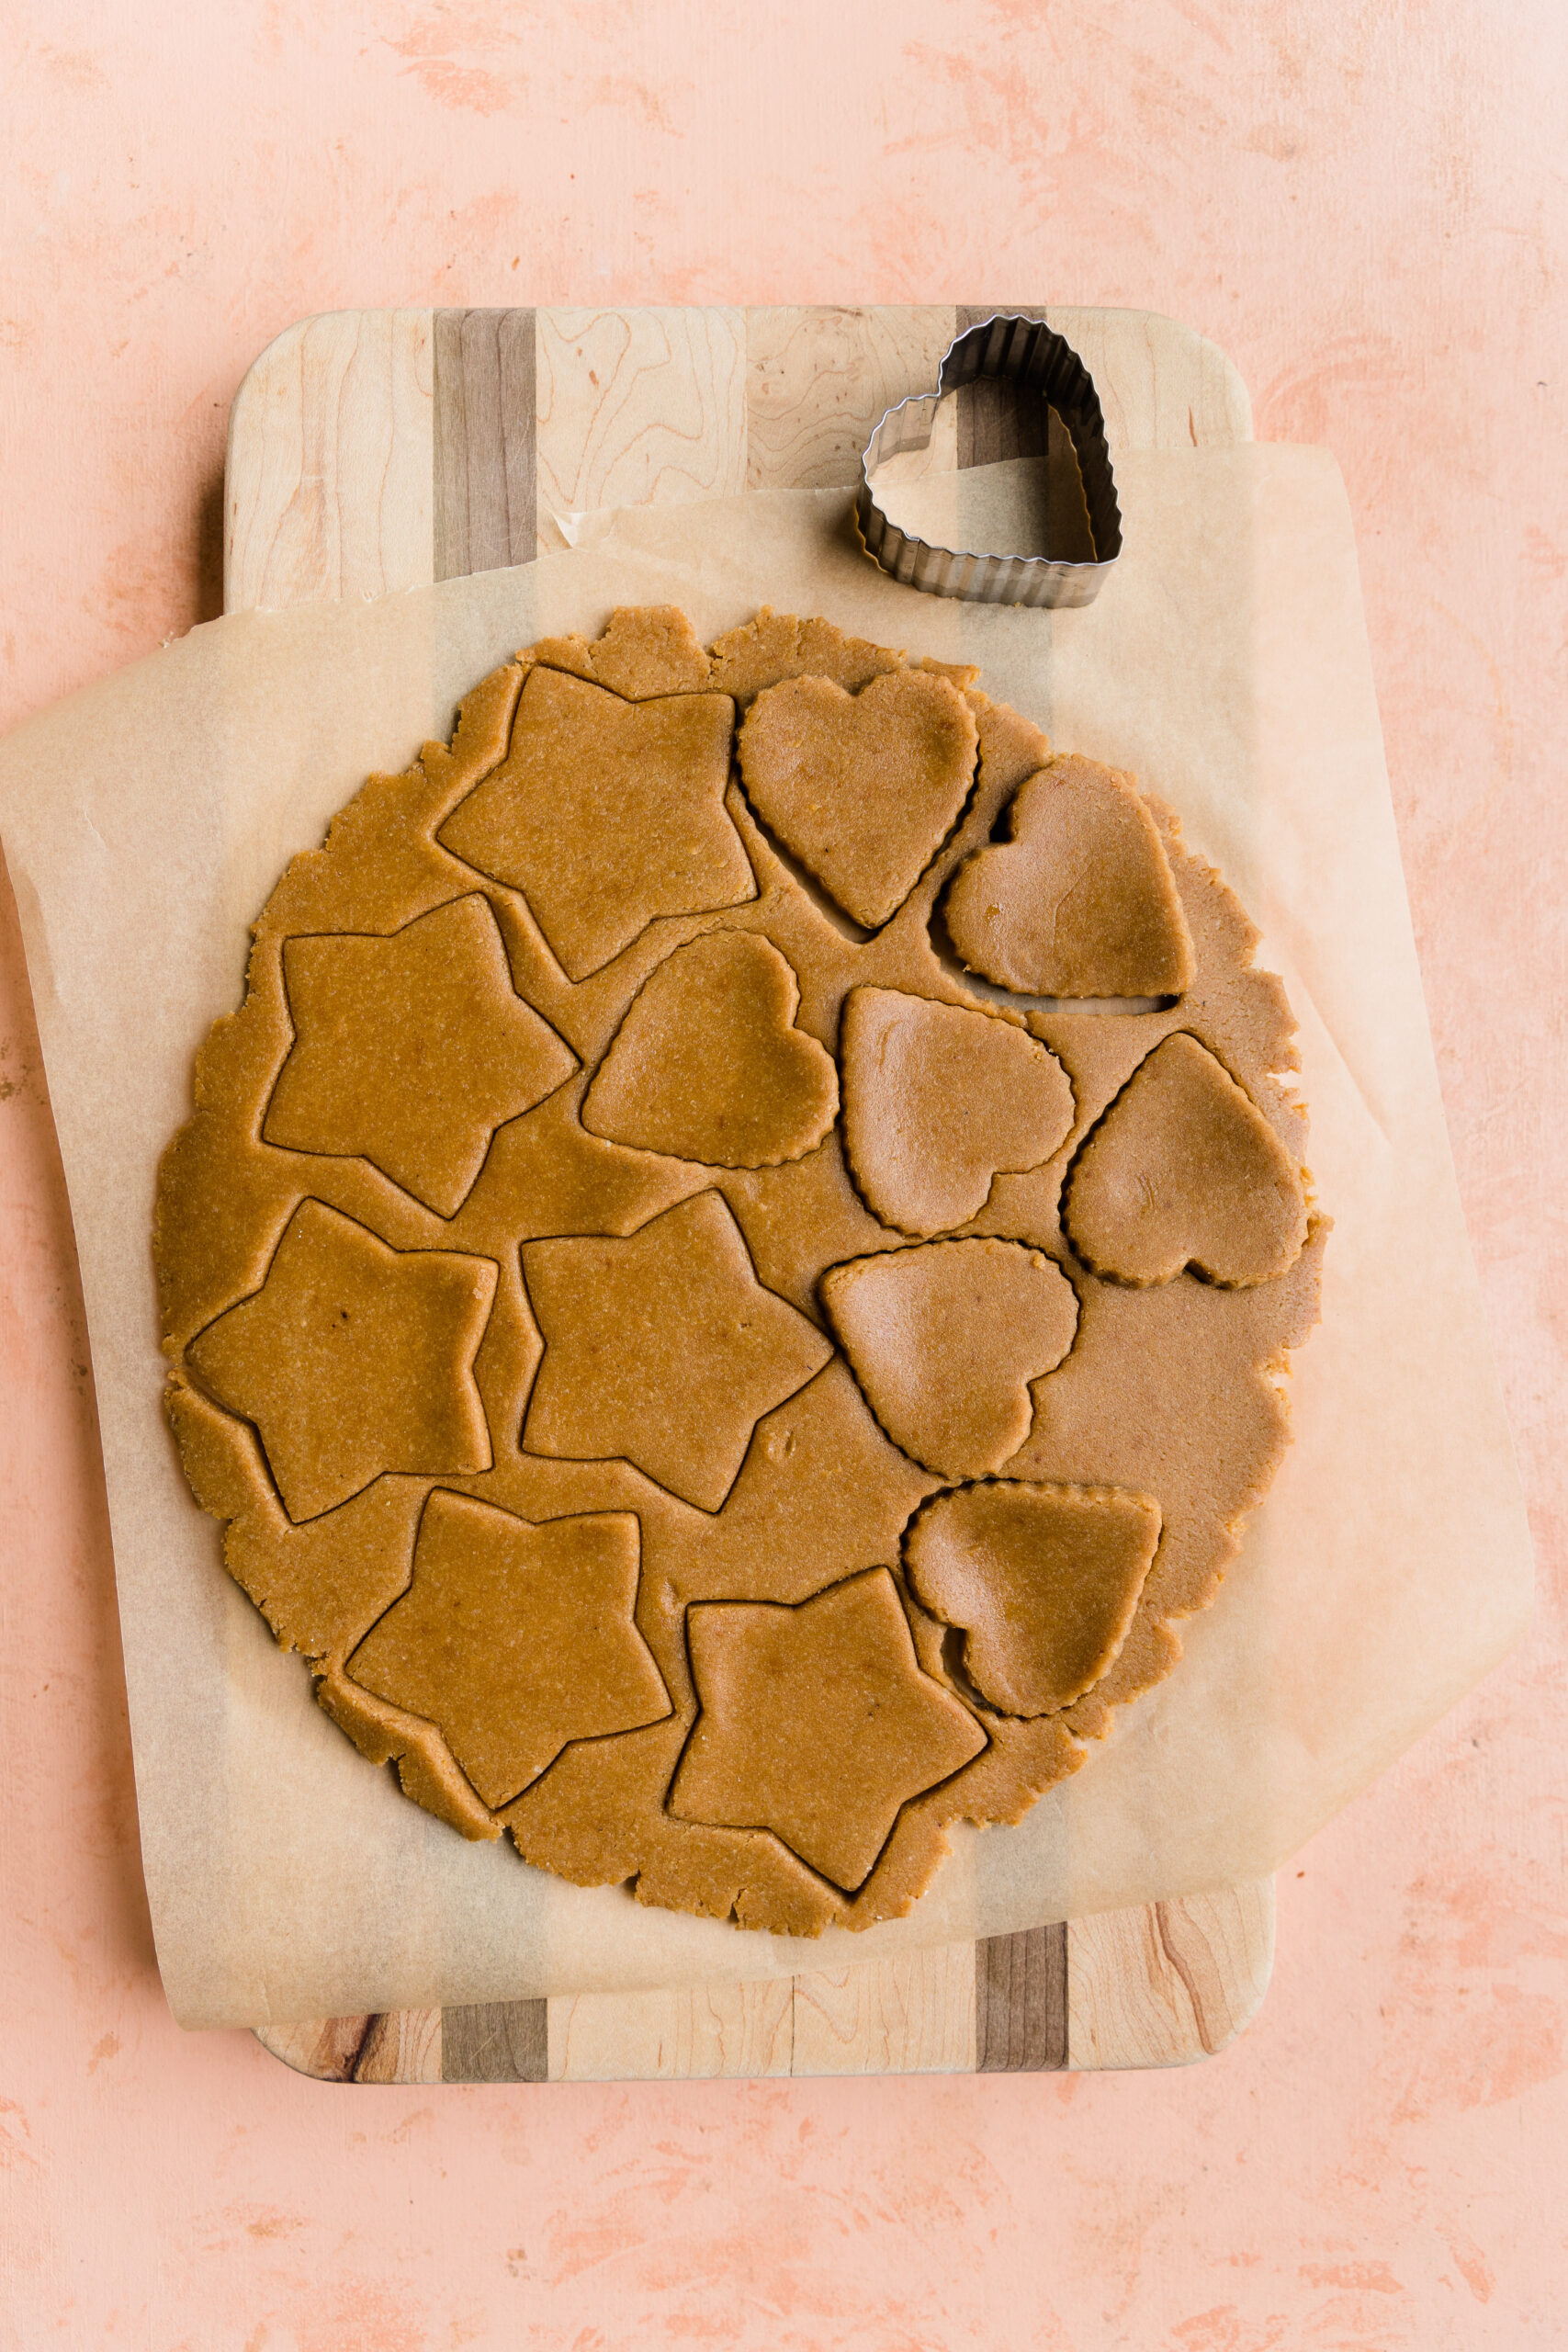
Step 5: Cut out Sugar Cookies
Once the dough is pressed out into an even layer, use your favorite cookie cutters and press down into the dough.
Gently remove each cookie cutter, peel away the excess dough, and place each cookie onto a parchment paper lined baking sheet.
Step 6: Bake the Sugar Cookies
Bake the cookies at 350 degrees for about 10 minutes. (Depending on how big they are.)
When the cookies are done, remove them from the oven. Let them sit on the baking sheet for a couple minutes so they can set. Transfer them to a metal cooling rack until they're room temperature.
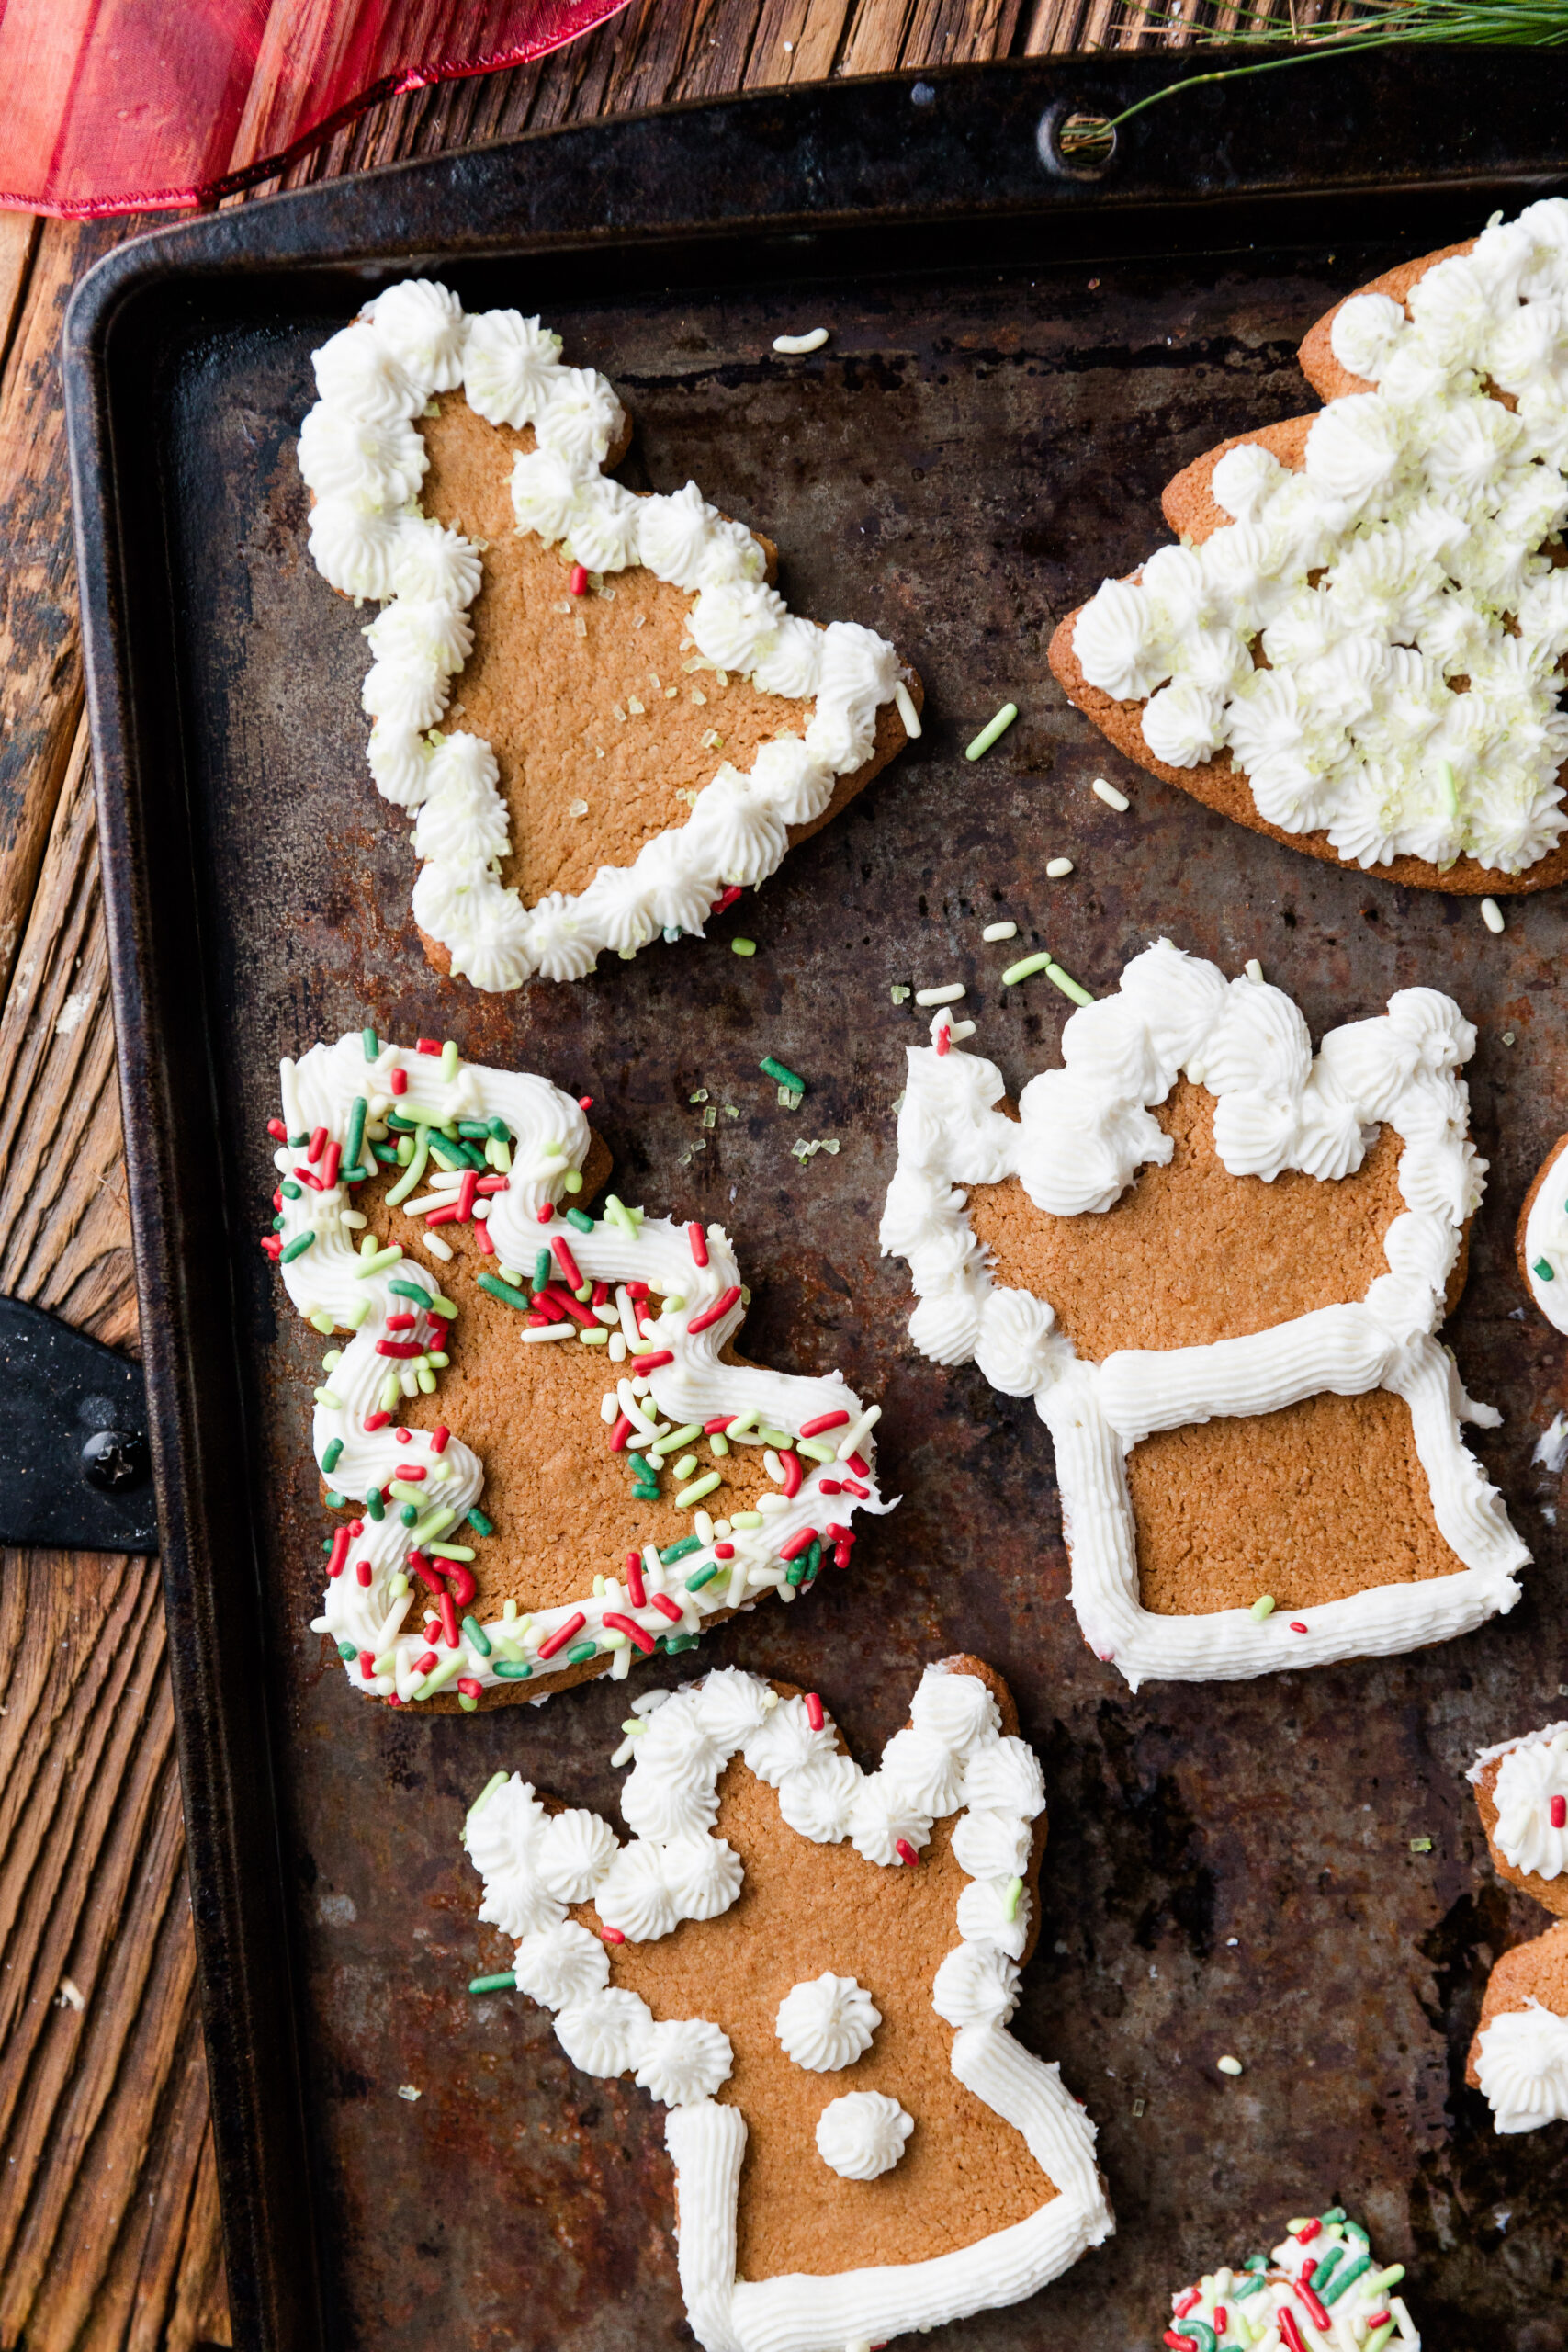
Once the cookies have cooled, you can frost them or eat as is!


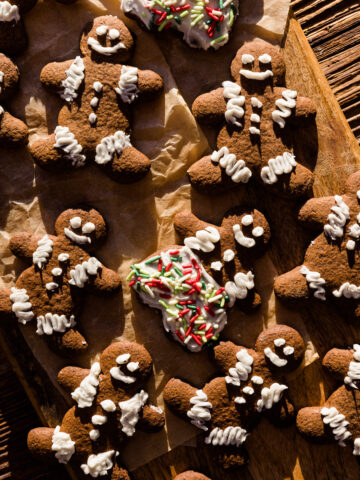
Frosting & Sprinkles
Dairy-Free Frosting
To save time, I used Miss Jones Bakes Dairy-Free Vanilla Frosting. I used a piping bag with a metal tip to create the fun cookie designs. You can also just spread it on with a butter knife.
Powdered Sugar Glaze
To make a traditional powdered sugar glaze, add about ¼ cup of powdered sugar into a small bowl. Stir in a very tiny amount of water until you reach your desired consistency.
I like to use a mixture of Lakanto monkfruit powdered sugar, and regular organic powdered sugar. The monkfruit powdered sugar on its own is very sweet!
Try adding Supernatural naturally dyed food coloring to change up the frosting color!
Naturally Dyed Sprinkles
I used Supernatural Christmas Sprinkles! They have a variety of colors and shape combinations to choose from depending on what occasion you're decorating for.

Expert Tips
- If you find that the dough is too sticky to work with, try chilling it for 15-20 minutes before rolling it out.
- To save time, prepare the dough the day before and store in the refrigerator in an airtight container until you're ready to bake.
- Make sure the cookies have cooled completely before trying to frost.
- When measuring flour, do not pack the measuring cup. Gently shake the bag to loosen the flour, scoop the measuring cup, and scrape off excess flour with a butter knife.
- You'll know they're done when the edges are golden brown.
Remember that cut-out cookies are not just for Christmas!
This almond flour sugar cookie recipe is so versatile! Use heart cookie cutters for Valentine's Day, Bunny & Egg cookie cutters for Easter, or Alphabet Cookie Cutters for special occasions.

Storing & Freezing Sugar Cookies
You can store your cookies at room temperature in an airtight container. The cookies and frosting will stay softer at room temperature.
To keep them fresh for longer, store them in the refrigerator in an airtight container. They will firm up and become a crisper cooker once chilled.
Store leftover cookie dough or cookies in the freezer to keep them fresh for 2-3 months!
You can add them to a sealed storage bag or airtight container. Just be sure the container is freezer safe!
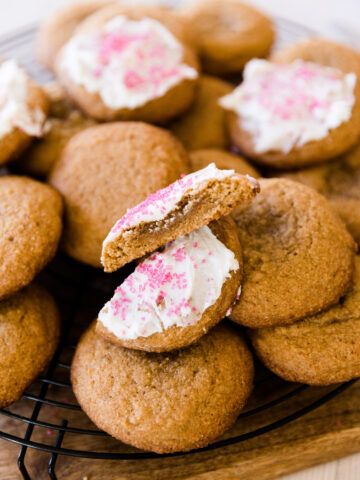
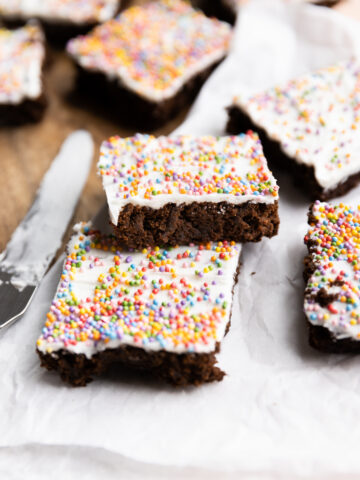
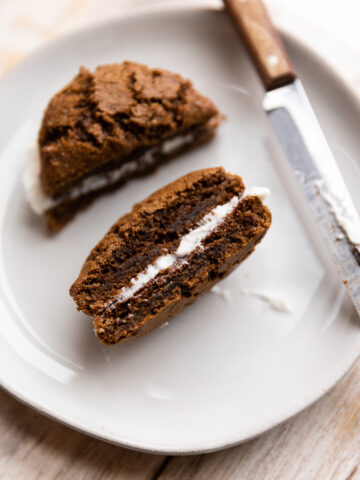
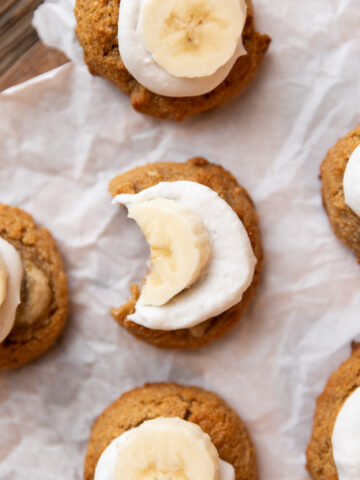
More Gluten Free Cookies!


After you make this Gluten Free Sugar Cookies, make sure to leave a comment & rate the recipe!
Recipe Card

Gluten-Free Cut Out Sugar Cookies
Equipment
- Hand Mixer or Stand Mixer
- Baking Sheet
Ingredients
Dry Ingredients
- 2+¼ Cups Almond Flour
- ⅓ Cup Tapioca Flour
- ¼ Teaspoon Baking Soda
- ¼ Teaspoon Salt
Wet Ingredients
- ¾ Cup Coconut Sugar
- ⅓ Cup Coconut Oil, Melted Make sure it's not too hot!
- 1 Egg Room temperature
- 1+½ Teaspoons Vanilla Extract
Instructions
Making the Cookie Dough
- Start by adding almond flour, tapioca flour, baking soda, and salt into a medium sized bowl. Mix with a whisk or a fork until fully combined.
- Next, add the coconut sugar, egg, vanilla extract and melted coconut oil into a large bowl. Use a hand mixer or whisk to blend just until ingredients are combined.
- Finally, pour the dry ingredients into the wet ingredients and fold together with a firm spatula. Press the dough into a large ball.
Roll Out the Dough
- Place the dough it on a large piece of parchment paper. To prevent the dough from sticking to the rolling pin, use another piece of parchment paper on top or sprinkle a light dusting of tapioca flour on the dough ball.
- Once the dough is pressed out into an even layer, use your favorite cookie cutters and press down into the dough. Gently remove each cookie cutter, peel away the excess dough, and place each cookie onto a parchment paper lined baking sheet.
Baking the Cookies
- Bake the cookies at 350 degrees for about 10 minutes. (Depending on how big they are.)
- When the cookies are done, remove them from the oven. Let them sit on the baking sheet for a couple minutes so they can set. Transfer them to a metal cooling rack until they're room temperature.
- Once the cookies have cooled, you can frost them or eat as is!
Notes
Expert Tips
- If you find that the dough is too sticky to work with, try chilling it for 15-20 minutes before rolling it out.
- To save time, prepare the dough the day before and store in the refrigerator in an airtight container until you're ready to bake.
- Make sure the cookies have cooled completely before trying to frost.
- When measuring flour, do not pack the measuring cup. Gently shake the bag to loosen the flour, scoop the measuring cup, and scrape off excess flour with a butter knife.
- You'll know they're done when the edges are golden brown.
Storing & Freezing Sugar Cookies
You can store your cookies at room temperature in an airtight container. The cookies and frosting will stay softer at room temperature. To keep them fresh for longer, store them in the refrigerator in an airtight container. They will firm up and become a crisper cooker once chilled. Store leftover cookie dough or cookies in the freezer to keep them fresh for 2-3 months! You can add them to a sealed storage bag or airtight container. Just be sure the container is freezer safe! ** See full post for more information and step by step photos!Nutrition
Want more recipes?
Check out my recipe box where you can browse by season, diet, and flavor!
Chris
Can’t wait to make these for Valentine’s Day! Thanks for sharing the recipe!
[email protected]
Let me know how you like them! (: