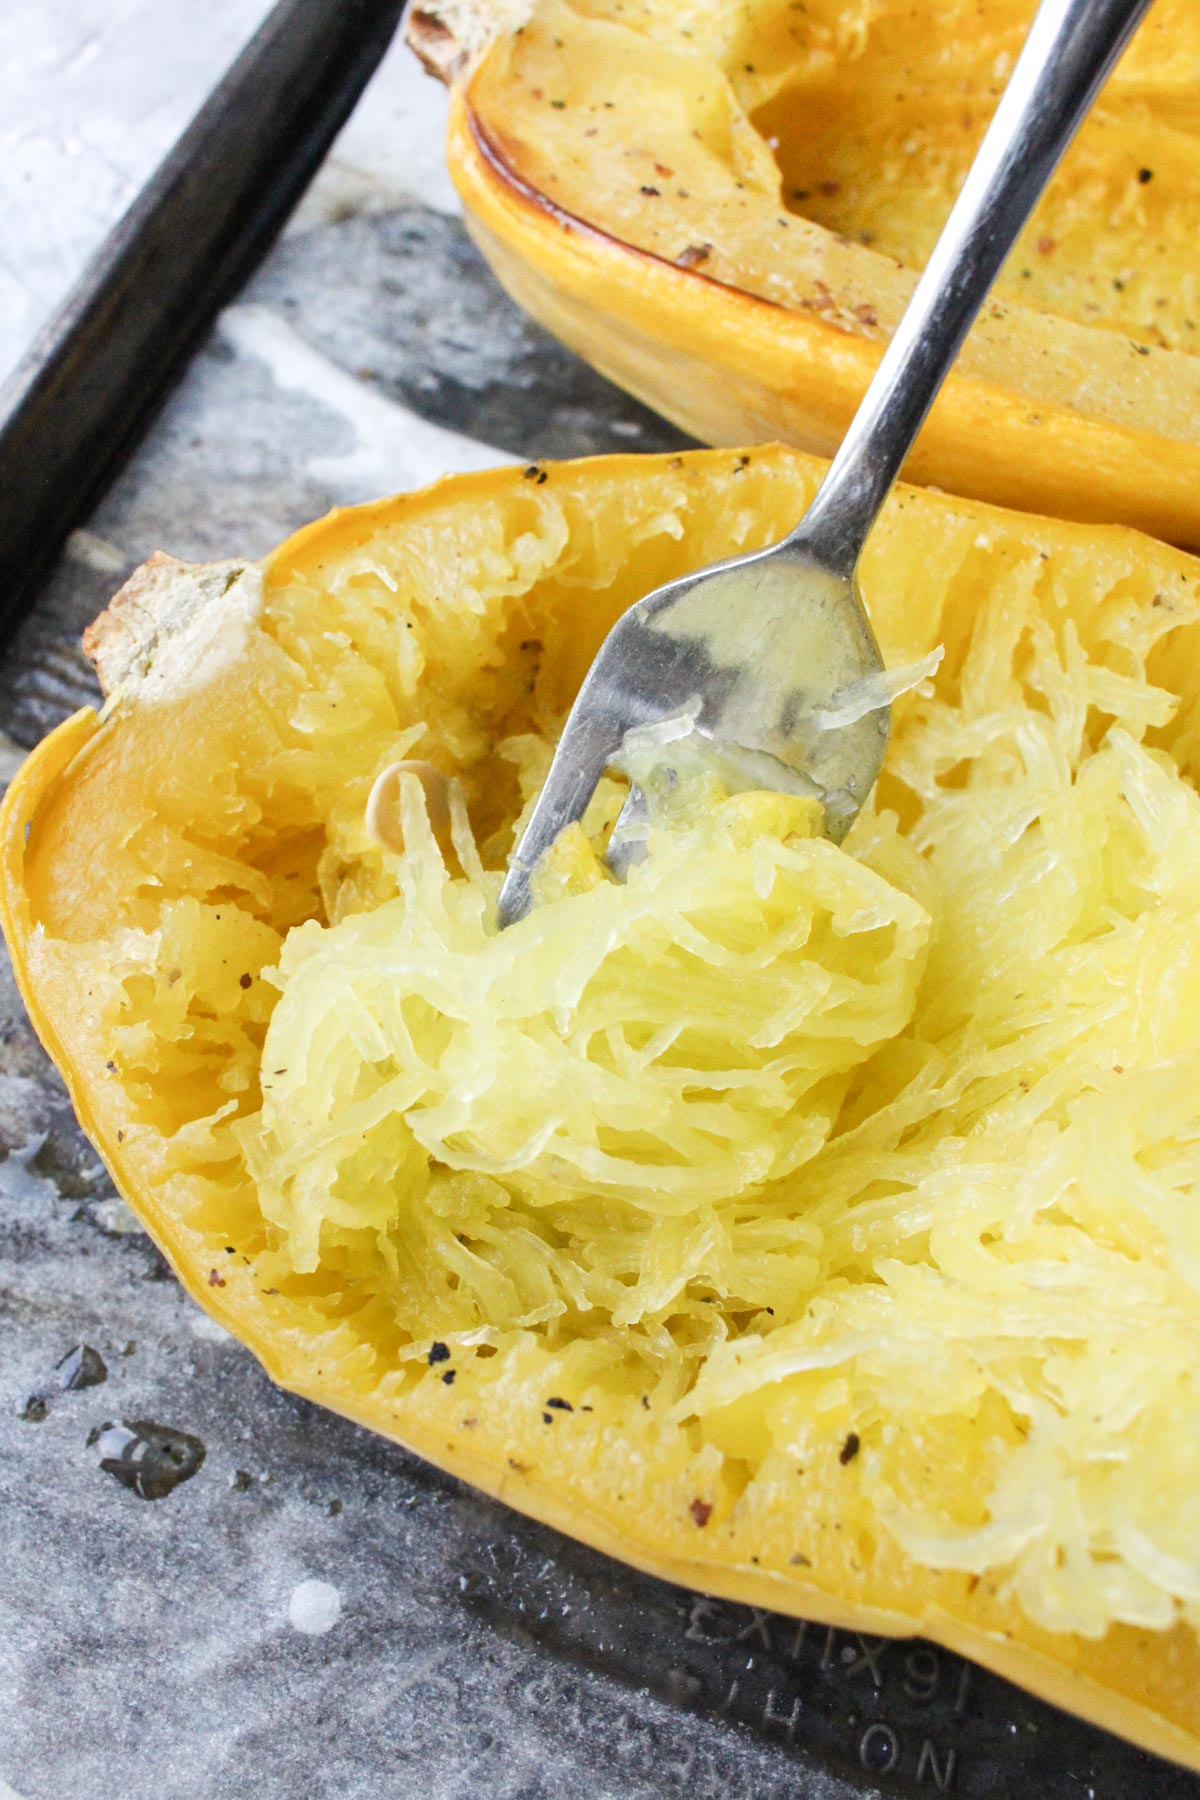
Spaghetti Squash is a delicious and nutritious winter squash that easily transforms into a gluten-free pasta swap! Plus it's full of fiber, and packed with vitamins and minerals! This post explains step by step how to cook spaghetti squash, and tips on how to easily cut & prepare it! All you need is a sharp knife, an oven, a spoon, parchment paper, and a baking sheet. Let's get baking!
Disclaimer: Some of the links in this post are affiliate links, which means I make a small commission if you choose to purchase through qualifying links.
Jump to:
🍴 Recipe Ingredients
- Spaghetti Squash
- Olive Oil - You can also sub with butter, ghee, or avocado oil.
- Salt
- Black Pepper
🔪 How to cut Spaghetti Squash
Step 1:
Start by preheating your oven to 400 degrees. While it's preheating, place your spaghetti squash on the rack to warm up for about 5-10 minutes. It's much easier to cut when it's warm.
Step 2:
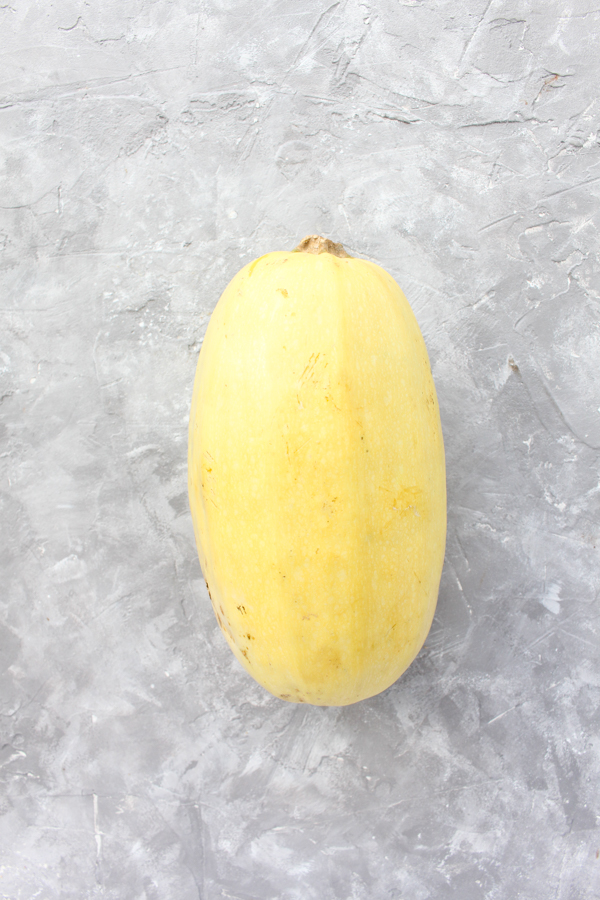
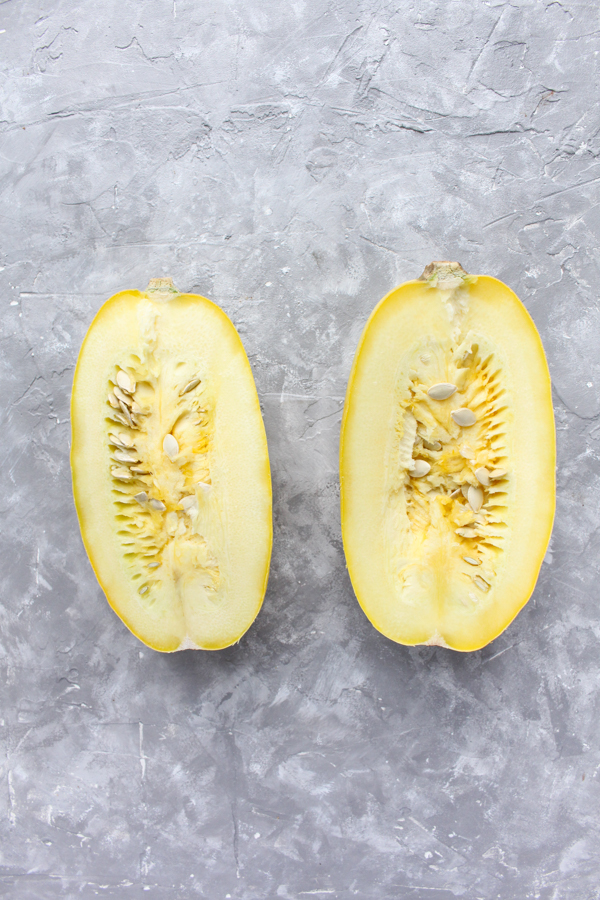
Start at the base of the spaghetti squash and cut around the long way.
🍴 How to prepare for baking
Step 3:
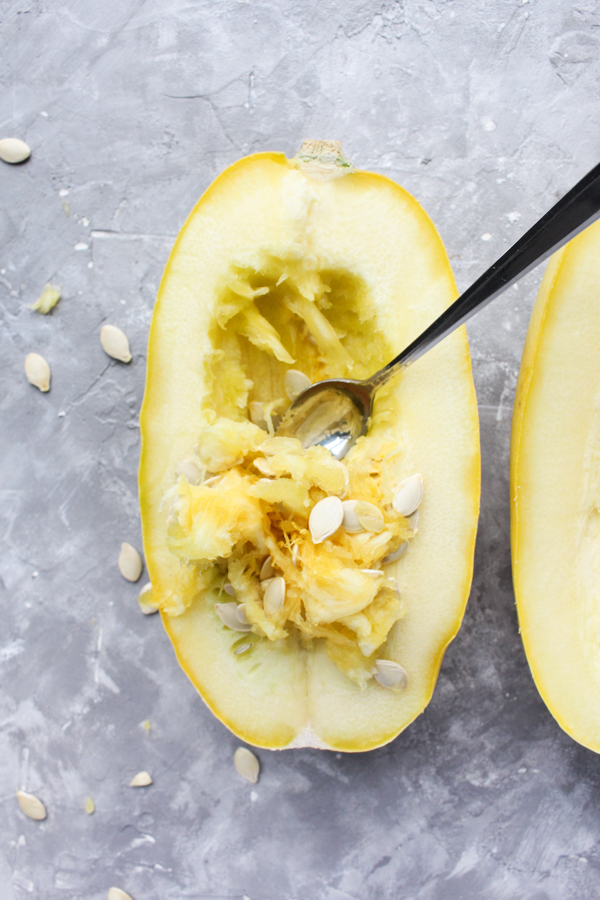
Remove the seeds with a spoon. (I use a grapefruit spoon because it's sharper.) Scrape out all of the seeds and strings until it's nice and clean.
Step 4:
Drizzle a little olive oil or avocado oil into the middle of each half. Use your fingers to spread it around. Make sure to get the inside and around the edges.
Step 5:
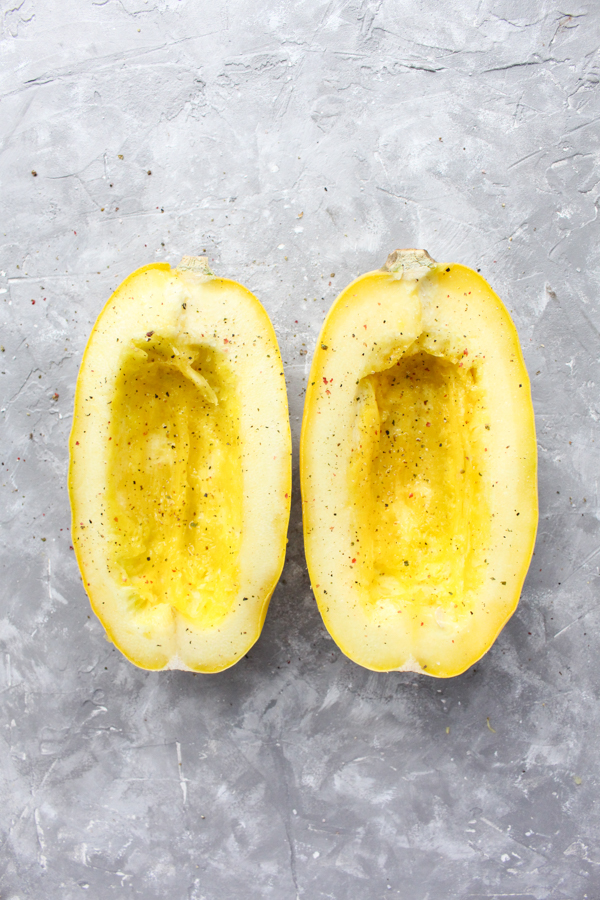
Sprinkle a generous amount of salt and black pepper on each half.
🍴 Baking
Step 6:
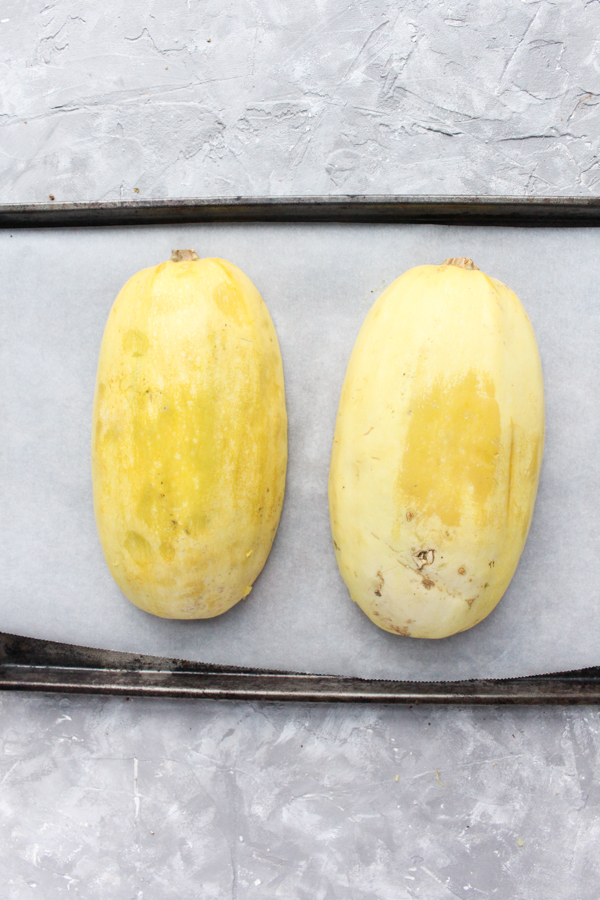
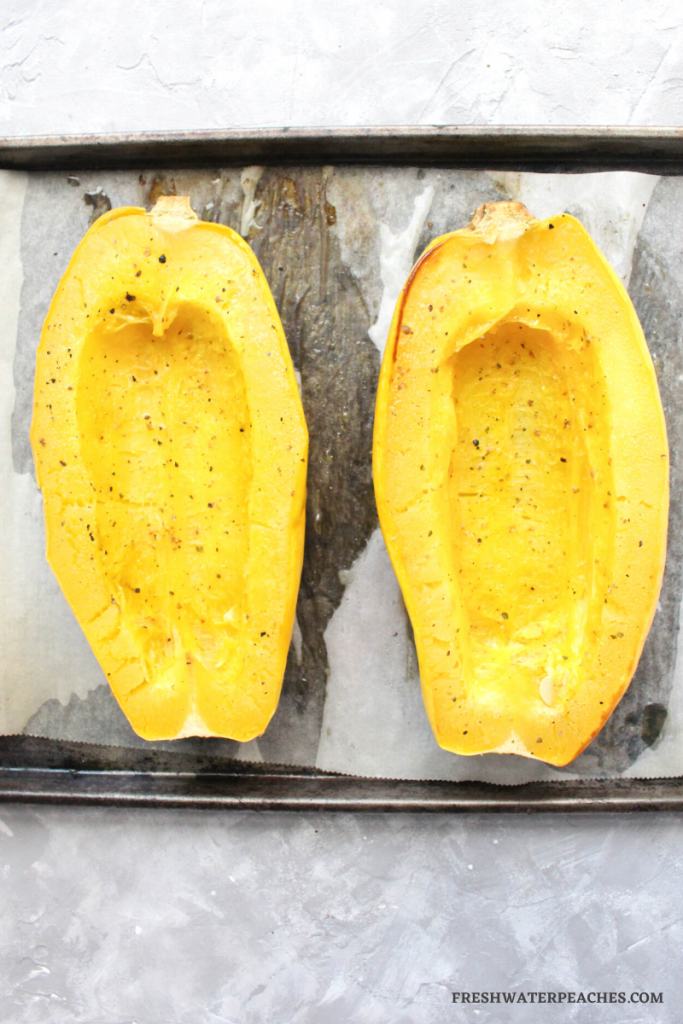
Line a baking sheet with parchment paper, and place the halves face down. Bake at 400 degrees for about 40 minutes. When you flip them over the edges will start to get a little golden brown.
Step 7:
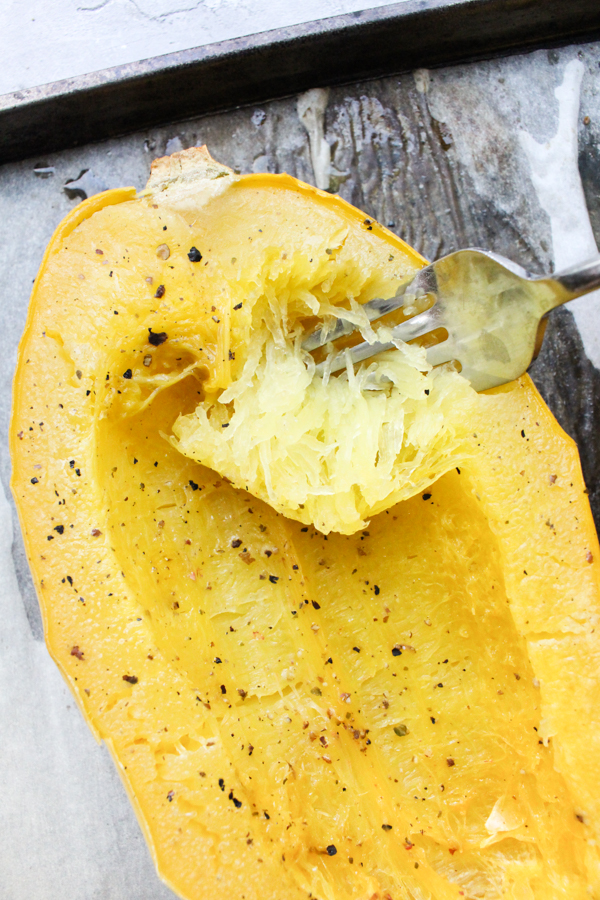
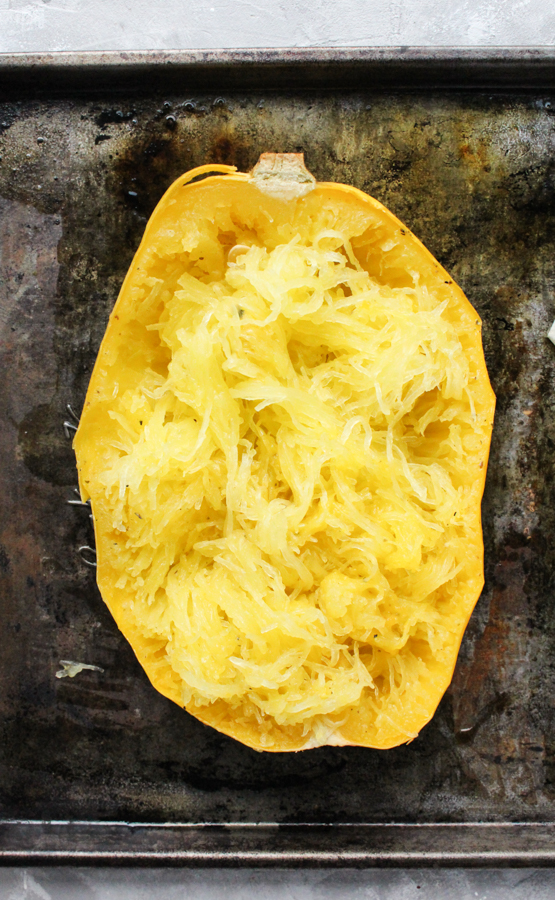
Flip them over onto the skin side and use a fork to scrape in a downward motion around the edges to "fluff up" the noodles. Start at the top and work your way around the edges. Finish with the center - you can scrape all the way to the skin!
Baking Tips
- After you warm your spaghetti squash, be very careful when removing it from the oven! It only needs about 5-10 minutes to warm up. (I usually place it in the oven when it's preheating.) Once it's warm, you can remove it with an oven mitt, place it on your cutting board, and cut through it much easier. You can also microwave it for a few minutes if you don't want to put it in the oven.
- If you're planning to eat half, and save half for later, you might want to take one half out sooner so it doesn't cook fully. That way, when you heat it up the next day, it doesn't get mushy!
- When removing the seeds you can use a regular spoon, but I love using a grapefruit spoon because the edges are serrated! It cuts through the seeds & strings much easier.
Frequently Asked Questions
Yes! Spaghetti Squash is high in vitamin C, beta-carotene, and fiber! It's an amazing nutrient-dense food. For more nutrition information, check out this post on Healthline!
If you've had acorn squash before, it's similar to that but not as sweet, and it has more of a mild flavor. Spaghetti Squash blends right in with whatever sauce or soup you pair it with! (Which is why it's a great gluten-free pasta substitute!)
I usually bake my spaghetti squash for about 40 minutes, but if you want it to be more firm and an al dente consistency, you can bake for less time! If you overcook it, the texture can definitely become a little mushy.
Storing Leftovers
Leftovers can be stored in an air tight glass container in the refrigerator for about 5 days. I always fluff, and scrape out the spaghetti squash from the skin before storing it in the container. If you leave the "spaghetti" in the skin, it can get a little mushy. I haven't tried freezing leftovers, but I would imagine it would work!
Recipes to pair with spaghetti squash
- Healthy Balsamic Mushroom Sauce with Chicken
- Vegan Roasted Tomato Sauce
- Instant Pot Minestrone Soup with Chicken
- Creamy Tomato Sauce
- Veggie Loaded Beef Chili
- Simple Thai Red Curry with Vegetables
- Vegan Alfredo Pasta Dinner
- Thai Red Curry Chicken Soup
- Sweet Potato Curry Soup with Ginger Meatballs
After you give this Spaghetti Squash recipe a try, make sure to leave a comment and let me know how it came out! Your feedback is helpful for me, and for anyone planning to try this recipe. I hope you love it as much as I do!
Recipe
How to Cook Spaghetti Squash
Equipment
- Large Chef Knife
- Baking Sheet
Ingredients
- 1 Spaghetti Squash
- 1 Tablespoon Olive Oil You can also sub with butter, ghee, or avocado oil.
- ¼ Teaspoon Salt
- ¼ Teaspoon Black Pepper
Instructions
How to Cut Spaghetti Squash
- Start by preheating your oven to 400 degrees. While it's preheating, place your spaghetti squash on the rack to warm up for about 5-10 minutes. It's much easier to cut when it's warm.
- Start at the base of the spaghetti squash and cut around the long way.
How to Prepare For Baking
- Remove the seeds with a spoon. (I use a grapefruit spoon because it's sharper.) Scrape out all of the seeds and strings until it's nice and clean.
- Drizzle a little olive oil or avocado oil into the middle of each half. Use your fingers to spread it around. Make sure to get the inside and around the edges.
- Sprinkle a generous amount of salt and black pepper on each half.
Baking
- Line a baking sheet with parchment paper, and place the halves face down. Bake at 400 degrees for about 40 minutes. When you flip them over the edges will start to get a little golden brown.
- Flip them over onto the skin side and use a fork to scrape in a downward motion around the edges to "fluff up" the noodles. Start at the top and work your way around the edges. Finish with the center - you can scrape all the way to the skin!
Notes
Baking Tips
- After you warm your spaghetti squash, be very careful when removing it from the oven! It only needs about 5-10 minutes to warm up. (I usually place it in the oven when it's preheating.) Once it's warm, you can remove it with an oven mitt, place it on your cutting board, and cut through it much easier. You can also microwave it for a few minutes if you don't want to put it in the oven.
- If you're planning to eat half, and save half for later, you might want to take one half out sooner so it doesn't cook fully. That way, when you heat it up the next day, it doesn't get mushy!
- When removing the seeds you can use a regular spoon, but I love using a grapefruit spoon because the edges are serrated! It cuts through the seeds & strings much easier.
Storing Leftovers
Leftovers can be stored in an air tight glass container in the refrigerator for about 5 days. I always fluff, and scrape out the spaghetti squash from the skin before storing it in the container. If you leave the "spaghetti" in the skin, it can get a little mushy. I haven't tried freezing leftovers, but I would imagine it would work!Frequently Asked Questions
Nutrition
Shop this recipe -
 Buy Now →
  Buy Now →
  Buy Now →



Molly
This is so helpful! Thank you for sharing.