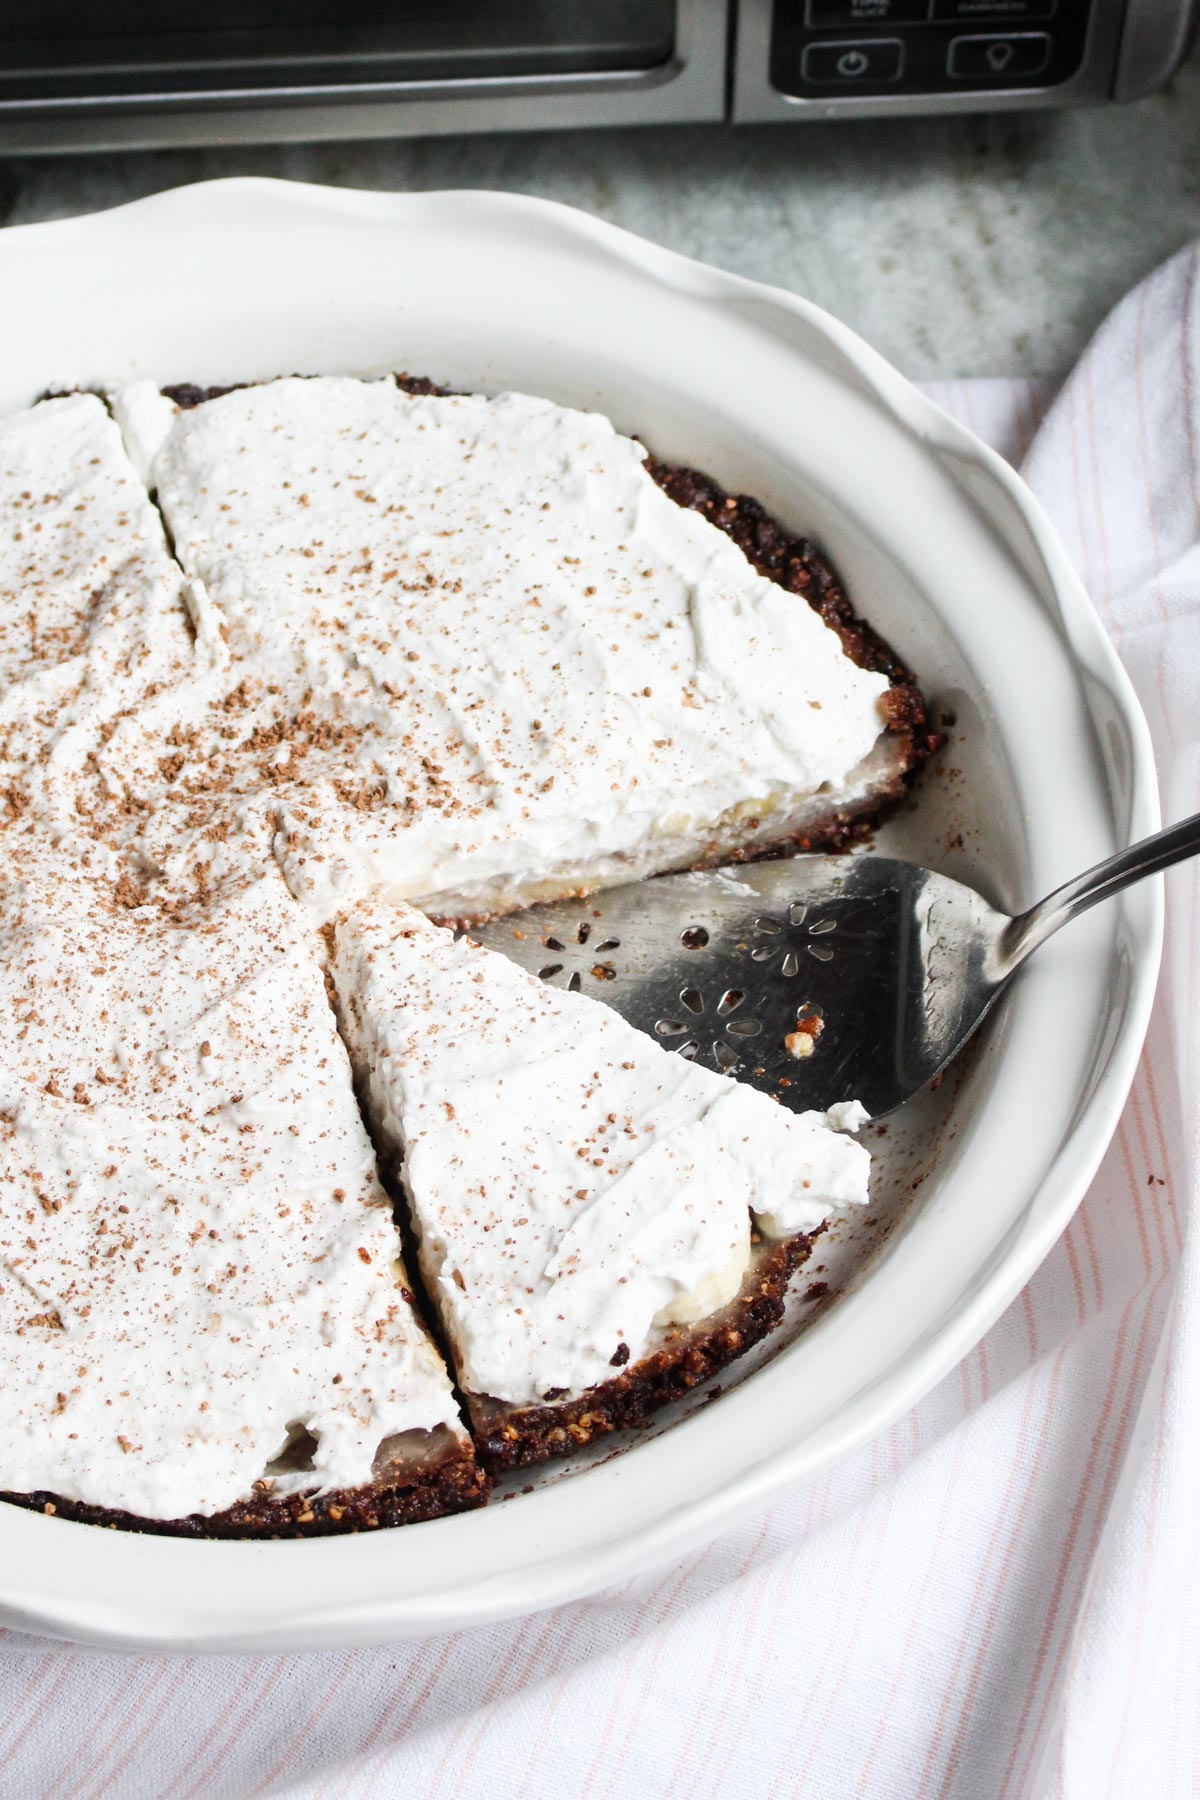
I'm BEYOND excited to share this Banana Cream Pie recipe with you! It's five layers of pure JOY. Gluten-free crust, banana slices, coconut/banana cream, fresh banana slices, and topped with FRESH coconut whipped cream. Don't be intimidated by the extra steps in this recipe - they're 100% worth it. There's a couple things I wanted to mention before you get baking! First, make sure your *full fat* coconut milk can is CHILLED. (Preferably overnight.) The colder it is, the easier it will whip up. Also, make sure your mixing bowl is chilled too! I usually pop mine in the freezer for a bit.
Disclaimer: Some of the links in this post are affiliate links, which means I make a small commission if you choose to purchase through qualifying links.
The second important note is that this recipe tastes best when it's chilled OVERNIGHT. I know, I know, I'm impatient too.. but it's worth it. After you bake the first three layers, the pie needs to cool. Then you should pop it in the fridge overnight. This will allow the bottom layers to set, and your fresh cream to thicken up. The next day you can add your fresh banana slices, and top it with the whipped cream!
If you've made my Pumpkin Pie recipe, you might notice that this crust is very similar. In fact, the only difference is that I added cacao nibs! It adds an extra layer of flavor, and I love the chocolate banana combo. (: They are not necessary, but I highly recommend adding them. If you're feeling fancy, you could also sprinkle a light coating of cacao powder on top of the fresh cream!
Recipe
Banana Cream Pie
Ingredients
Crust
- ¾ Cup Raw Walnuts
- ¾ Cup Raw Pecans
- 8 Pitted Dates
- ¼ Cup Cacao Nibs
- 1 Tsp. Cinnamon
- ½ Tsp. Salt
Baked Filling
- 2 Ripe Bananas One blended into the coconut milk, and one sliced to line the bottom of the pie.
- 1 Tsp. Vanilla
- 1 Can Full Fat Coconut Milk (Refrigerated) For the baked filling you will use the watery part on the bottom of the can.
- ½ Tsp. Salt
- 1 Tbs. Maple Syrup
Fresh Whipped Cream
- 1-2 Can of Full Fat Coconut Milk (Refrigerated) For the fresh whipped cream you will use the thick white part at the top. Personally I like to use two cans so I have extra fresh cream! The second can is option.
- 1 Tbs. Maple Syrup
- 1 Tsp. Vanilla
- ½ Tsp. Salt
Instructions
- For the crust, add all of the crust ingredients into your food processor. Blend until you can pinch the mixture between your fingers and it sticks. (About 60-90 seconds.) If you blend it too much, it will become oily.
- Take your crust mixture and press it into a pie pan. Use your fingers or the back of a spoon to make sure it's spread evenly. Set in the fridge while you make the rest of the filling.
- Take the thick white part of the coconut milk and put it into a chilled mixing bowl. Set in the freezer while you finish making the filling.
- Take the clear liquid part from the bottom of the can and add it to a mixing bowl. You can also add 1 ripe mashed banana, salt, vanilla, and maple syrup. Blend with hand mixer until fully combined.
- Take the crust out of the fridge. Slice your other banana into thin slices, and line the bottom of the pie crust.
- Next pour your filling mixture into the pie crust. (On top of your sliced bananas.)
- Bake the pie for 40 minutes at 325°.
- While the pie is baking, we're going to make the fresh whipped cream!
- Take your chilled mixing bowl + thick coconut cream out of the freezer. Add maple syrup, vanilla, and salt. Use an electric mixer to whip the cream until it's thick! (Takes up to five minutes.) Set in the fridge for later.
- Once your pie is done baking, it needs to cool before putting on the cream. Personally I let my pie cool, then refrigerate OVERNIGHT. The next day I add another layer of freshly sliced bananas, and a thick layer of our homemade whipped cream.
- Slice it up, and ENJOY!


Comments
No Comments